Page 1 of 3
New ROV design/build *JaxExplorer1*
Posted: Sep 1st, 2013, 3:39 pm
by fireslayer26
Starting my new ROV project. I first built a seafox frame after being inspired by Steve Thone's seafox. But I now I want something a little bigger, so I'm making my own frame.
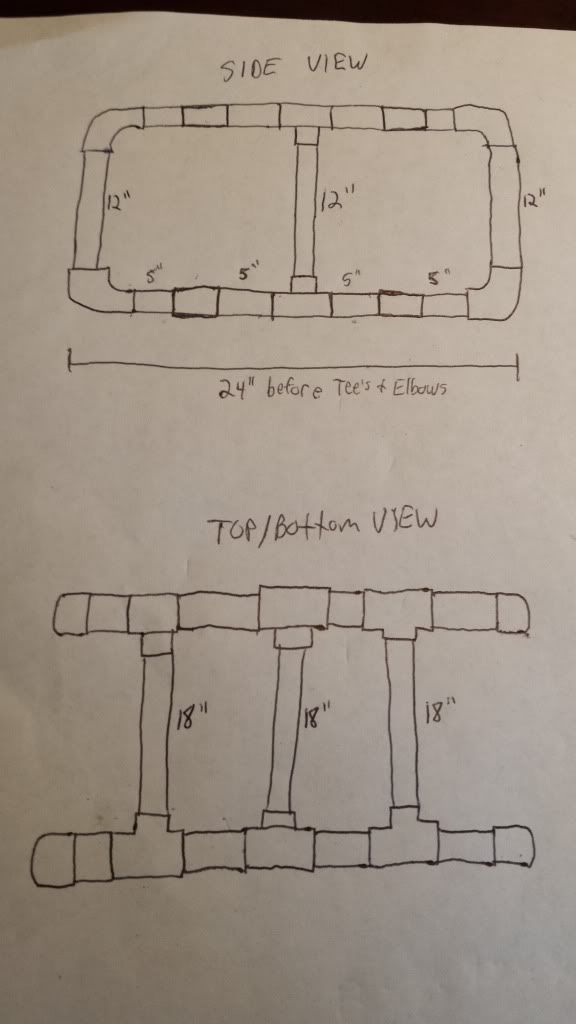
Here is the "schematic" for the frame
One end done
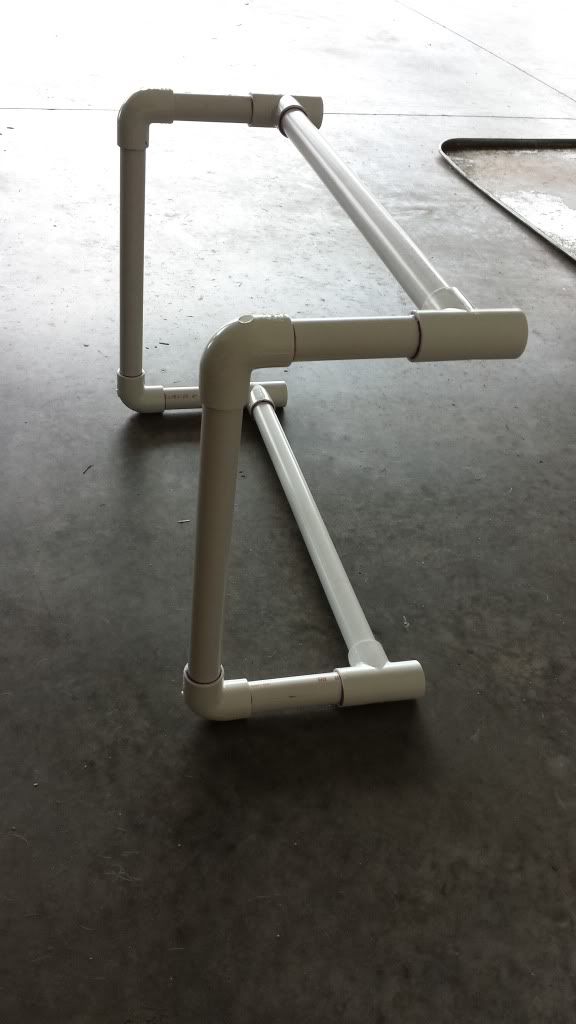
Both ends
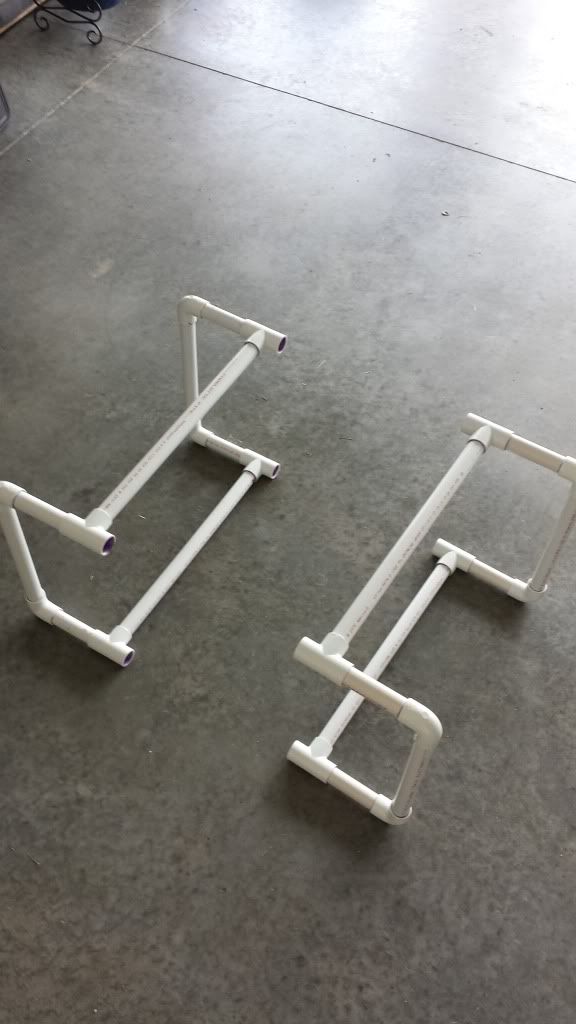
Holes drilled to make it a wet frame
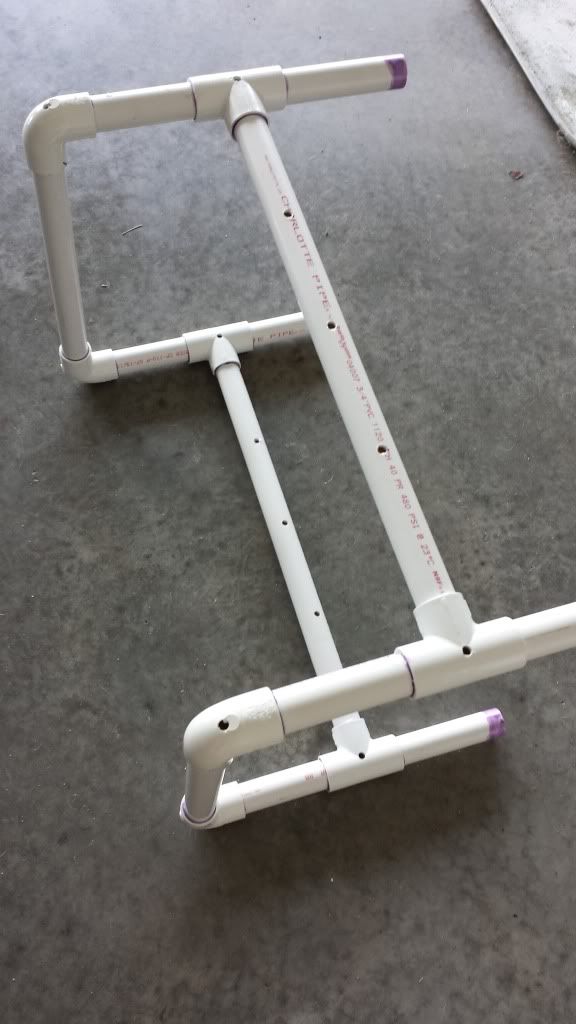
I can't finish the middle until I get my 4-way PVC connections in the mail. The camera/electronics main housing will be a 6" schedule 80 PVC pipe 20-24" long. I will use a clear acrylic dome for the camera end of the housing (
http://www.cleardomes.com/smalldomes.htm). I'm thinking of using a Test-Tite 6" test plug for the other end of the housing.
http://www.ebay.com/itm/321119295346?ss ... 1423.l2649 It is rated at 50ft of head pressure. This is pressure exerted on it from inside the test tubing pushing outward. I figure the outside pressure from the water pushing in will make an even stronger seal.
Re: New ROV design/build *JaxExplorer1*
Posted: Sep 1st, 2013, 3:39 pm
by fireslayer26
The brain of the ROV will be this: (find out more at
http://www.rov-control.com) Also, see this thread:
viewtopic.php?f=15&t=1258

For the gripper, I will be using this 12V Linear actuator to control the action of a toy robot claw as seen below. I will remove the yellow handle part of the claw and bend the metal push rod and attach it to the actuator, which will be placed inside a waterproof container.


As far as lights go, I will be using these LED's
http://www.ebay.com/itm/350644037171?ss ... 1439.l2649 Powered by the ROV X3 control board.
Re: New ROV design/build *JaxExplorer1*
Posted: Sep 8th, 2013, 12:09 pm
by fireslayer26
Completed frame
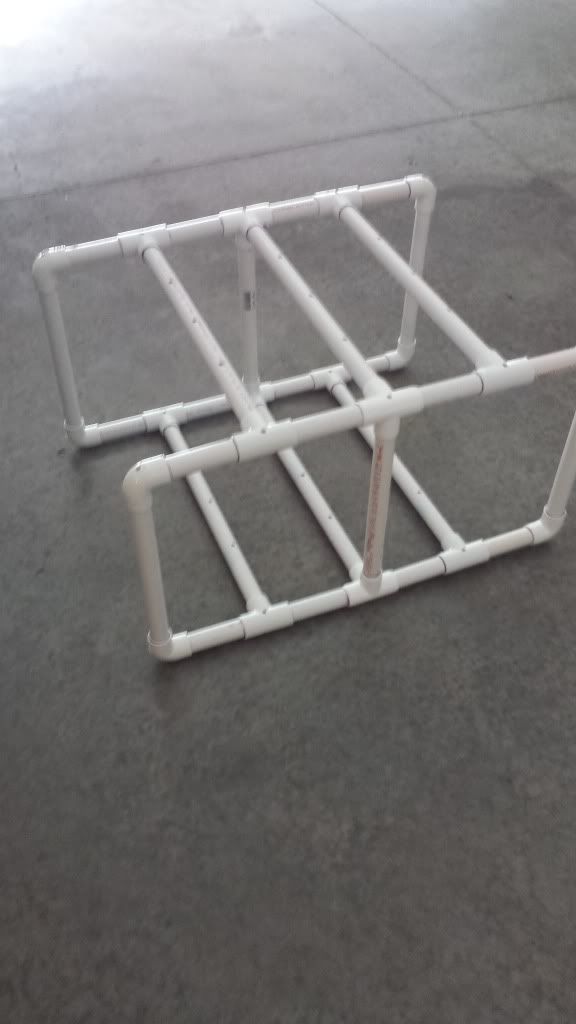
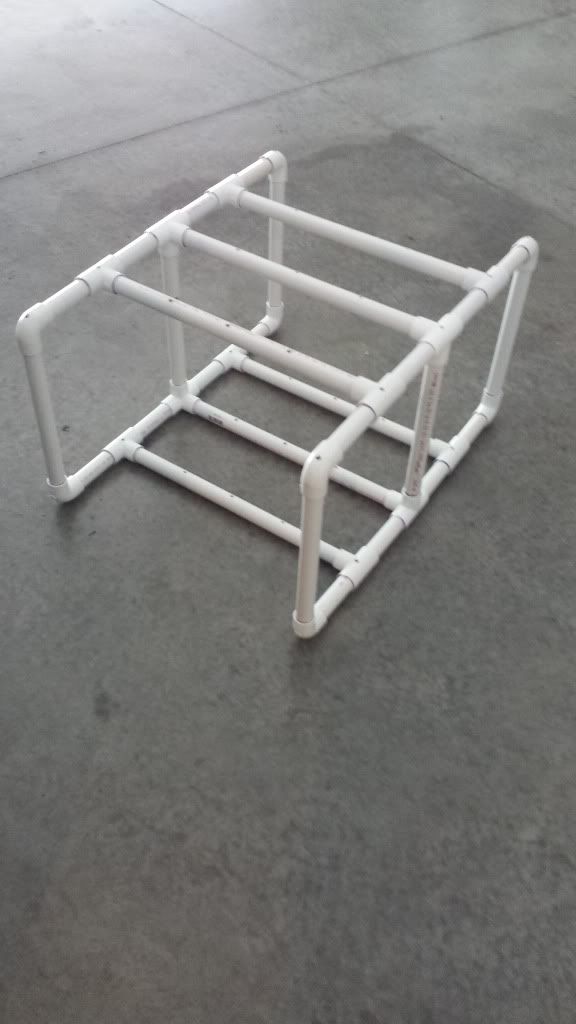
Compared to my old Seafox frame
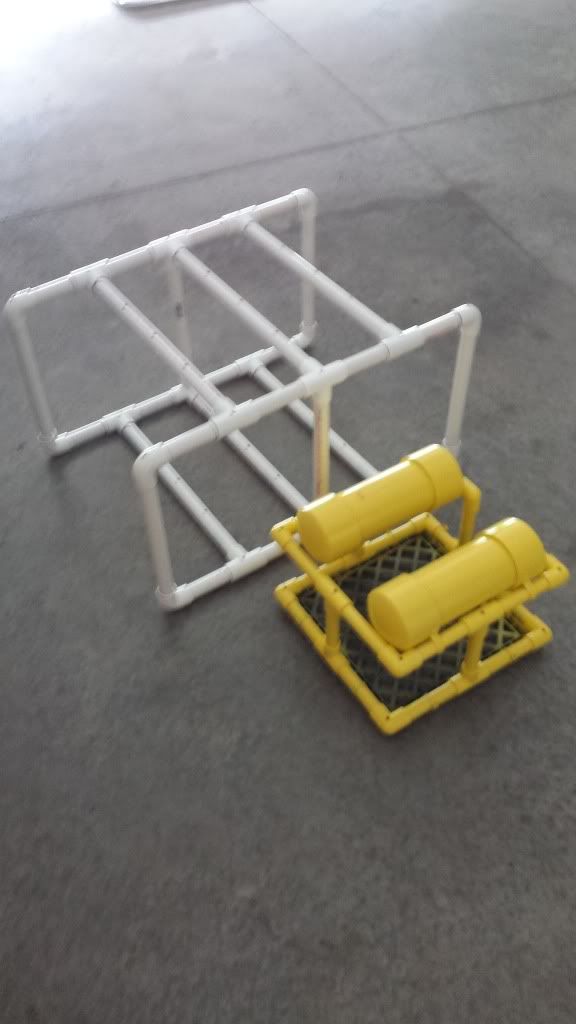
Re: New ROV design/build *JaxExplorer1*
Posted: Sep 11th, 2013, 9:37 pm
by fireslayer26
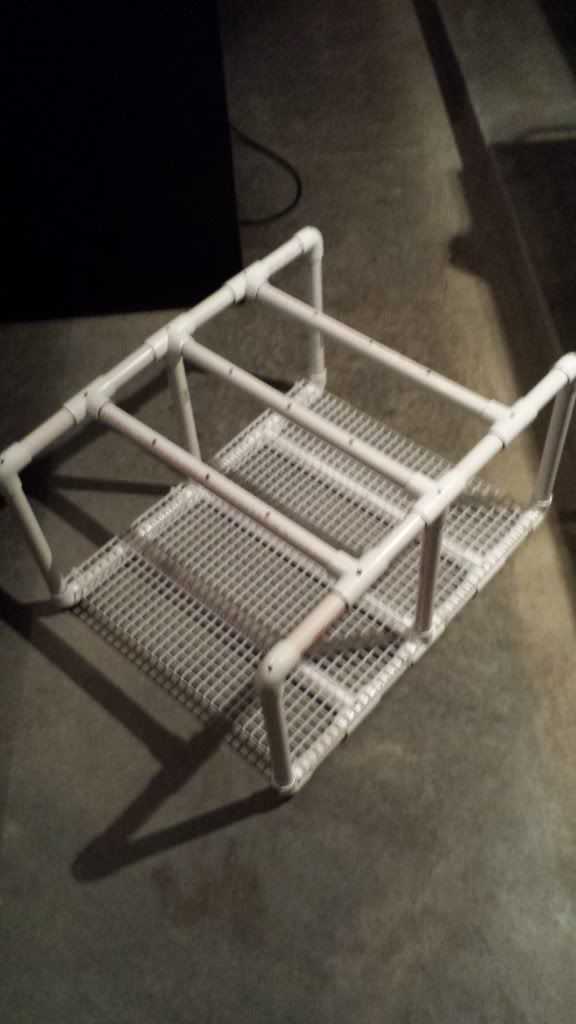
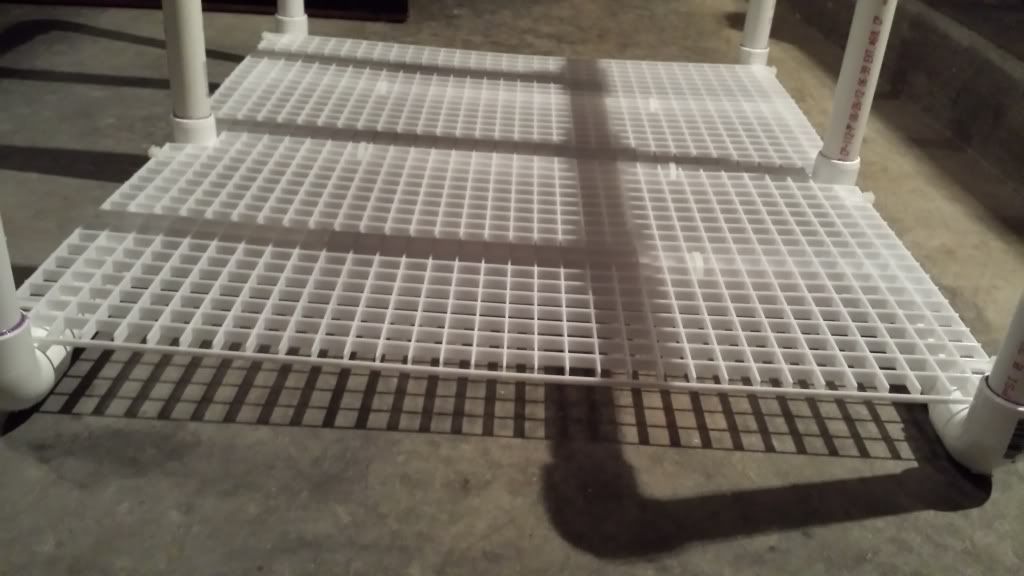
Added the "floor" of the ROV. It is a sheet of Plaskolite Ceiling light panel. Attached with commercial strength zip ties.
http://www.lowes.com/pd_18429-1638-1199 ... facetInfo=
Re: New ROV design/build *JaxExplorer1*
Posted: Nov 16th, 2013, 1:32 pm
by fireslayer26
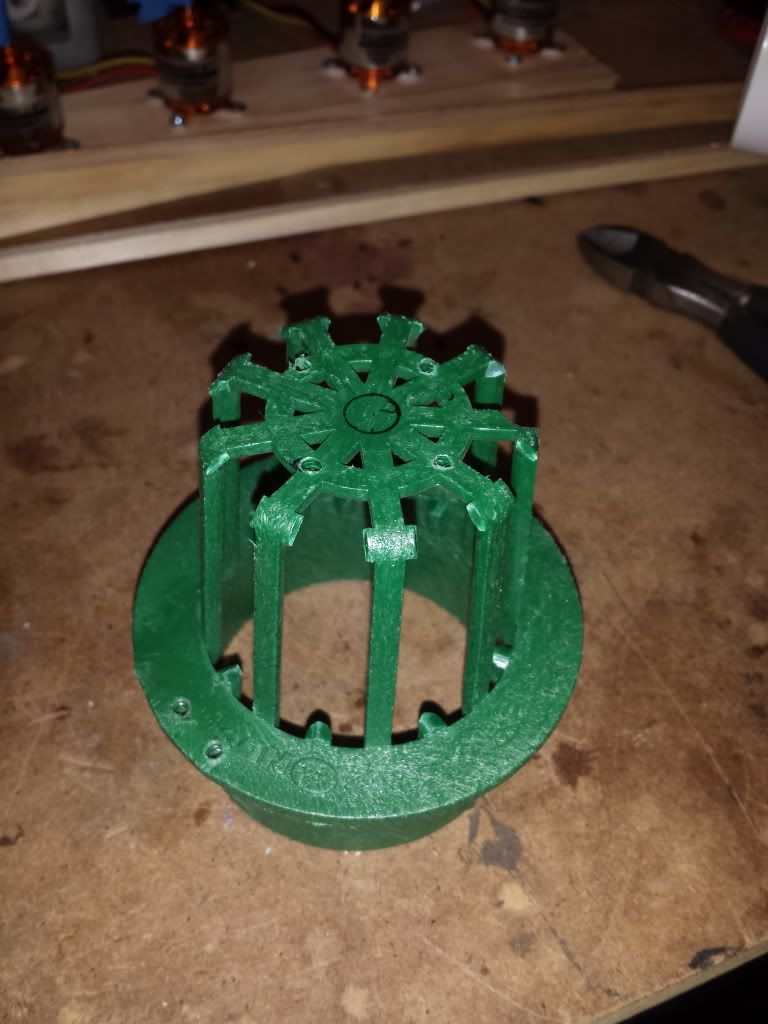
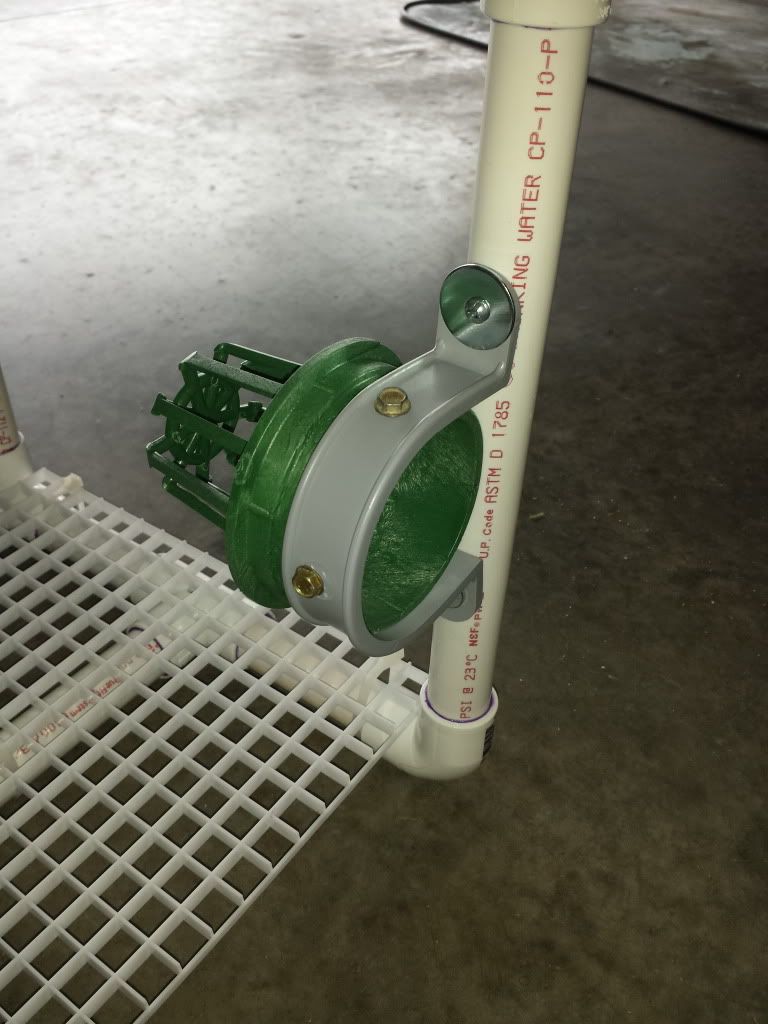
Making the thruster housings. Started with 3" Atrium grates from Home Depot. I cut out every other "slat" to increase water flow. Also, made markings on top for the mounting points for the brushless motor mounts.
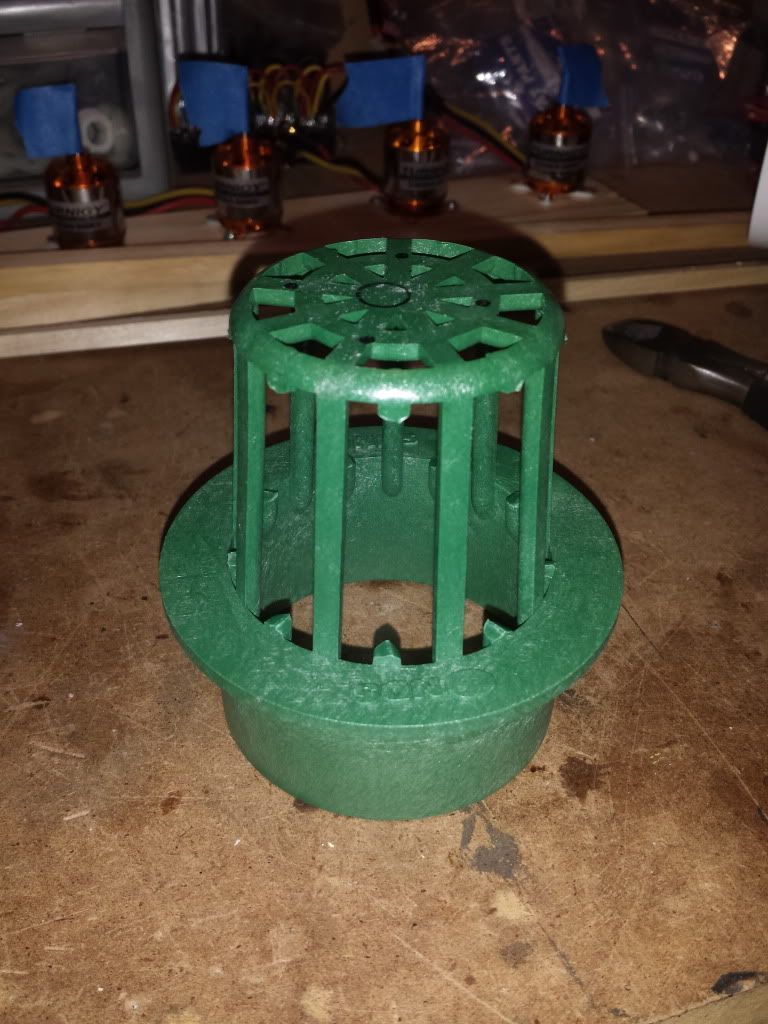
I also cut out the in-between pieces of the outer ring.
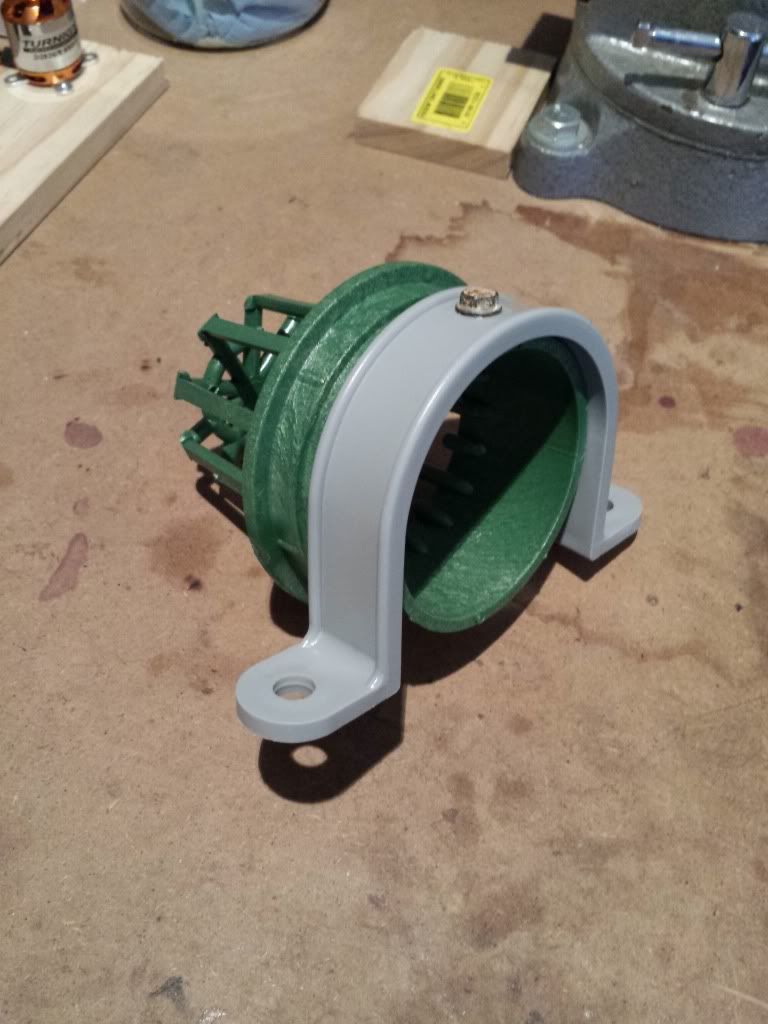
I then attached the atrium grates to some 2 1/2" PVC conduit clamps.
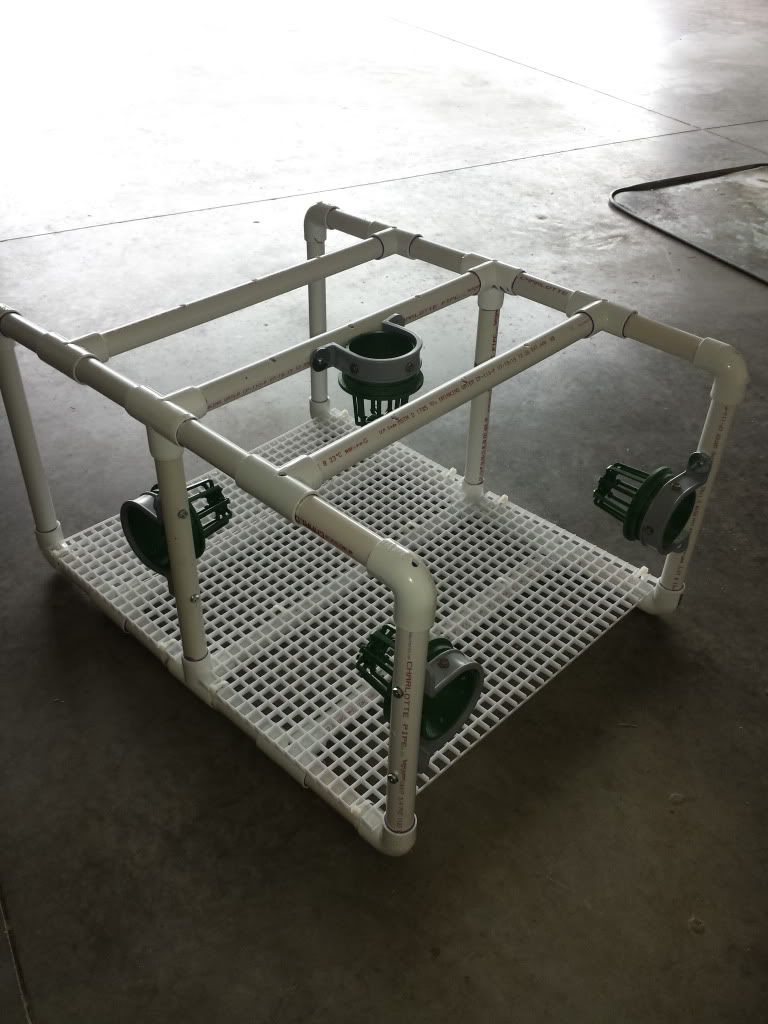
Mounted to the frame
All in place... 2 rear forward/reverse/steering thrusters, 1 dive/ascend thruster, and 1 lateral movement thruster
Re: New ROV design/build *JaxExplorer1*
Posted: Nov 16th, 2013, 1:41 pm
by fireslayer26
Started working on the main housing. A 4" pressure rated 2 foot long piece of PVC pipe. I borrowed the idea for the hull wiring pass through from bikerbones.
viewtopic.php?f=18&t=815&start=20#p4009.
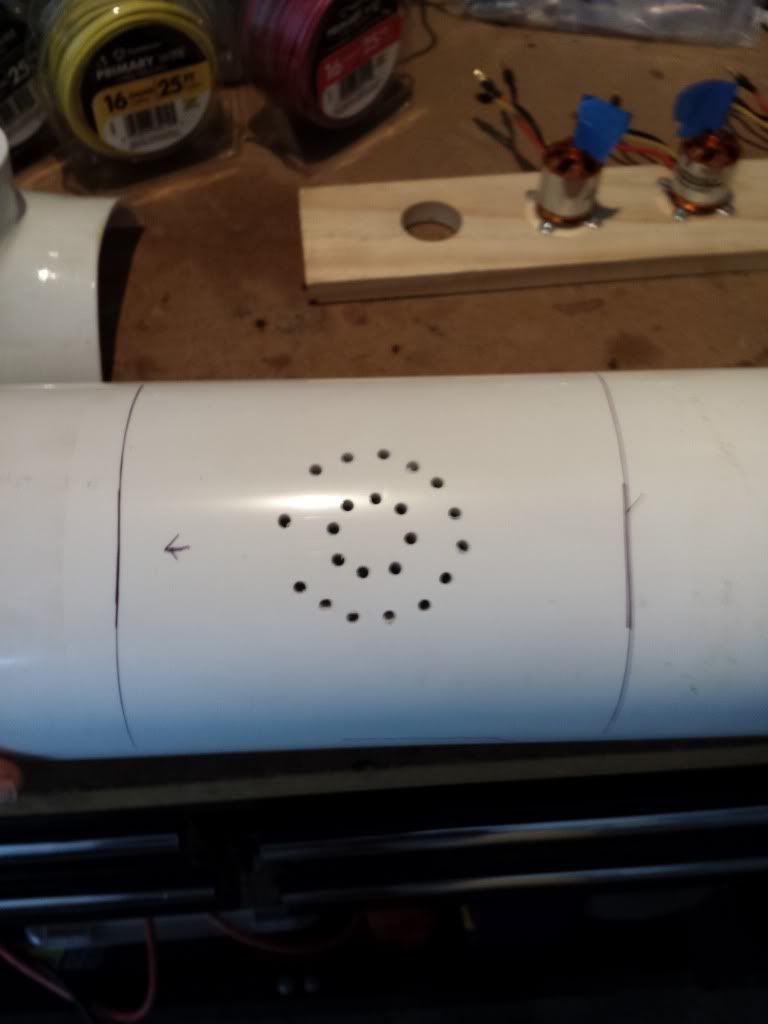
I instead used a 2" PVC tee and cut the bottom half off and used a heat gun to form it to the shape of the 4" pipe
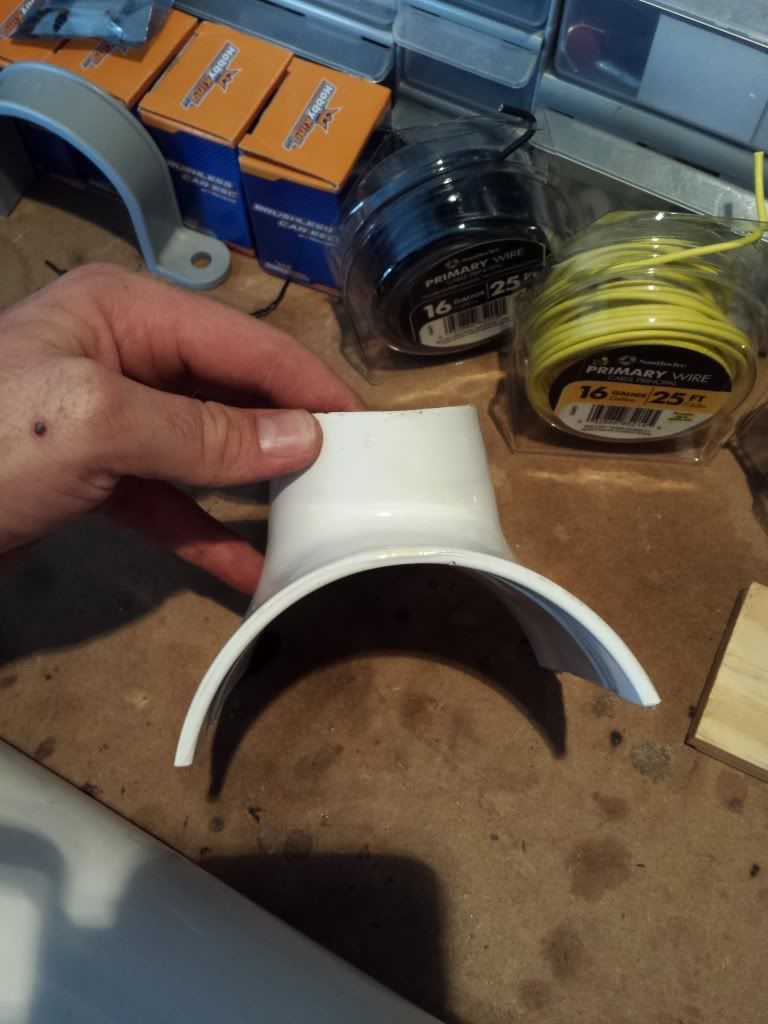
Forming the tee
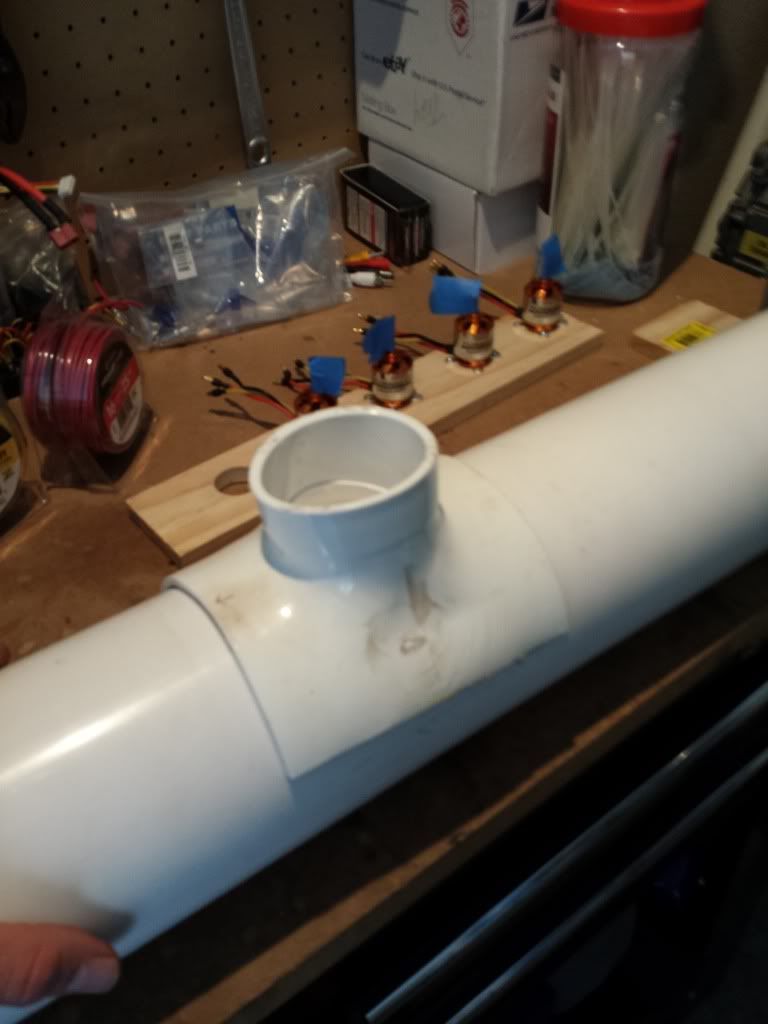
Formed and glued in place
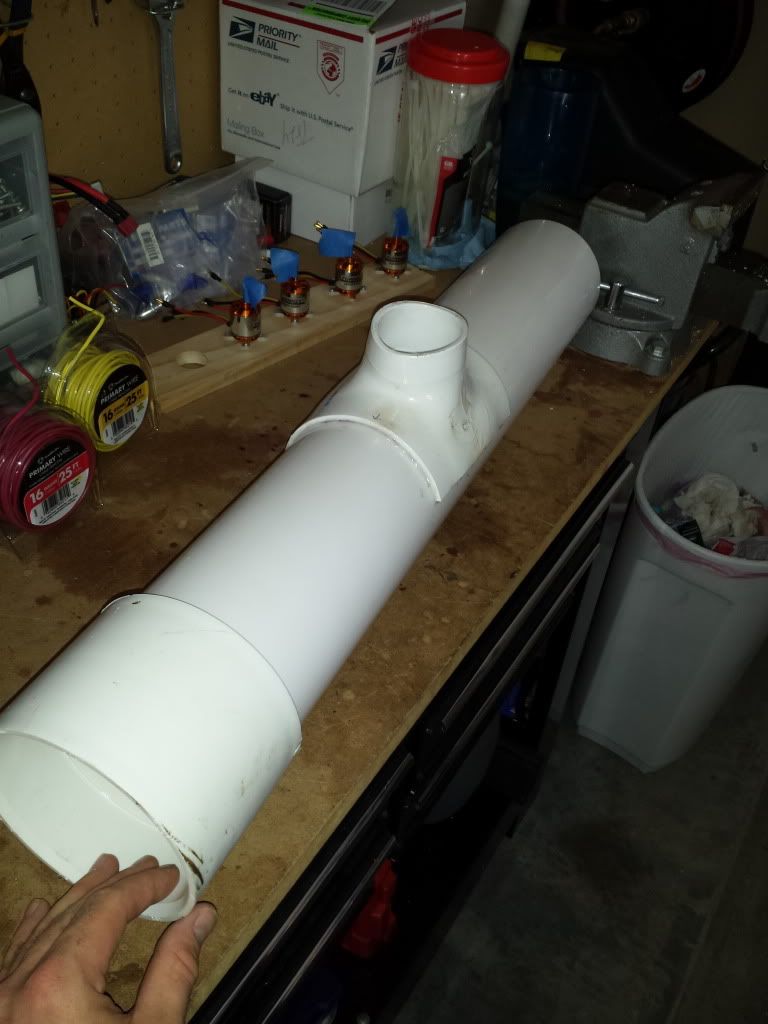
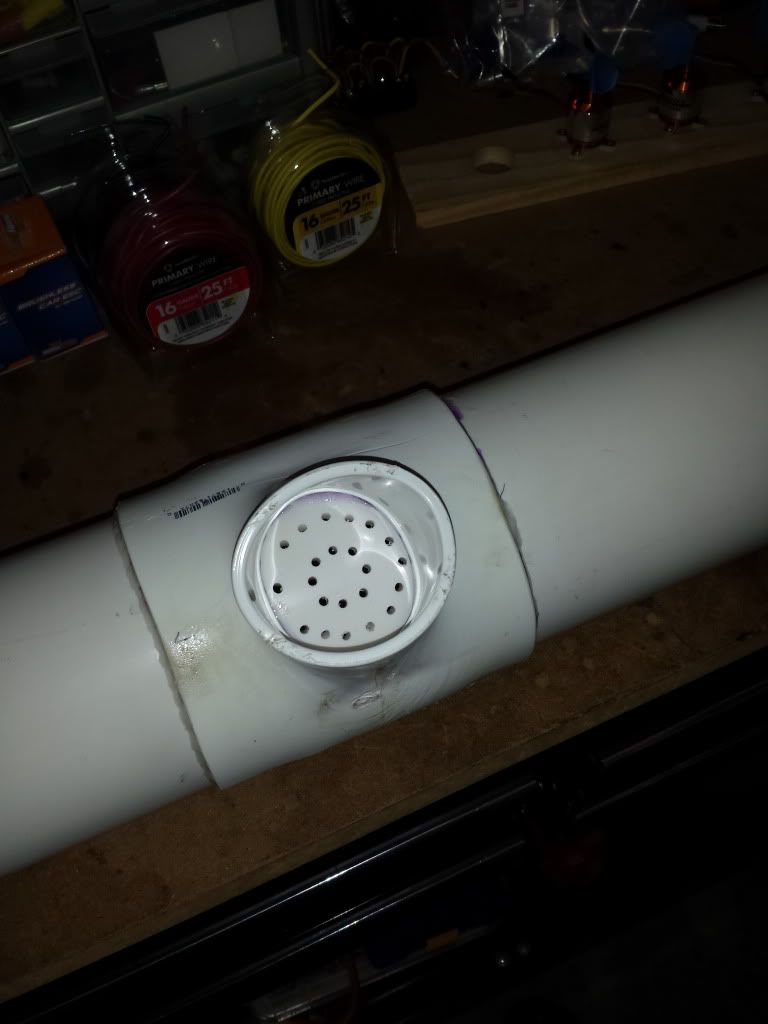
I will be running the wires through these holes, then potting this area.
Re: New ROV design/build *JaxExplorer1*
Posted: Nov 16th, 2013, 3:03 pm
by fireslayer26
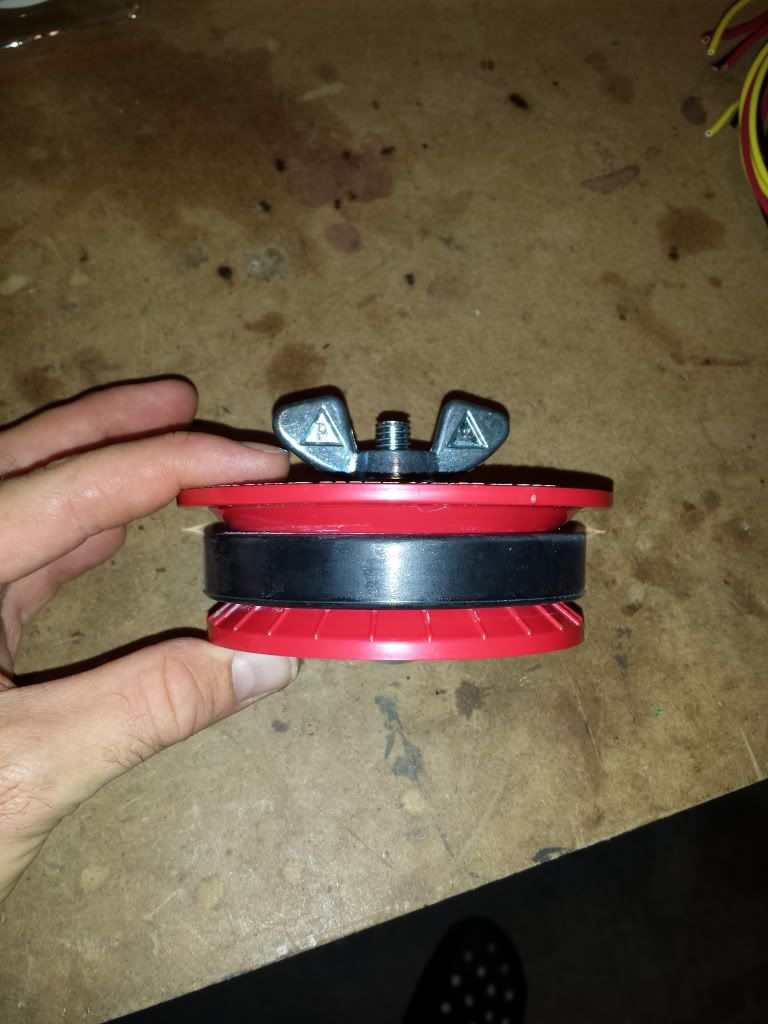
The rear hatch/seal will be a 4" pipe test plug made by Oatey.
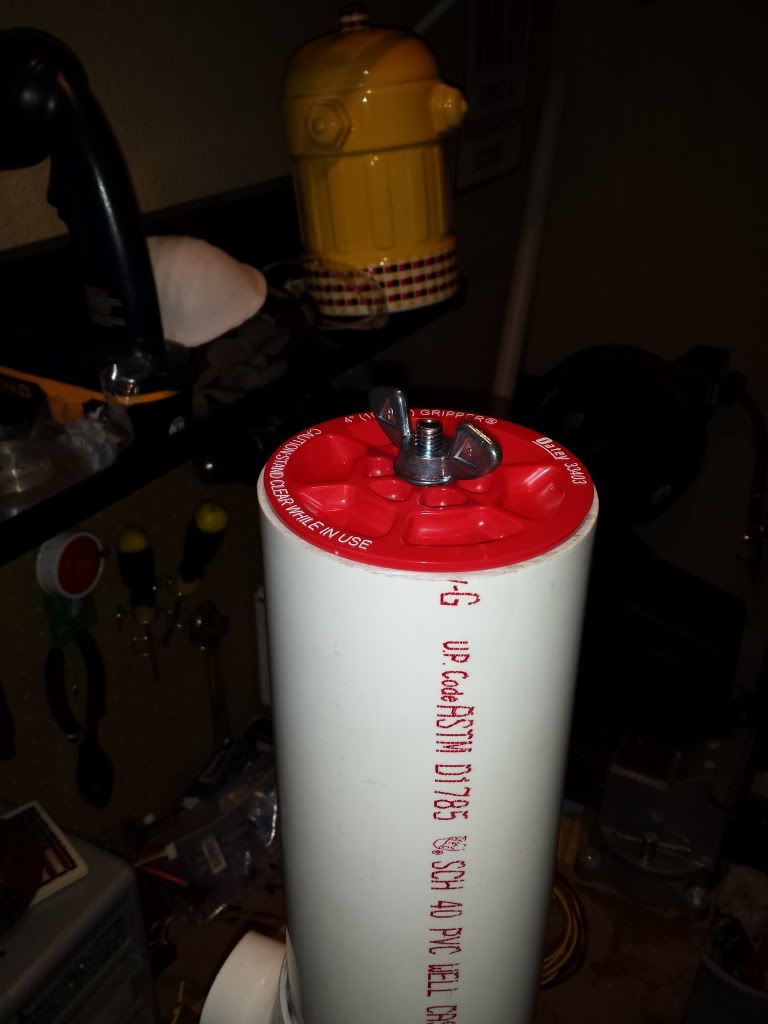
It has a larger lip on the top that sits on top of the edge of the pvc pipe. The outside pressure from the water will press it harder against the pvc pipe creating an even better seal.
Re: New ROV design/build *JaxExplorer1*
Posted: Nov 20th, 2013, 4:44 pm
by fireslayer26
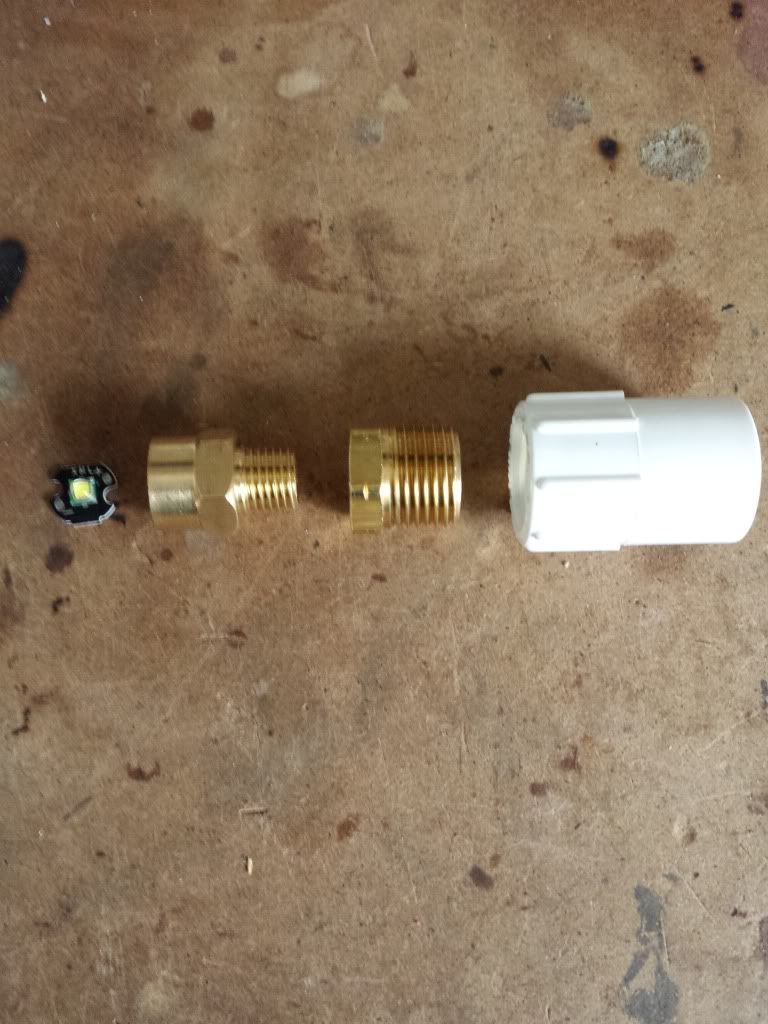
New lights are completed.
Cree XML T6 10W LED
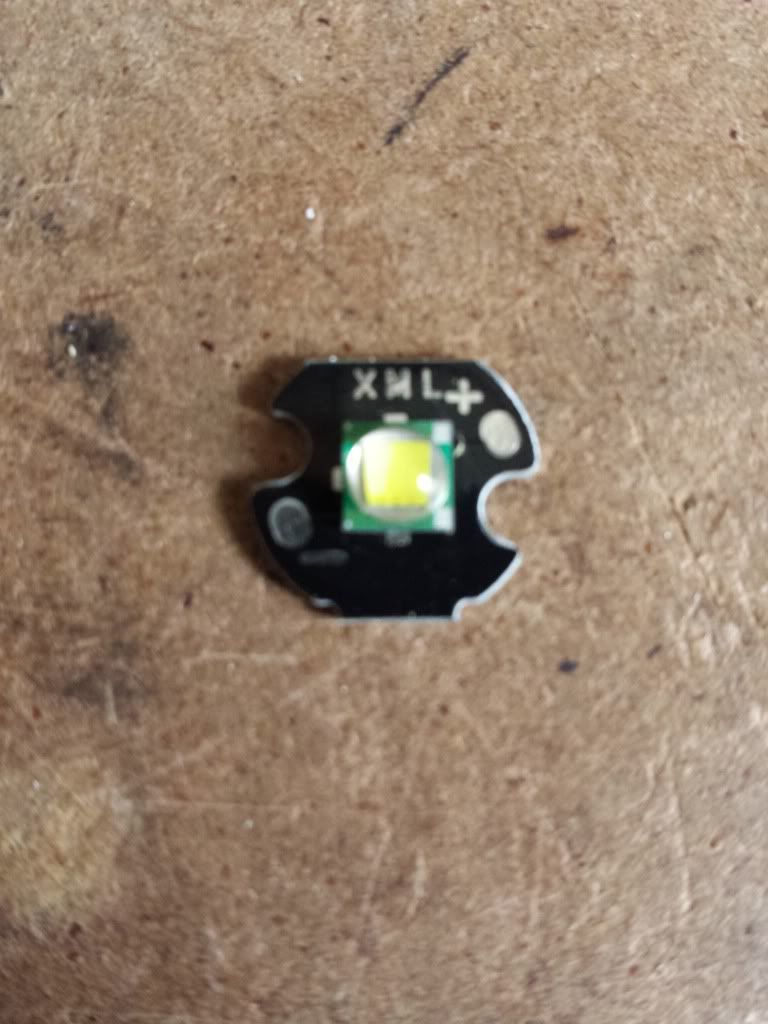
Parts un-assembled
Assembled
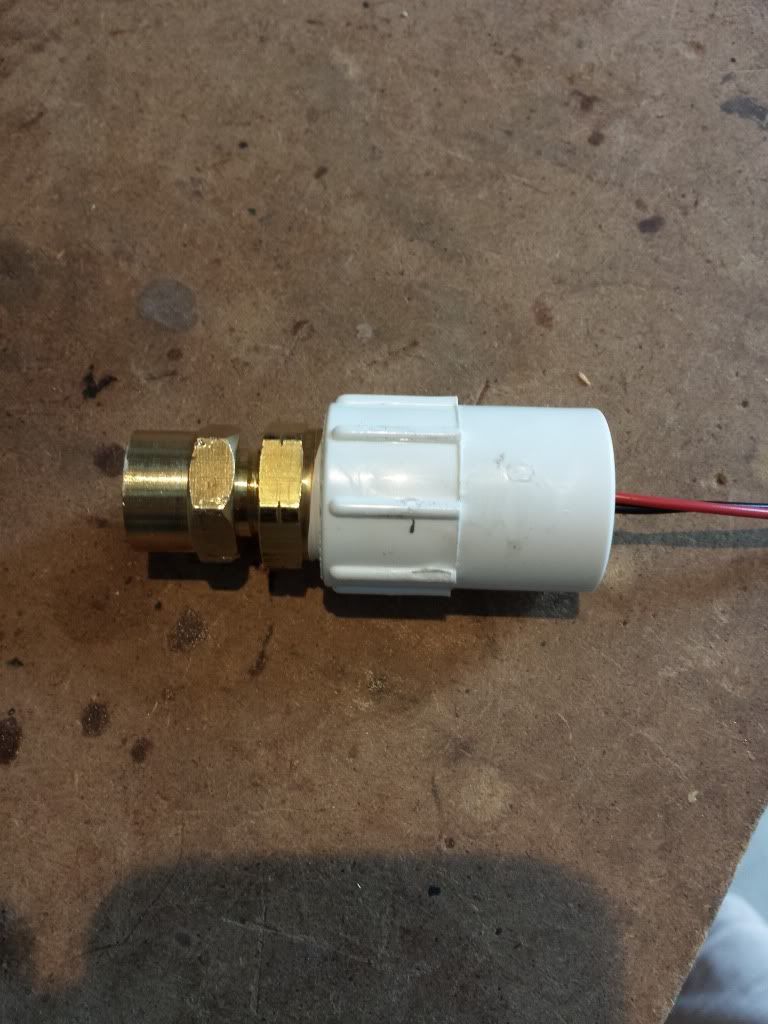
Potted all the way up to the gel covering the led
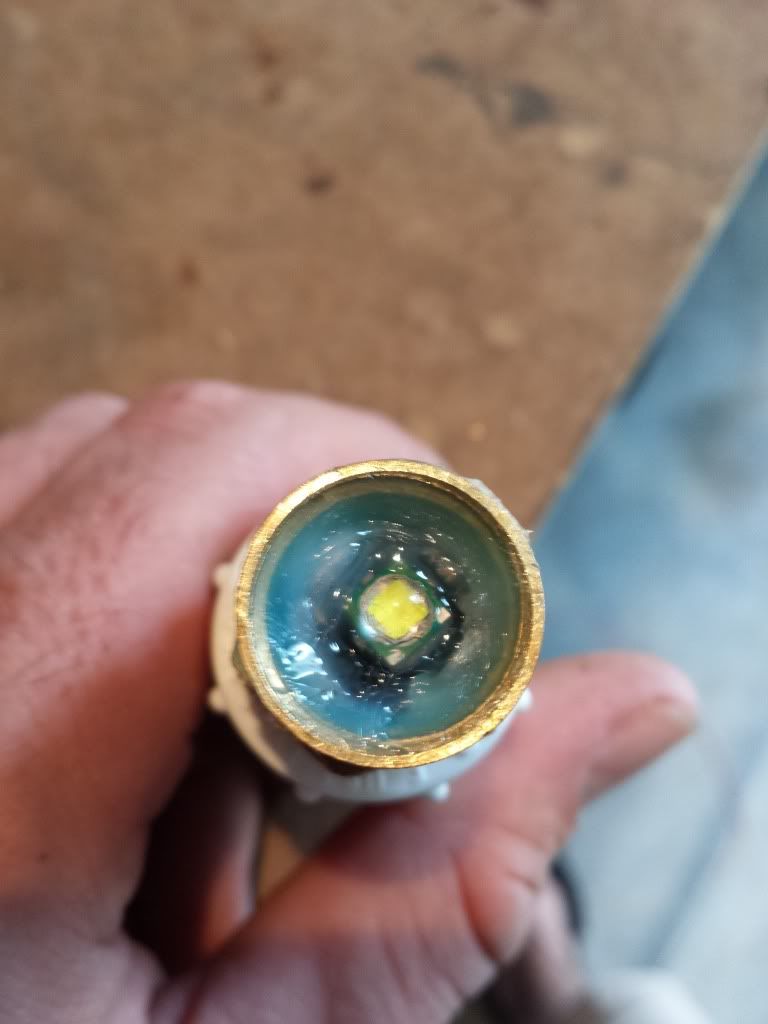
Mounted on the ROV
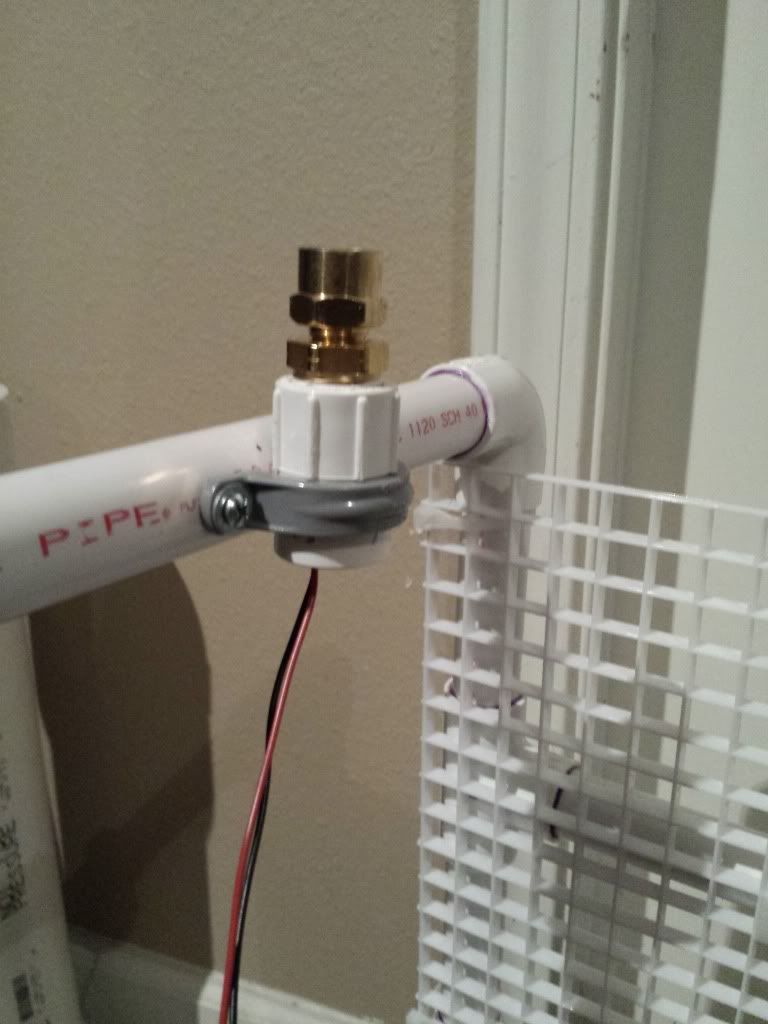
When all the sealant dries, I will try to get a pic in my garage with just the LED's on.
Re: New ROV design/build *JaxExplorer1*
Posted: Nov 21st, 2013, 10:33 pm
by MAC99
this is grate info and some very good ideas.
I would like to ask about the LED s at 10w 3a are you attaching them to the brass for cooling I am interested in the potting and workability of covering the LED I read the specs maybe it isn't in need of cooling

MAC
Re: New ROV design/build *JaxExplorer1*
Posted: Nov 21st, 2013, 11:45 pm
by scubersteve
Boy those thruster housings sure do look familiar.
Good progress.
