Page 3 of 10
Re: Rov Reboot (3d Printed)
Posted: Jul 24th, 2015, 7:47 am
by oceanrov31
WOW! Perfect!

Just finished the print and popped off the support material with ease. The motor fits like a GLOVE! with no sanding or finishing at all! just remove the o-ring on the
outside of the motor and it popped right in.
thanks!!!
 https://www.dropbox.com/s/pupxmmf6emfdh ... 2.JPG?dl=0
https://www.dropbox.com/s/gtow68nwedl2r ... 3.JPG?dl=0
https://www.dropbox.com/s/pupxmmf6emfdh ... 2.JPG?dl=0
https://www.dropbox.com/s/gtow68nwedl2r ... 3.JPG?dl=0
Re: Rov Reboot (3d Printed)
Posted: Jul 24th, 2015, 10:13 am
by sthone
Looks great... I guess my tweaks did the trick then, glad everything worked out.
-Steve

Re: Rov Reboot (3d Printed)
Posted: Jul 24th, 2015, 10:37 am
by sthone

- Printer08.jpg (183.96 KiB) Viewed 65294 times
Here we go.... 11 hours, 07 minutes, 29 Seconds later I have half a float.
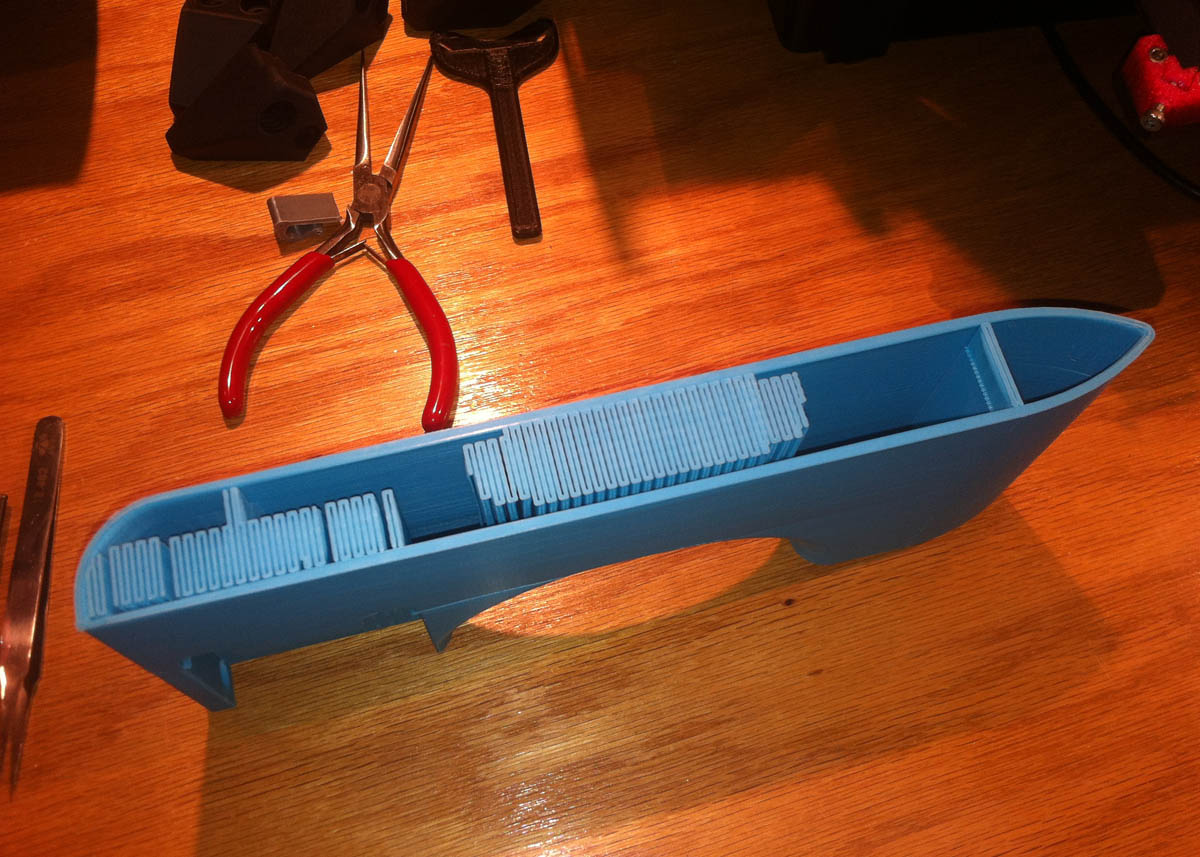
- Printer09.jpg (203.74 KiB) Viewed 65294 times
Fresh off the printer showing the support material.
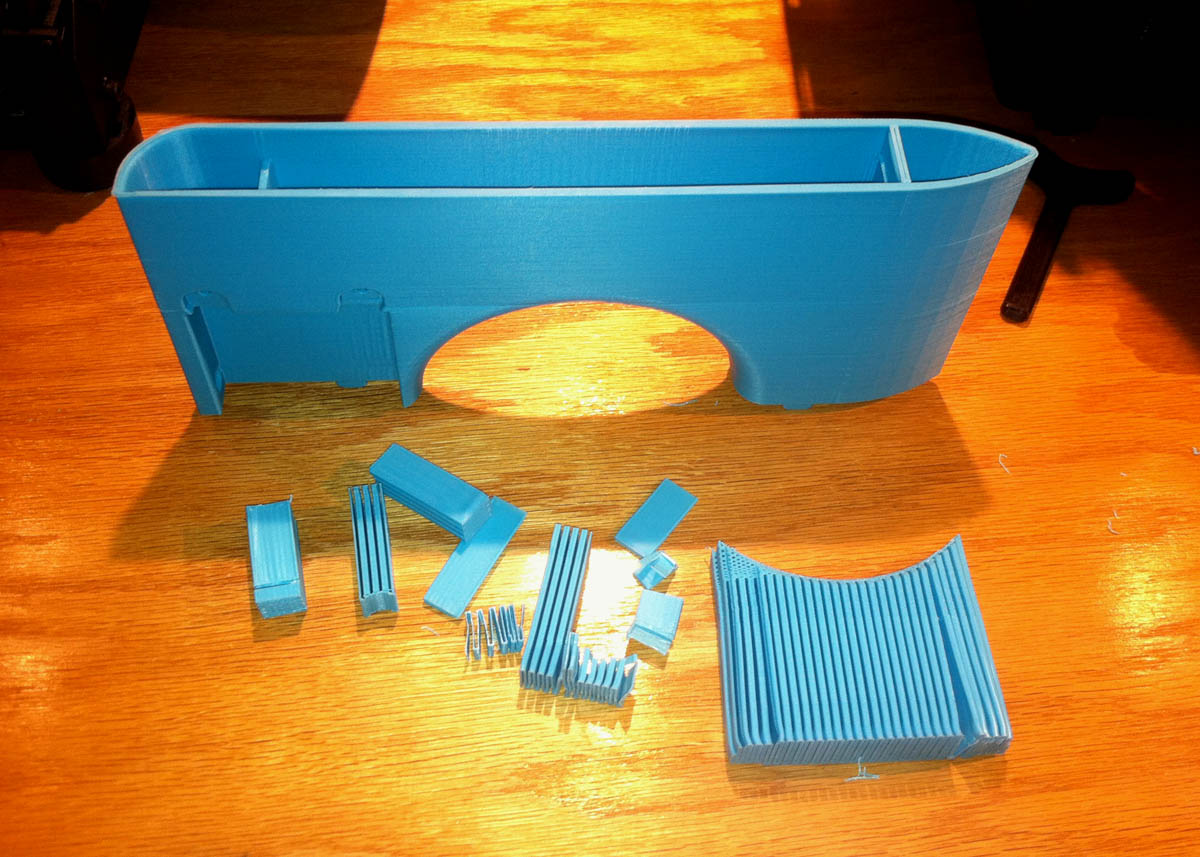
- Printer10.jpg (205.37 KiB) Viewed 65294 times
The support material pops cleanly out.
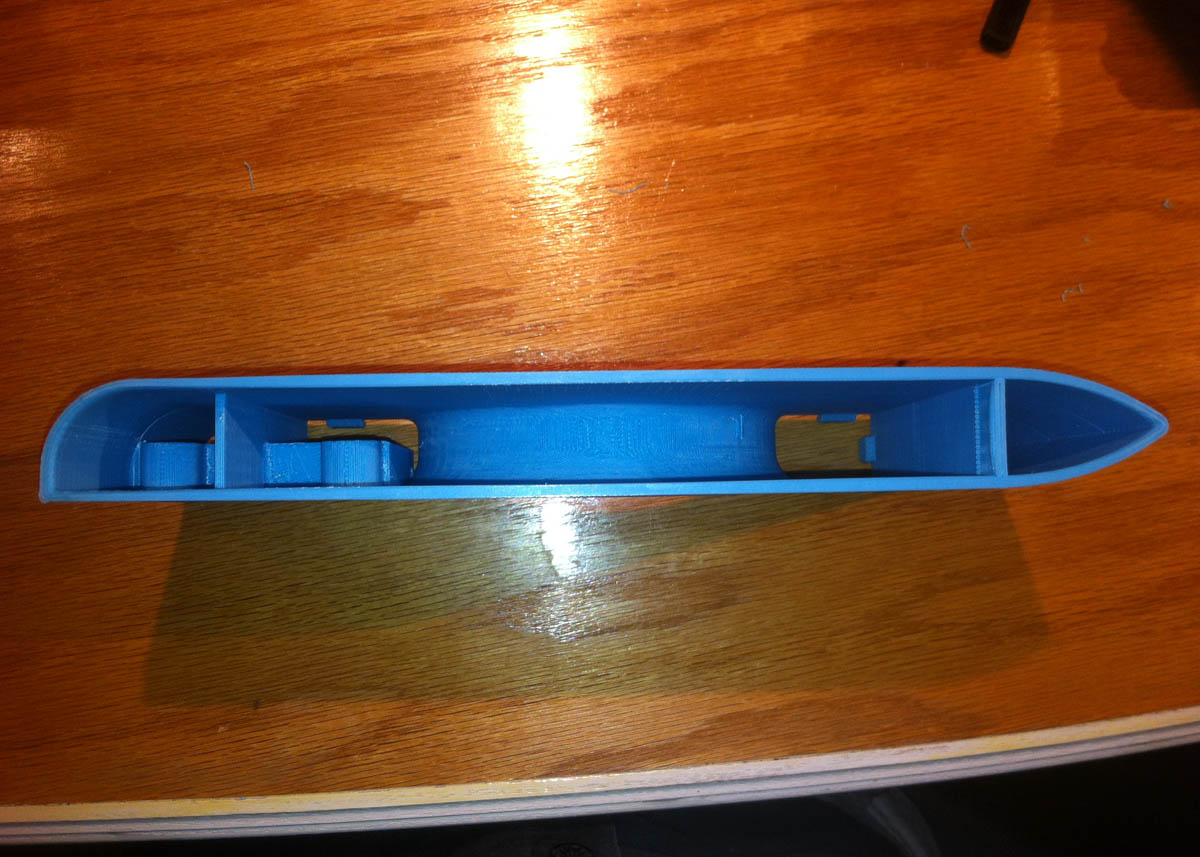
- Printer11.jpg (178.49 KiB) Viewed 65294 times
A quick peek of the inside.
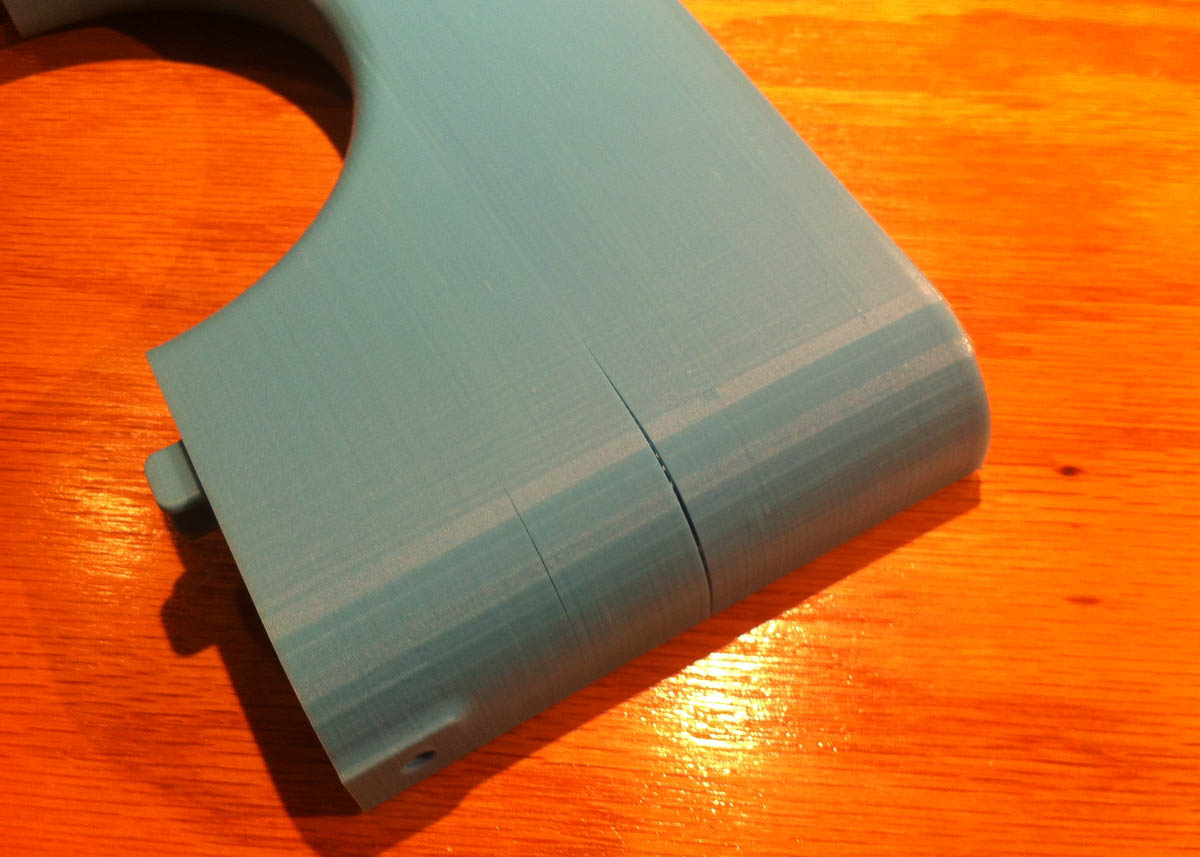
- Printer12.jpg (135.87 KiB) Viewed 65294 times
- Printer13.jpg (131.81 KiB) Viewed 65294 times
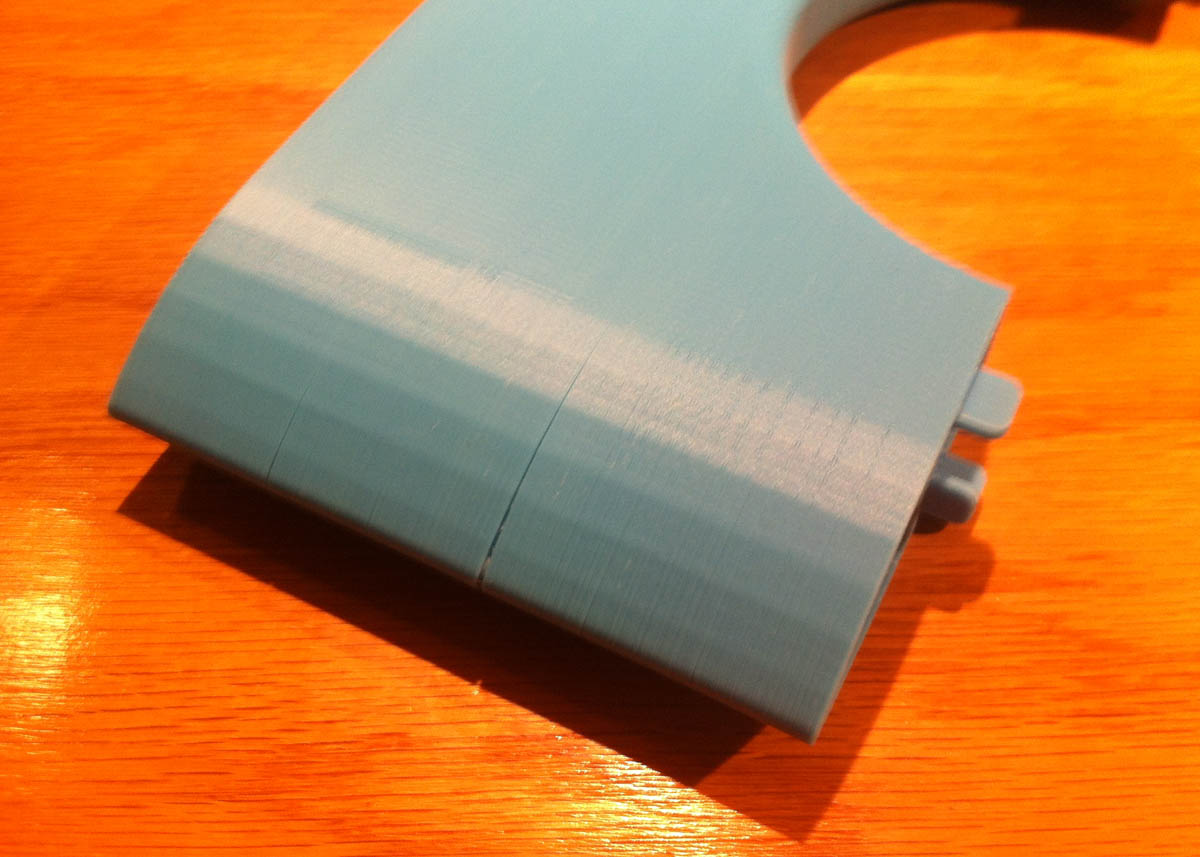
As expected I did get some layer separation. Unfortunately this is quite common when printing in ABS without a heated incloser. I was going to print this in PETG but I wanted to use up this roll of ABS anyway so I thought I'd at least see what happens. It shouldn't be a problem as it's going to be filled with a epoxy/microballoons mixture anyway but, I may redo this later on in PETG I'll have to see how the rest goes first.
- Printer14.jpg (113.71 KiB) Viewed 65294 times
- Printer15.jpg (112 KiB) Viewed 65294 times
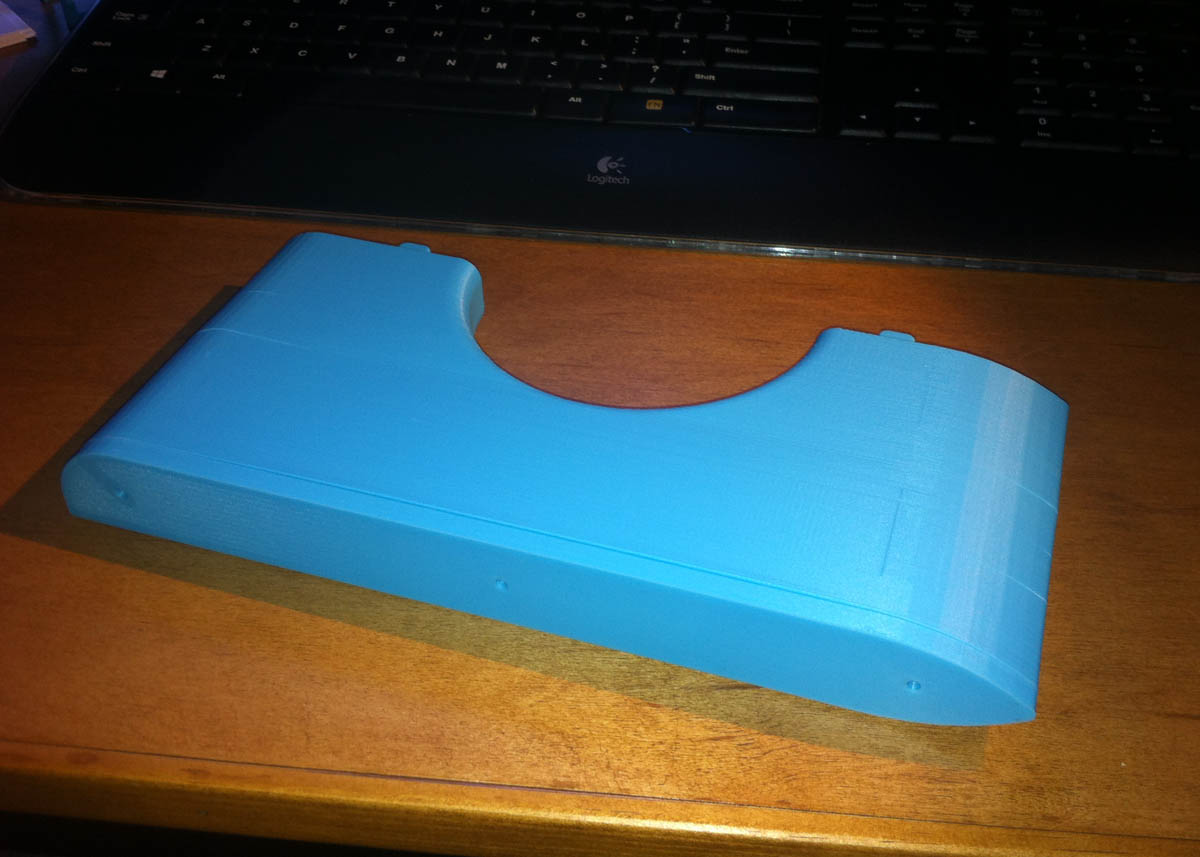
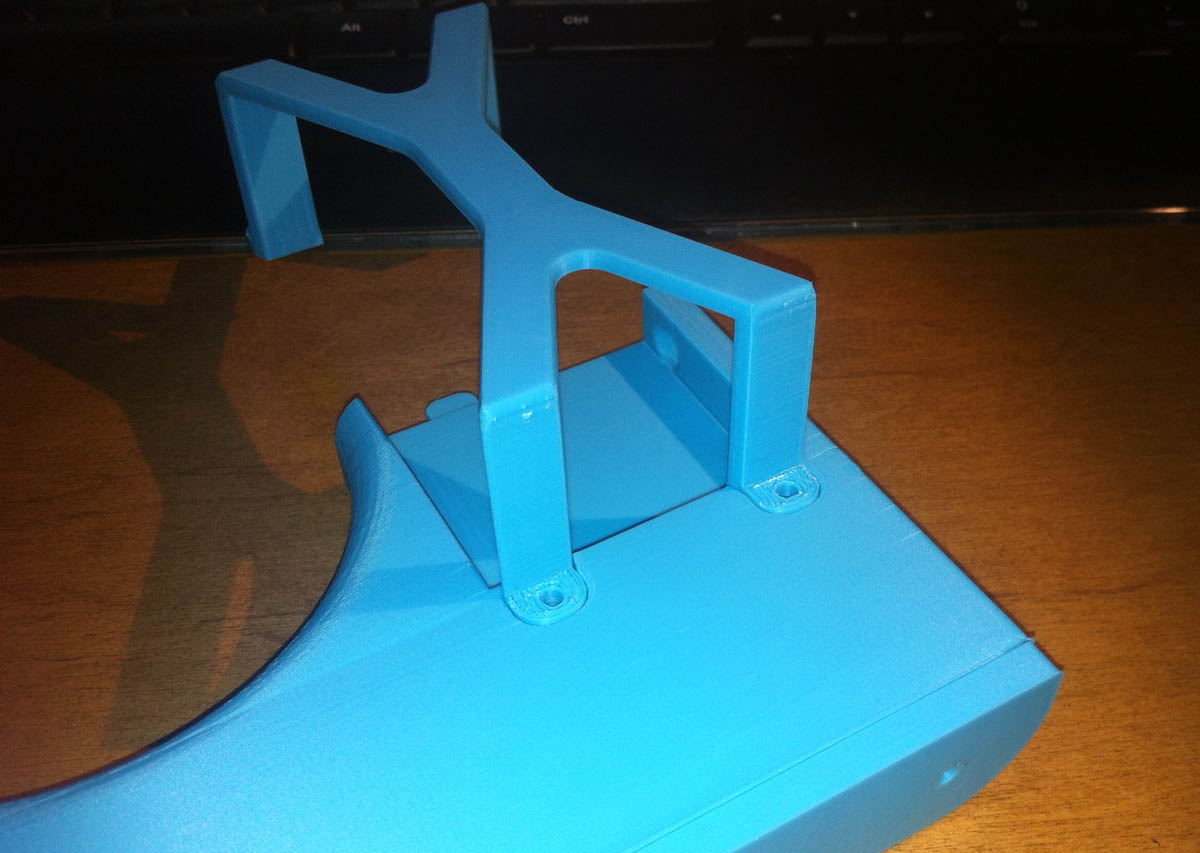
The good news is my end cap and relay bracket fit damn near perfect. I'm going to try and print the other half of the float tonight and see what happens.
-Steve
Re: Rov Reboot (3d Printed)
Posted: Jul 25th, 2015, 11:05 am
by sthone
- Printer17.jpg (114.68 KiB) Viewed 65274 times
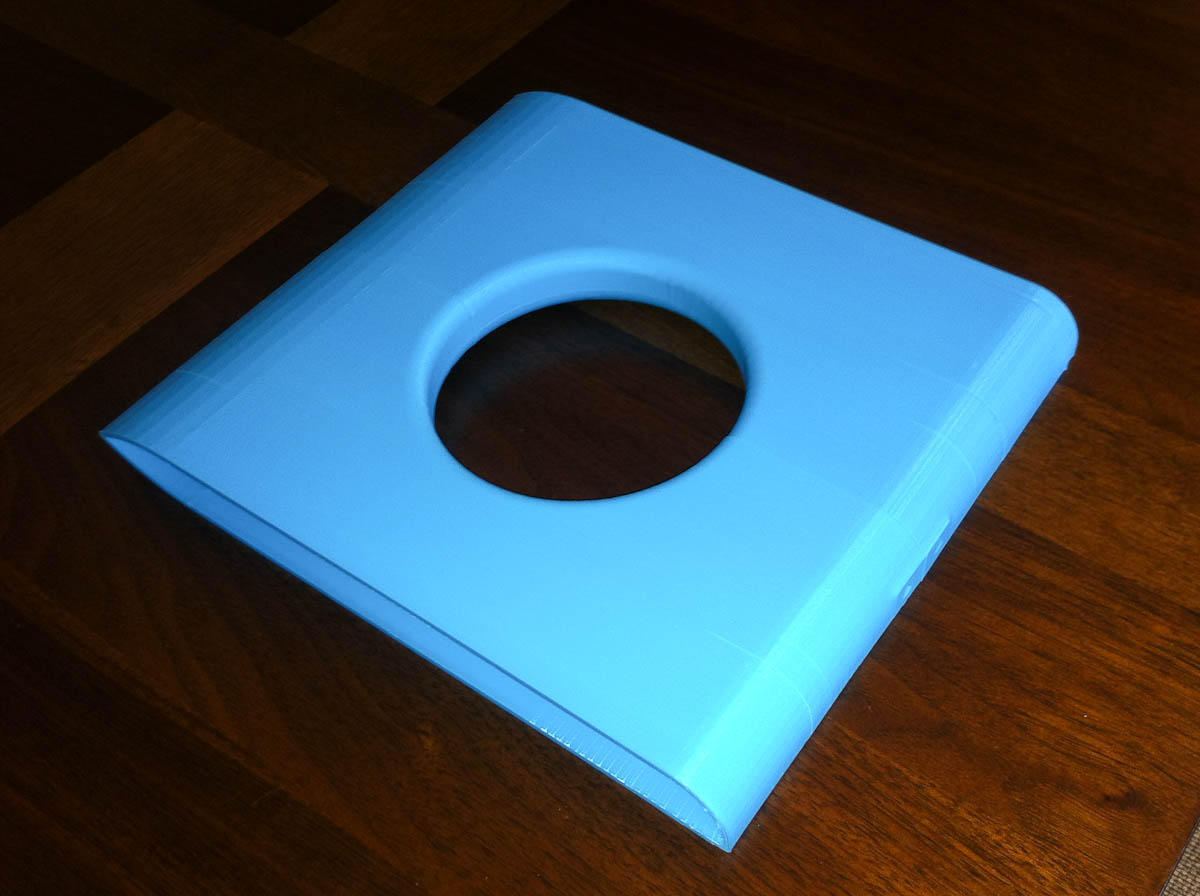
The other half only took 10 Hours 47 Minutes. It had the same layer separation in the same exact places but the two halves fit together pretty well.

- Printer18.jpg (118.67 KiB) Viewed 65274 times
The relay bracket fits perfect too. Now I just half to print the other end cap, the tether clamp setup, and then figure out how to make the microballons fill.
-Steve
Re: Rov Reboot (3d Printed)
Posted: Jul 26th, 2015, 4:46 am
by Oldsirhippy
Wow, impressive use of CAD and the 3D printer. The results look great and should make the ROV impressive

Re: Rov Reboot (3d Printed)
Posted: Sep 15th, 2015, 10:15 am
by sthone
- Printer-019.jpg (145.7 KiB) Viewed 65190 times
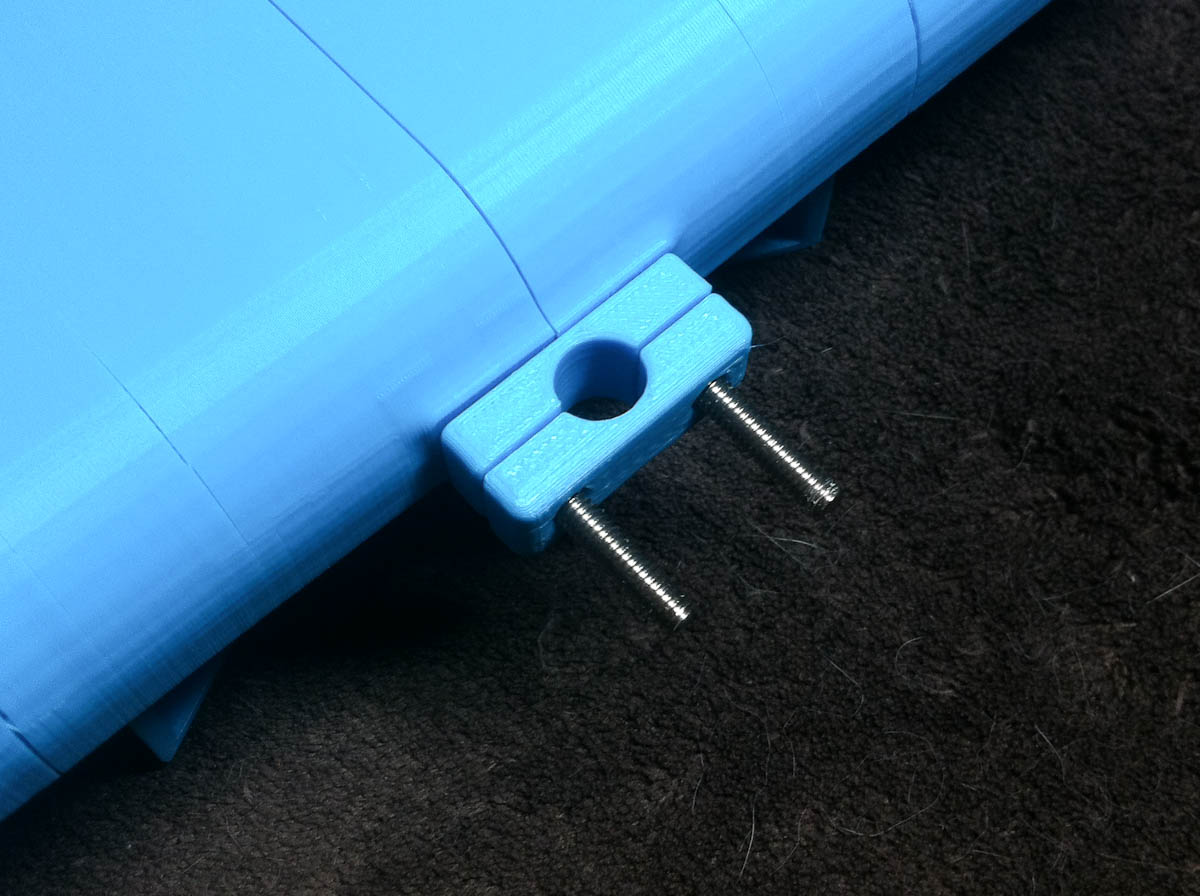
After a brief hiatus (other projects) I'm back at it... I got the tether clamp printed this week, now I just have to trim the bolts down to fit some acorn nuts.
- Printer-019_2.jpg (130.93 KiB) Viewed 65190 times
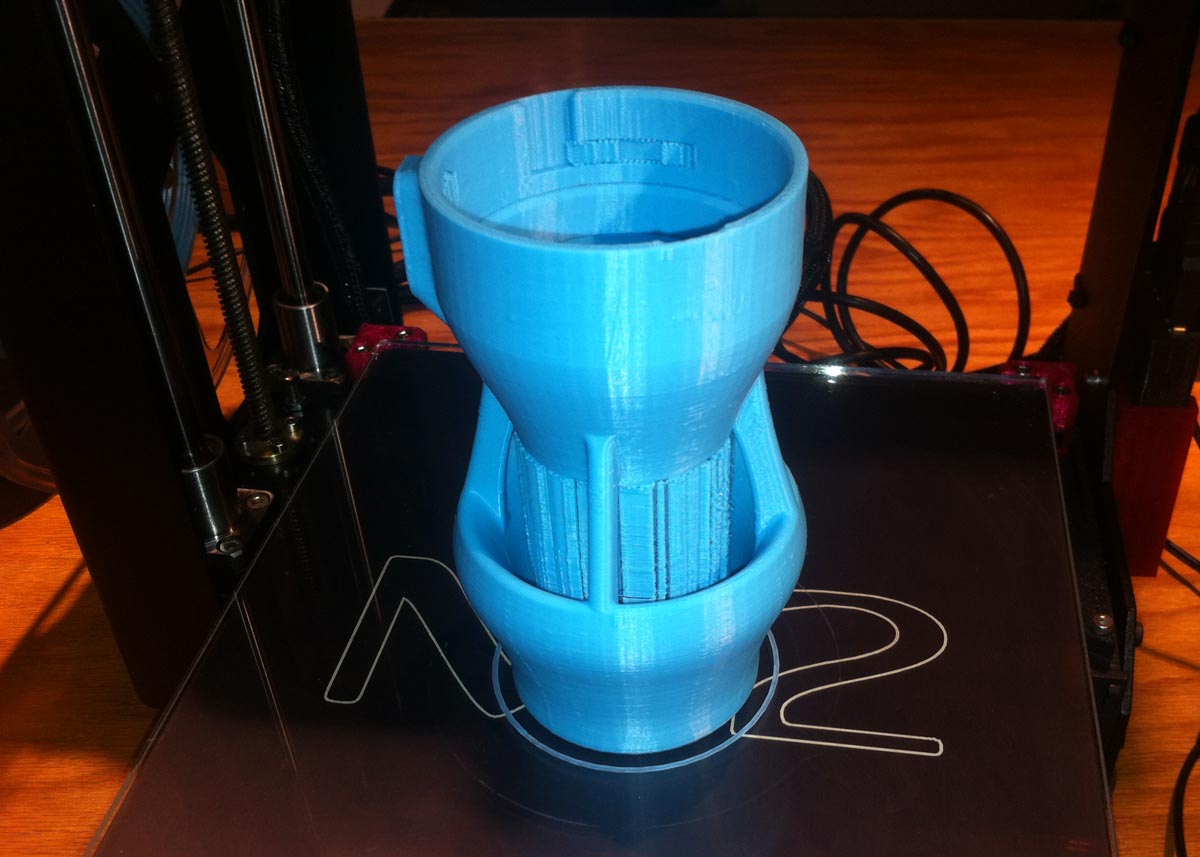
I also printed up another Kort Mount (as requested shown with the supports, I printed the supports a little to thin on this one so they look funky but it worked out fine.) after the tweaks i did (as oceanrov31 confirmed) the pump fits perfect now, no sanding required.
- Printer-020.jpg (107.99 KiB) Viewed 65190 times
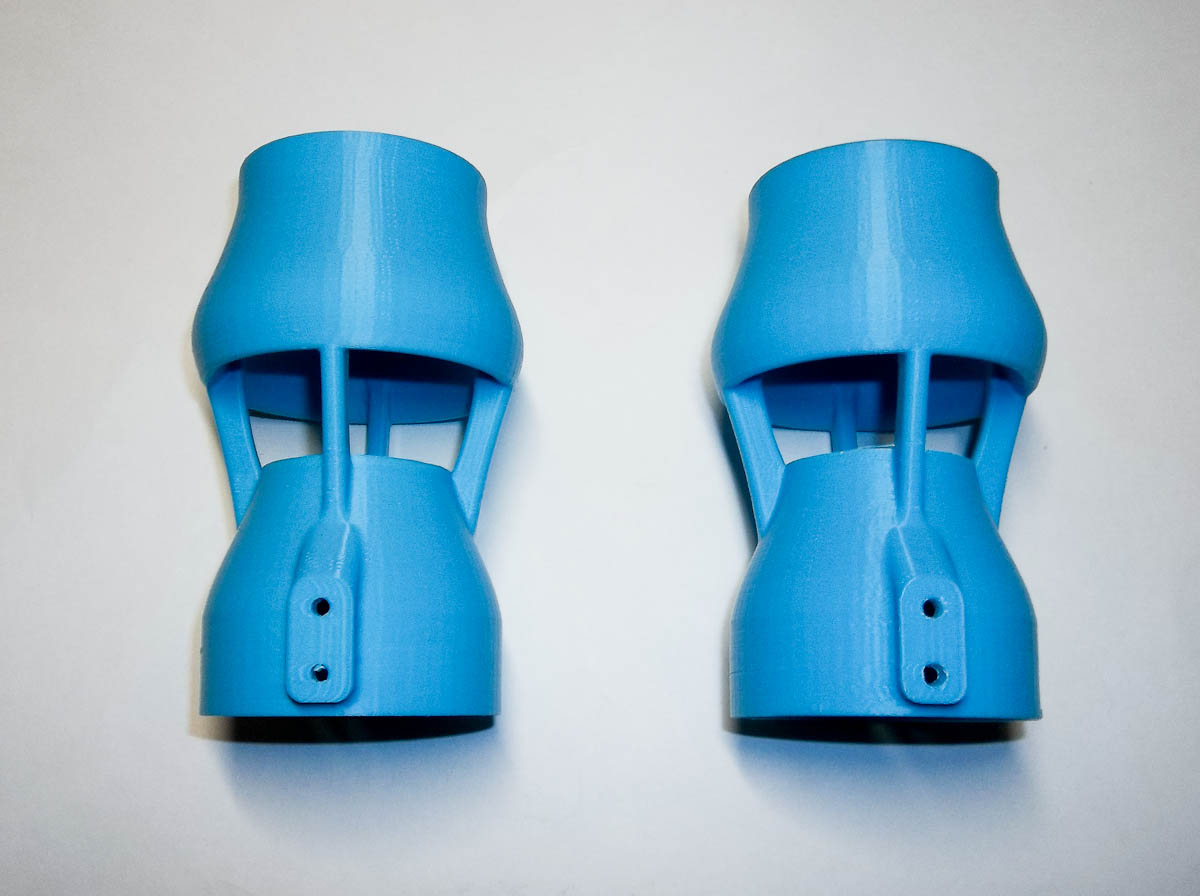
Two down one more to go.
- Printer-021.jpg (117.33 KiB) Viewed 65190 times
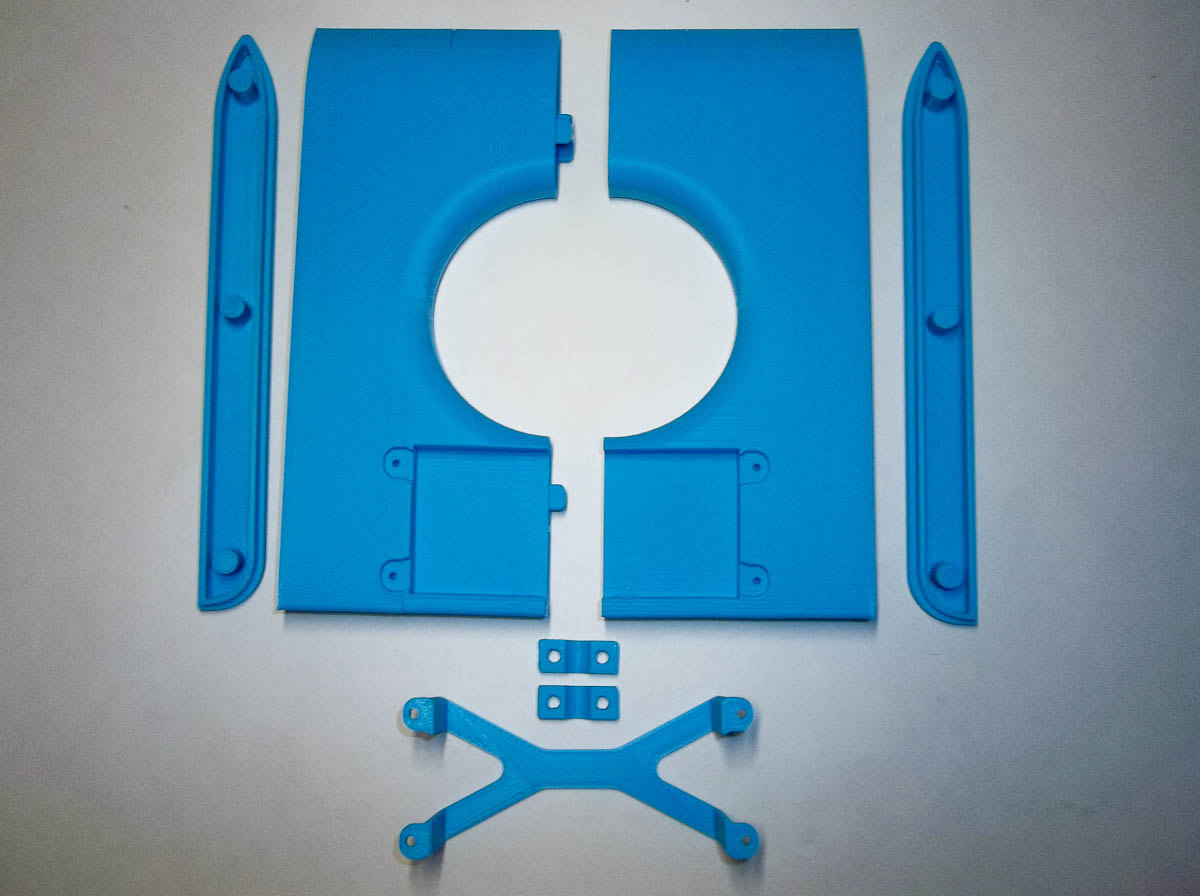
I also got the other side cap printed and everything is all set to glue together and fill with some epoxy and micro balloons. Still not sure if it's going to work but I'm optimistic as this point.
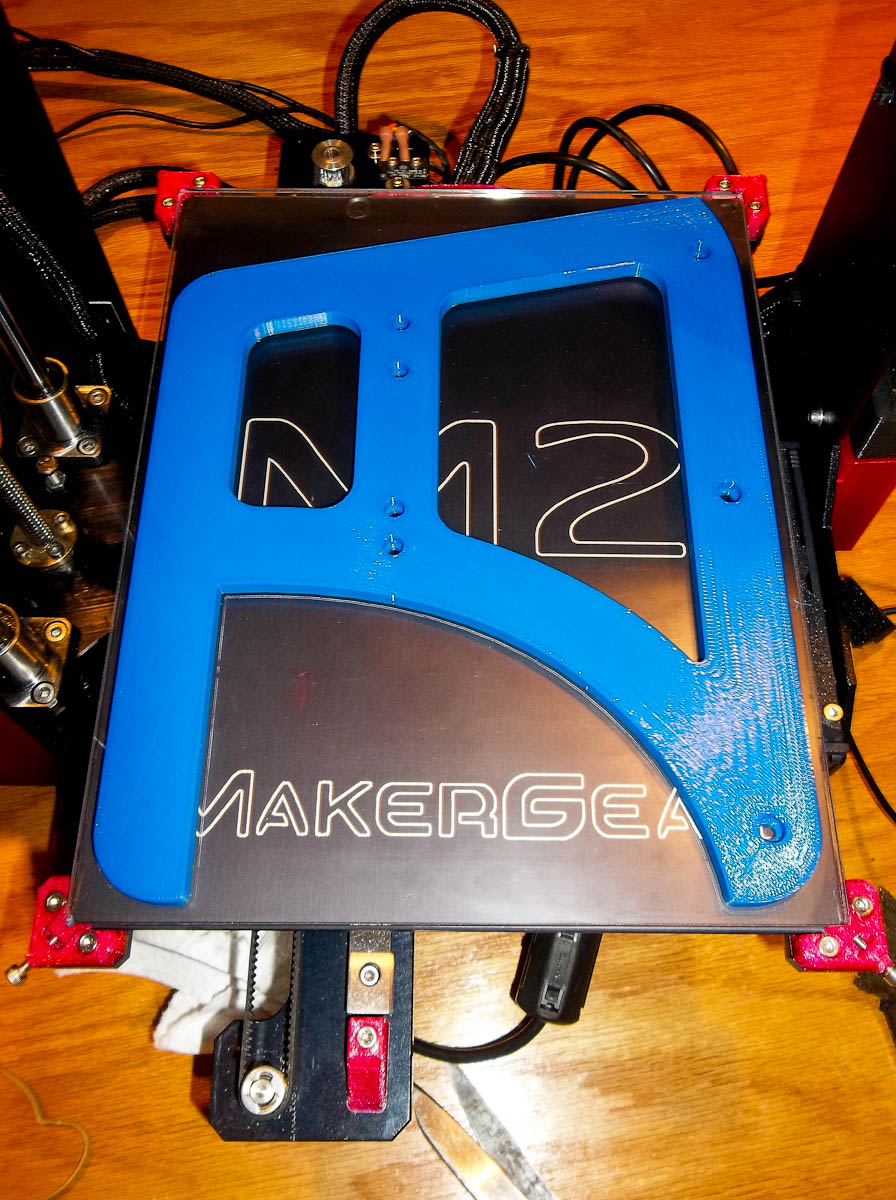
- Printer-022.jpg (243.72 KiB) Viewed 65190 times
While the design isn't complete yet I also printed up one of the side plates to test fit the thrusters and get a feel for the overall size of the Rov. I'm pushing the limits of my printer with these.
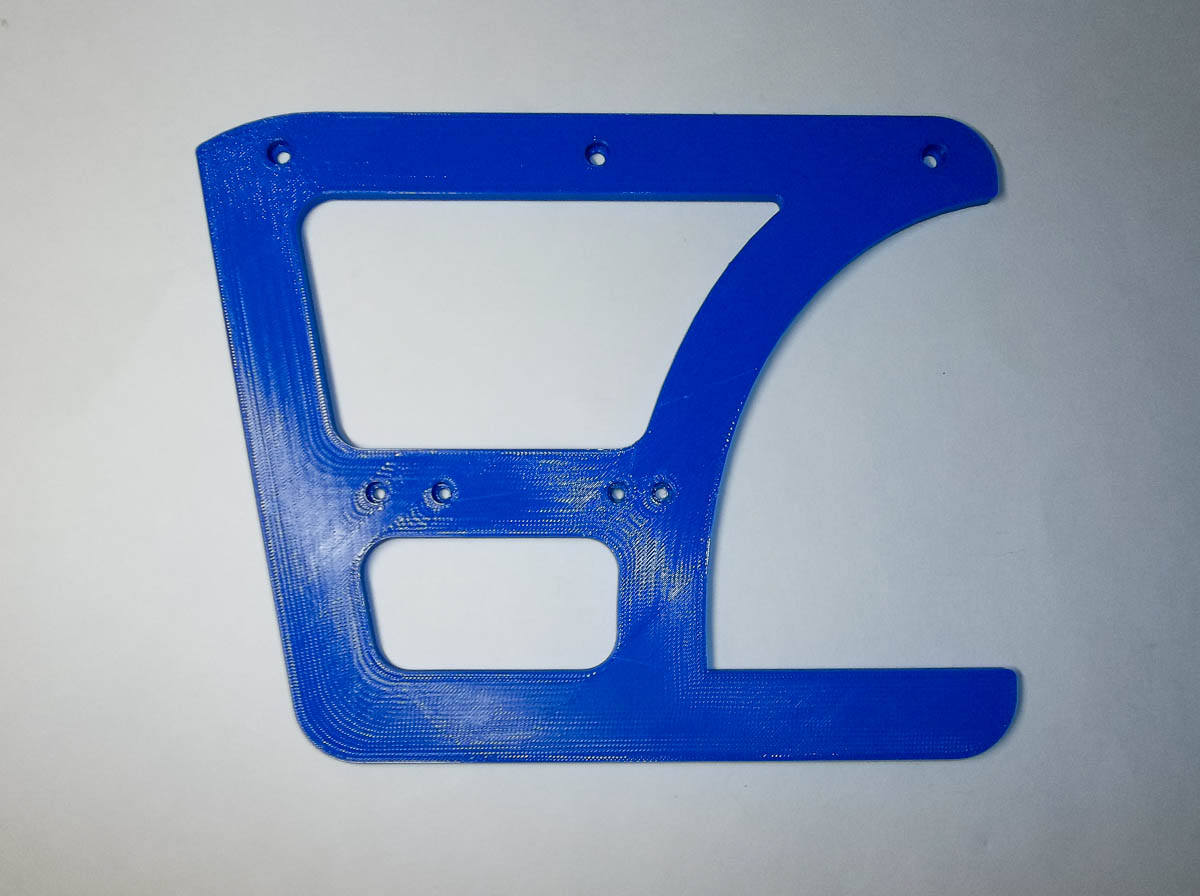
- Printer-023.jpg (125.34 KiB) Viewed 65190 times
It's not pretty but so far so good.....
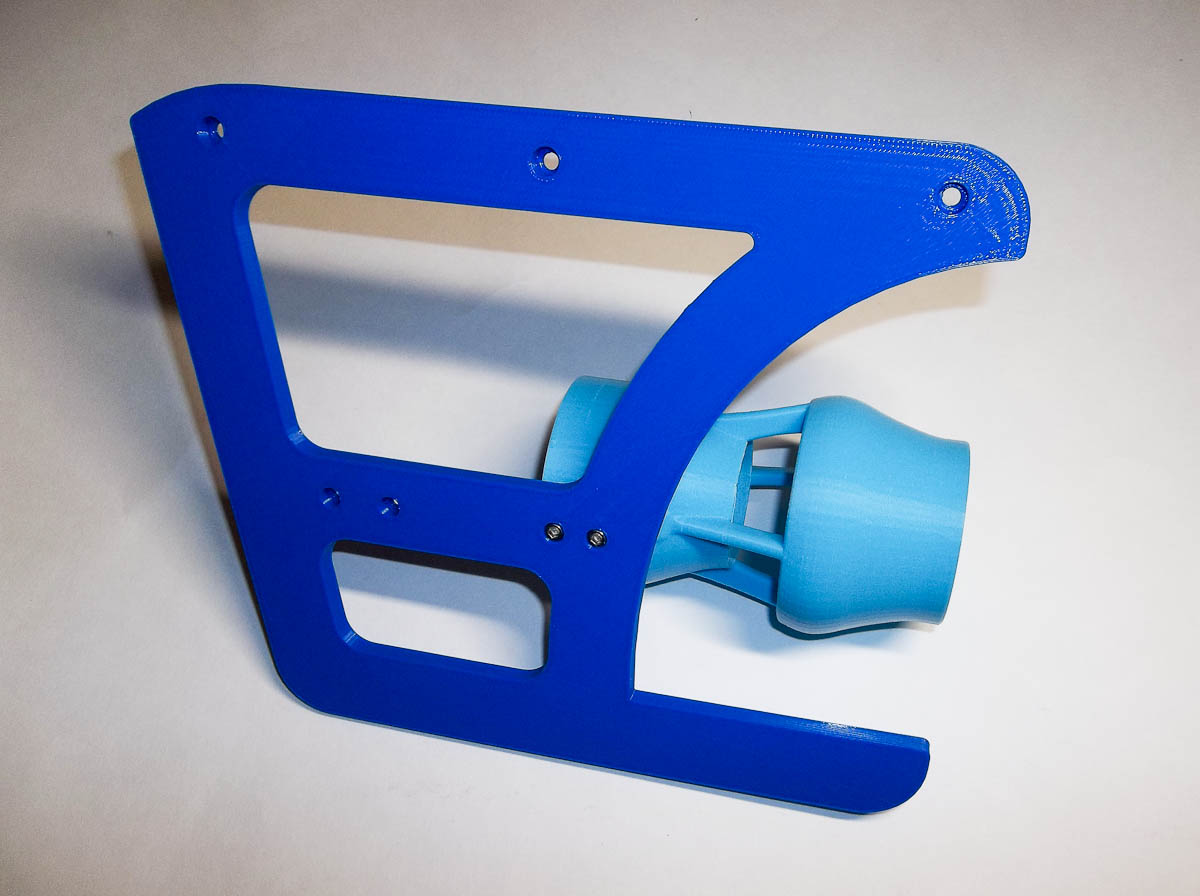
- Printer-024.jpg (116.04 KiB) Viewed 65190 times
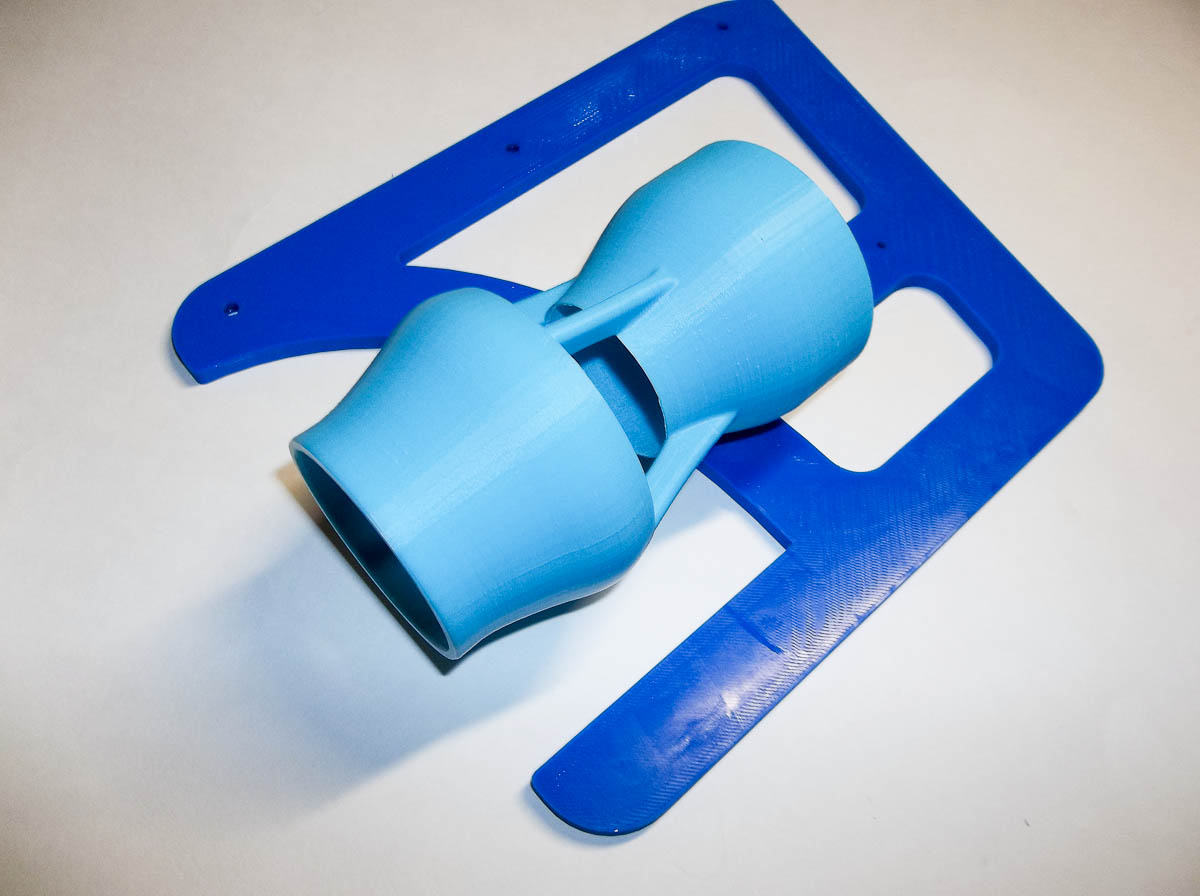
- Printer-025.jpg (114.96 KiB) Viewed 65190 times
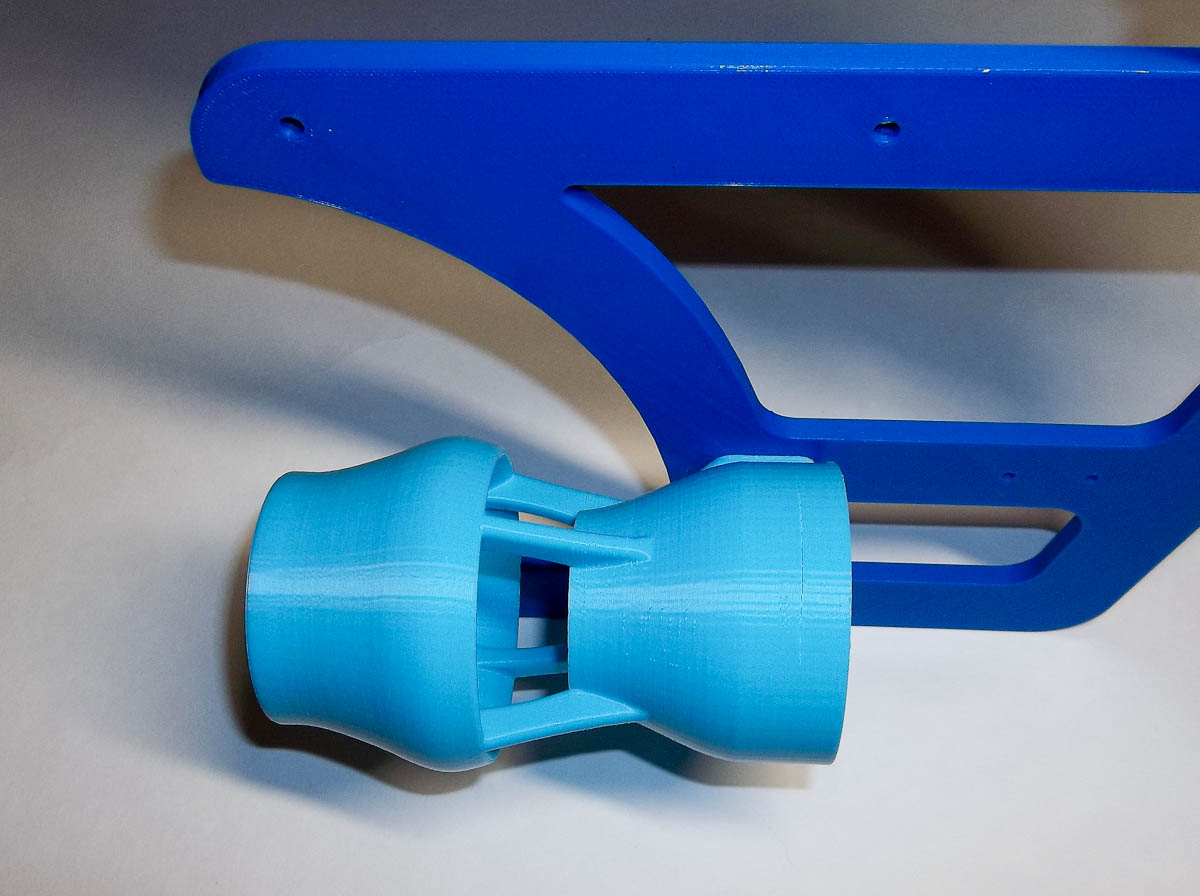
- Printer-026.jpg (119.37 KiB) Viewed 65190 times
So far everything is looking good, the Kort mounts are actually quiet sturdy when bolted to the frame.
Next I have to figure out the epoxy micro balloons mixture and go from there.....
-Steve
Re: Rov Reboot (3d Printed)
Posted: Sep 15th, 2015, 11:19 am
by Ian MacKenzie
Wow! That is amazing. I can't wait to see the finished product.
Re: Rov Reboot (3d Printed)
Posted: Sep 16th, 2015, 9:20 pm
by sthone
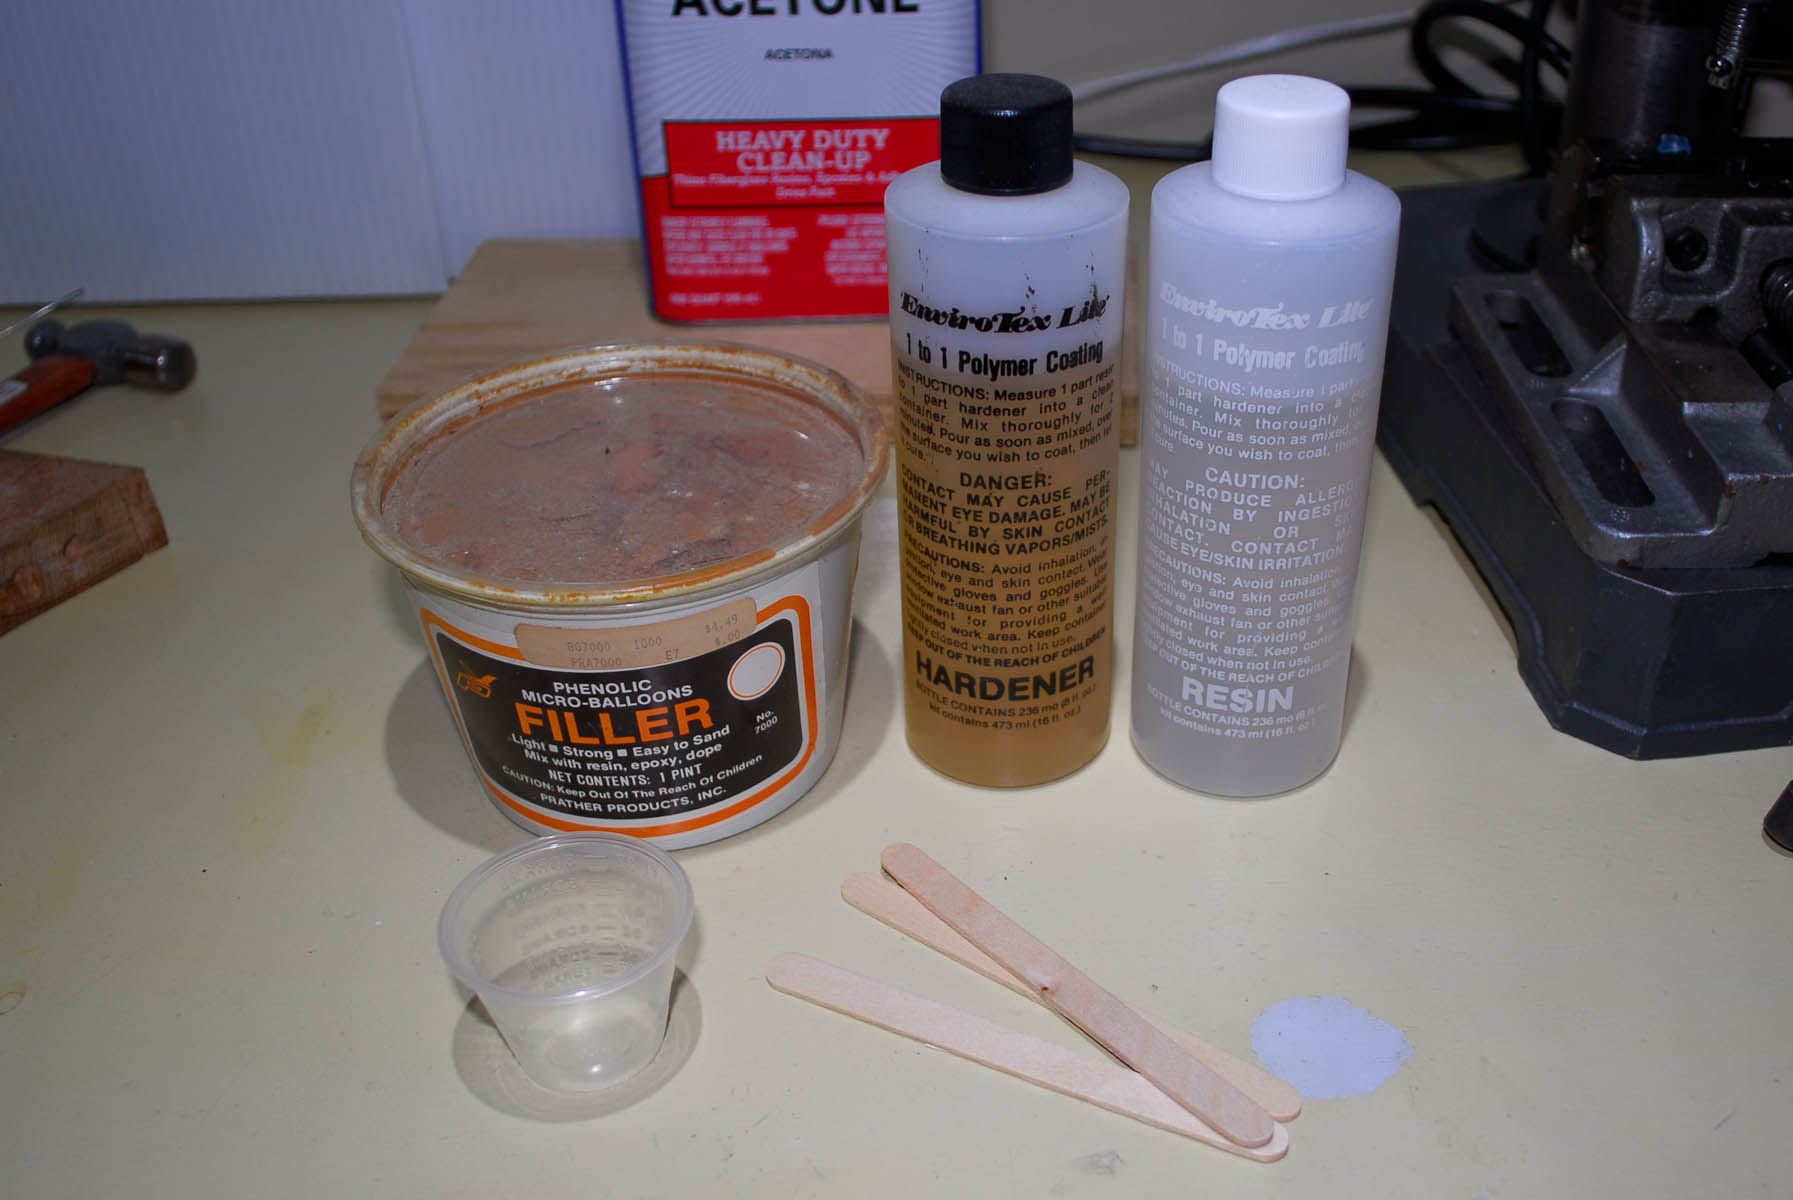
- BuoyancyFill-001.jpg (176.59 KiB) Viewed 65163 times
I'm doing a little test on the Buoyancy Fill tonight. I'm using some old micro balloons I had laying around from my R/C Days and a epoxy like polymer coating. (it's old too but so hopefully it works.)
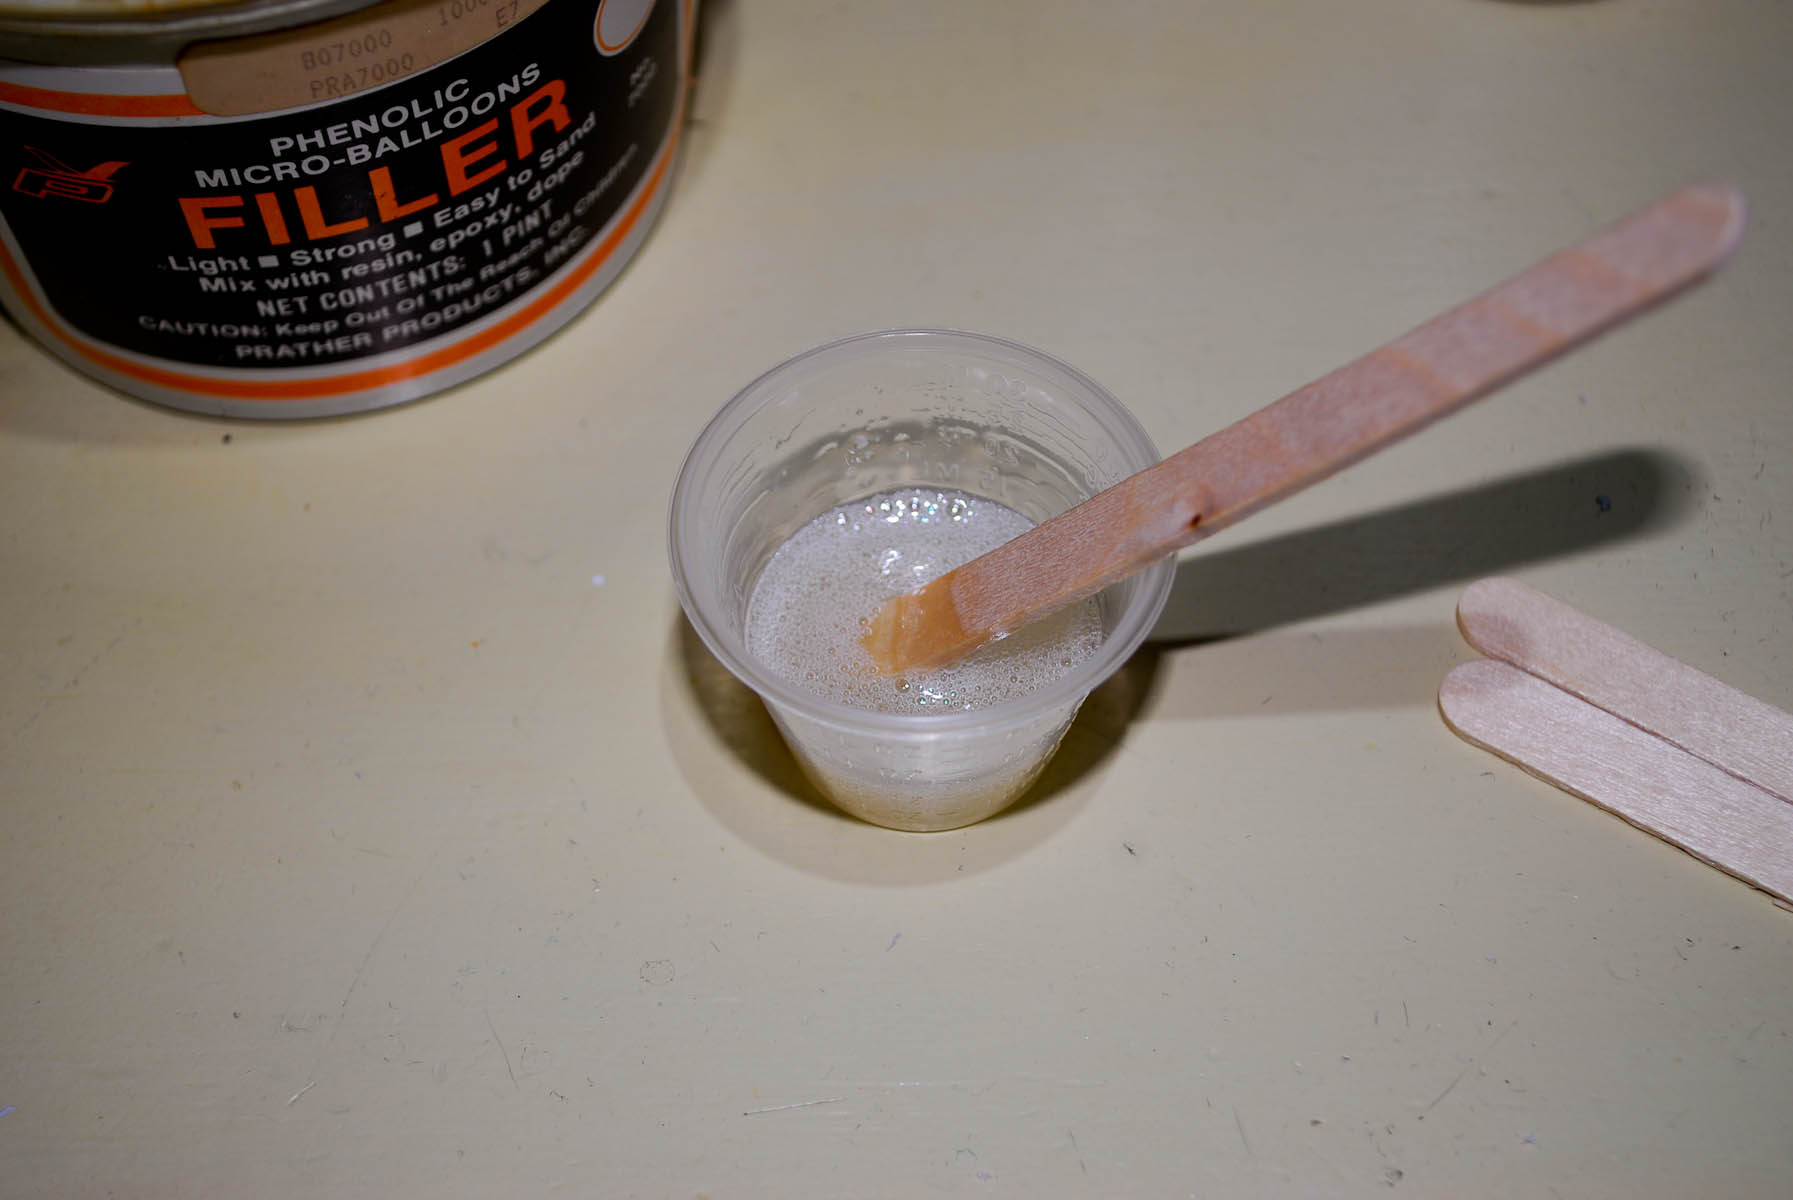
- BuoyancyFill-002.jpg (144.69 KiB) Viewed 65163 times
I mixed up about 10ml of the polymer, it has a ton of bubble in it....
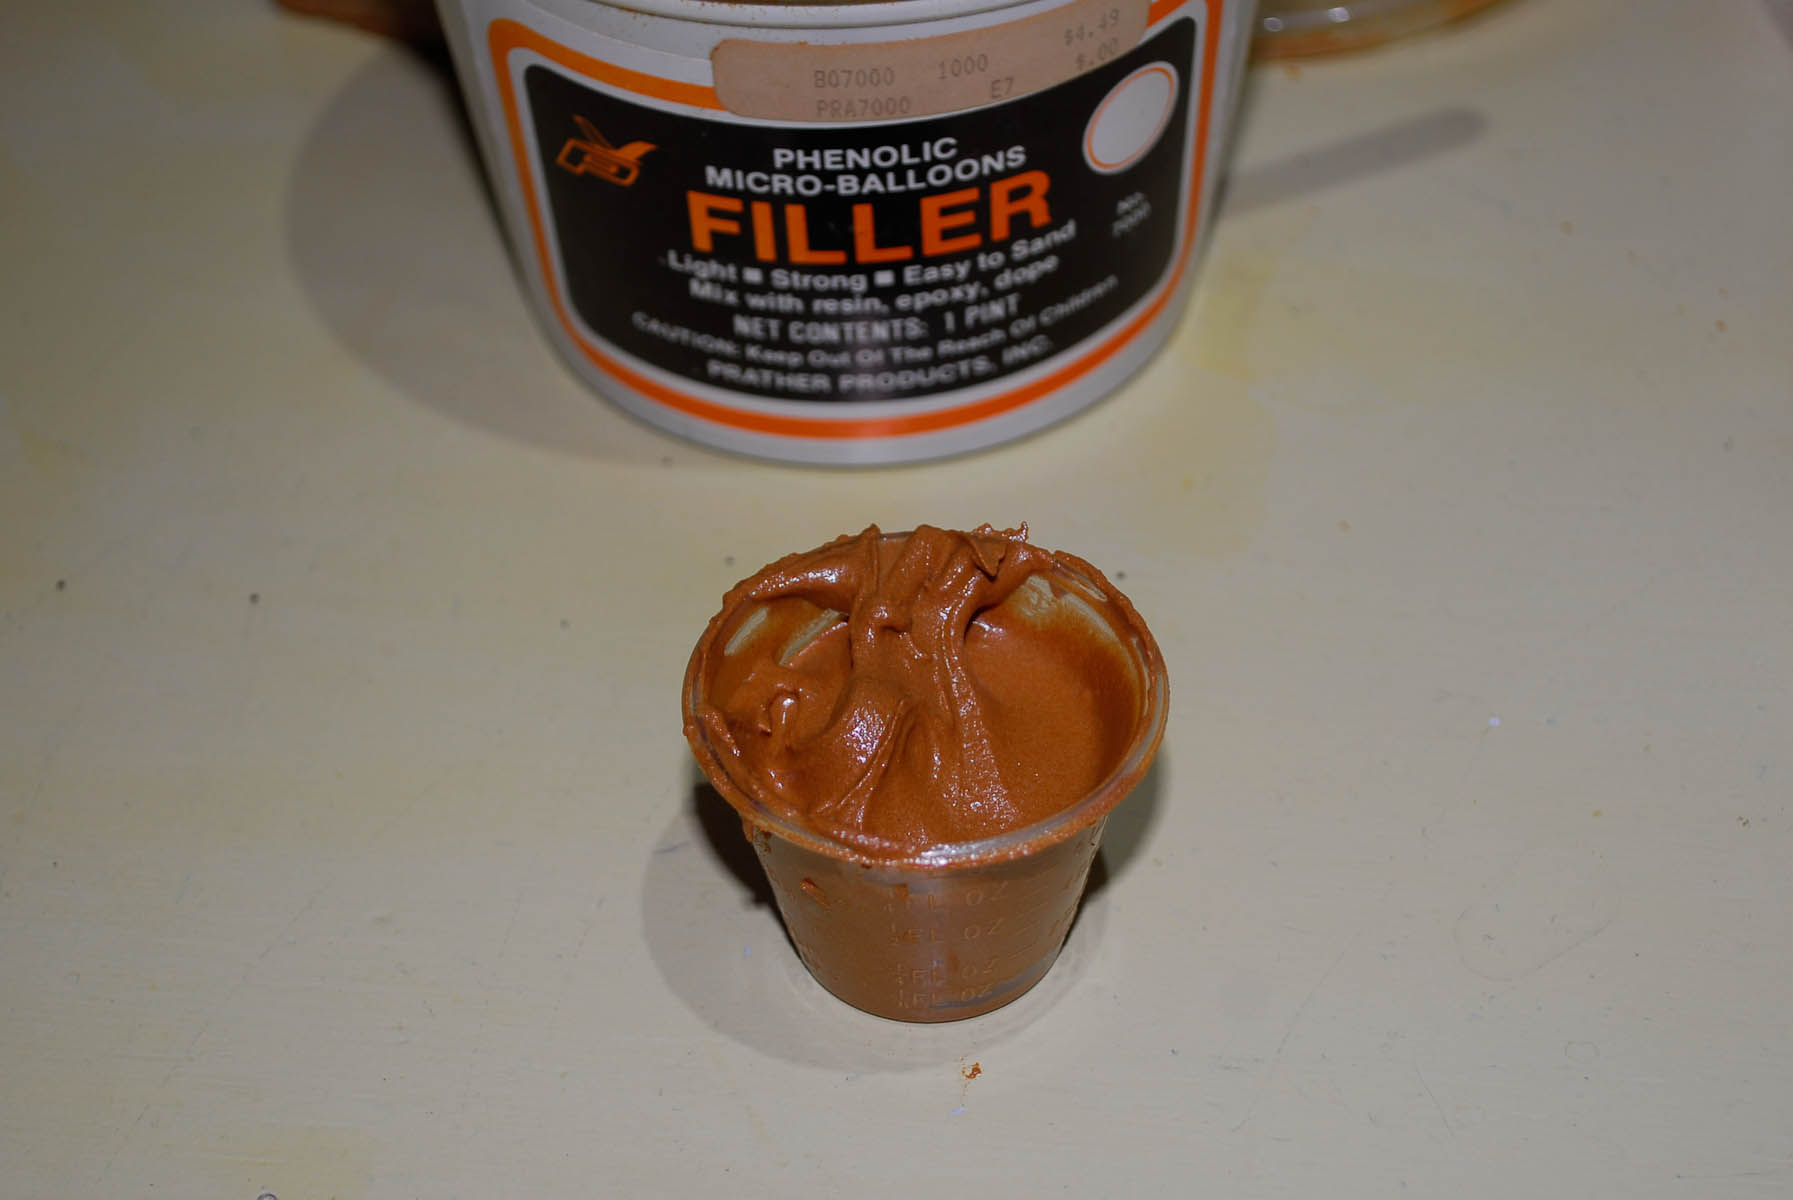
- BuoyancyFill-003.jpg (137.14 KiB) Viewed 65163 times
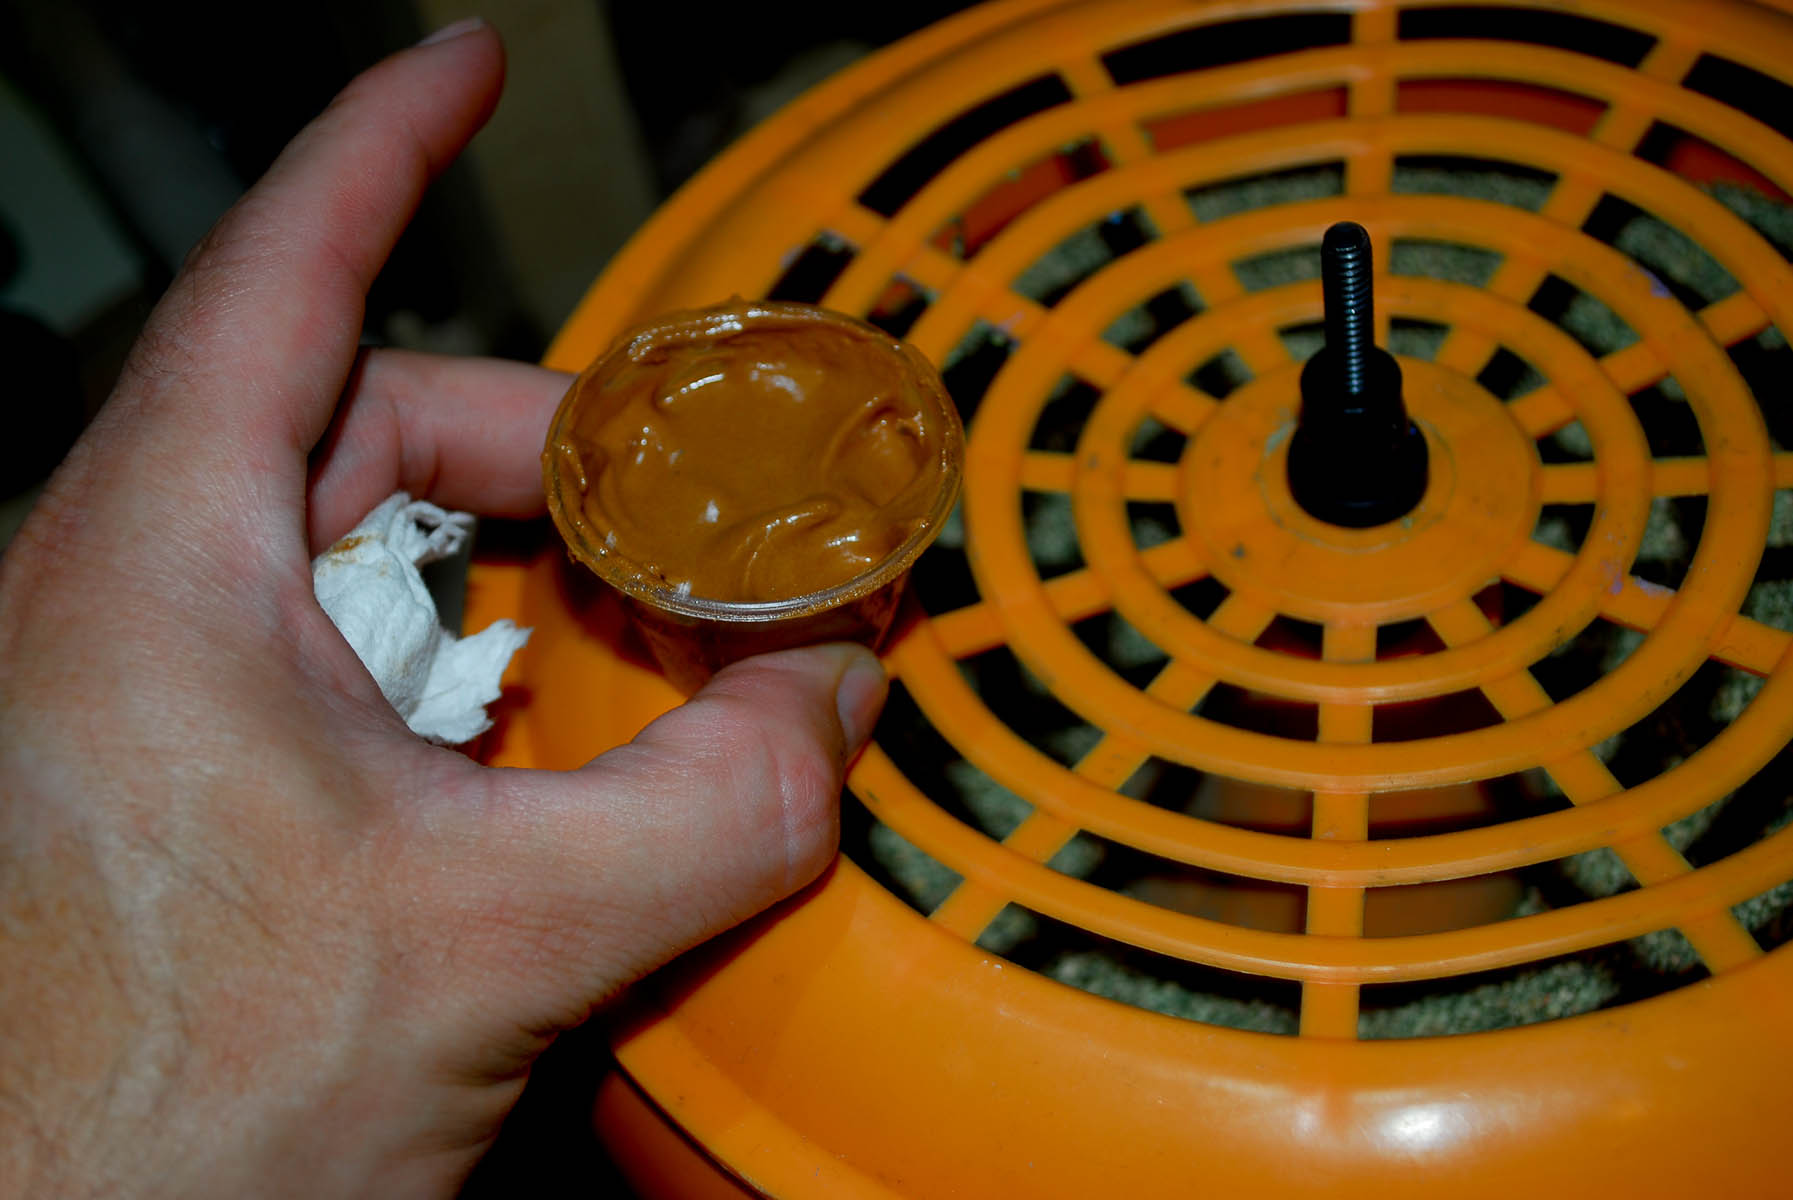
I have no idea on ratios here so I just keep adding the micro balloons until its almost like peanut butter. I'm going to need it to flow into any gaps and voids inside the float housing so this might be too thick.
- BuoyancyFill-004.jpg (197.57 KiB) Viewed 65163 times
I'm using my vibratory case cleaner to try to shake out some of the bubbles in the polymer.
- BuoyancyFill-005.jpg (270.15 KiB) Viewed 65163 times
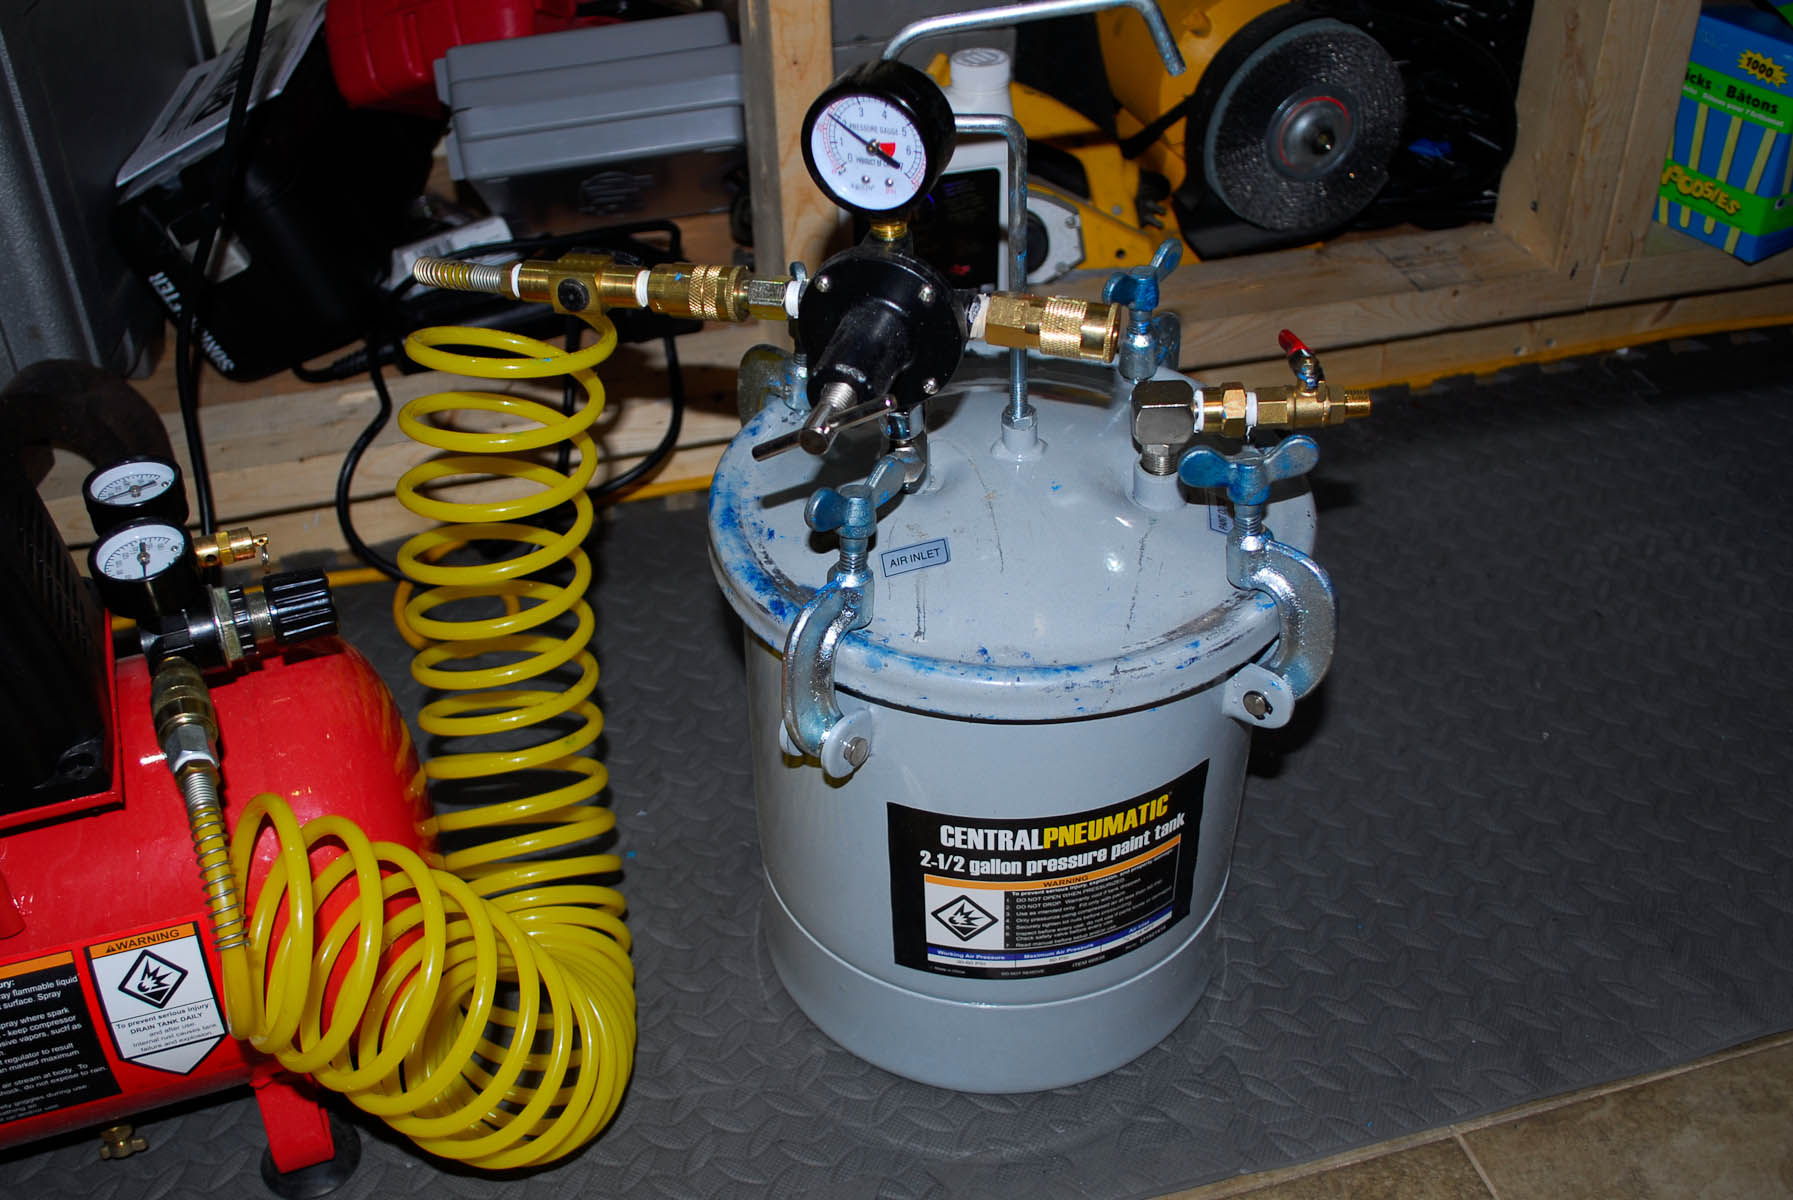
I decided to stick it in my pressure pot at about 40psi to try and eliminate any bubbles or voids that might be left.
- BuoyancyFill-006.jpg (159.1 KiB) Viewed 65143 times
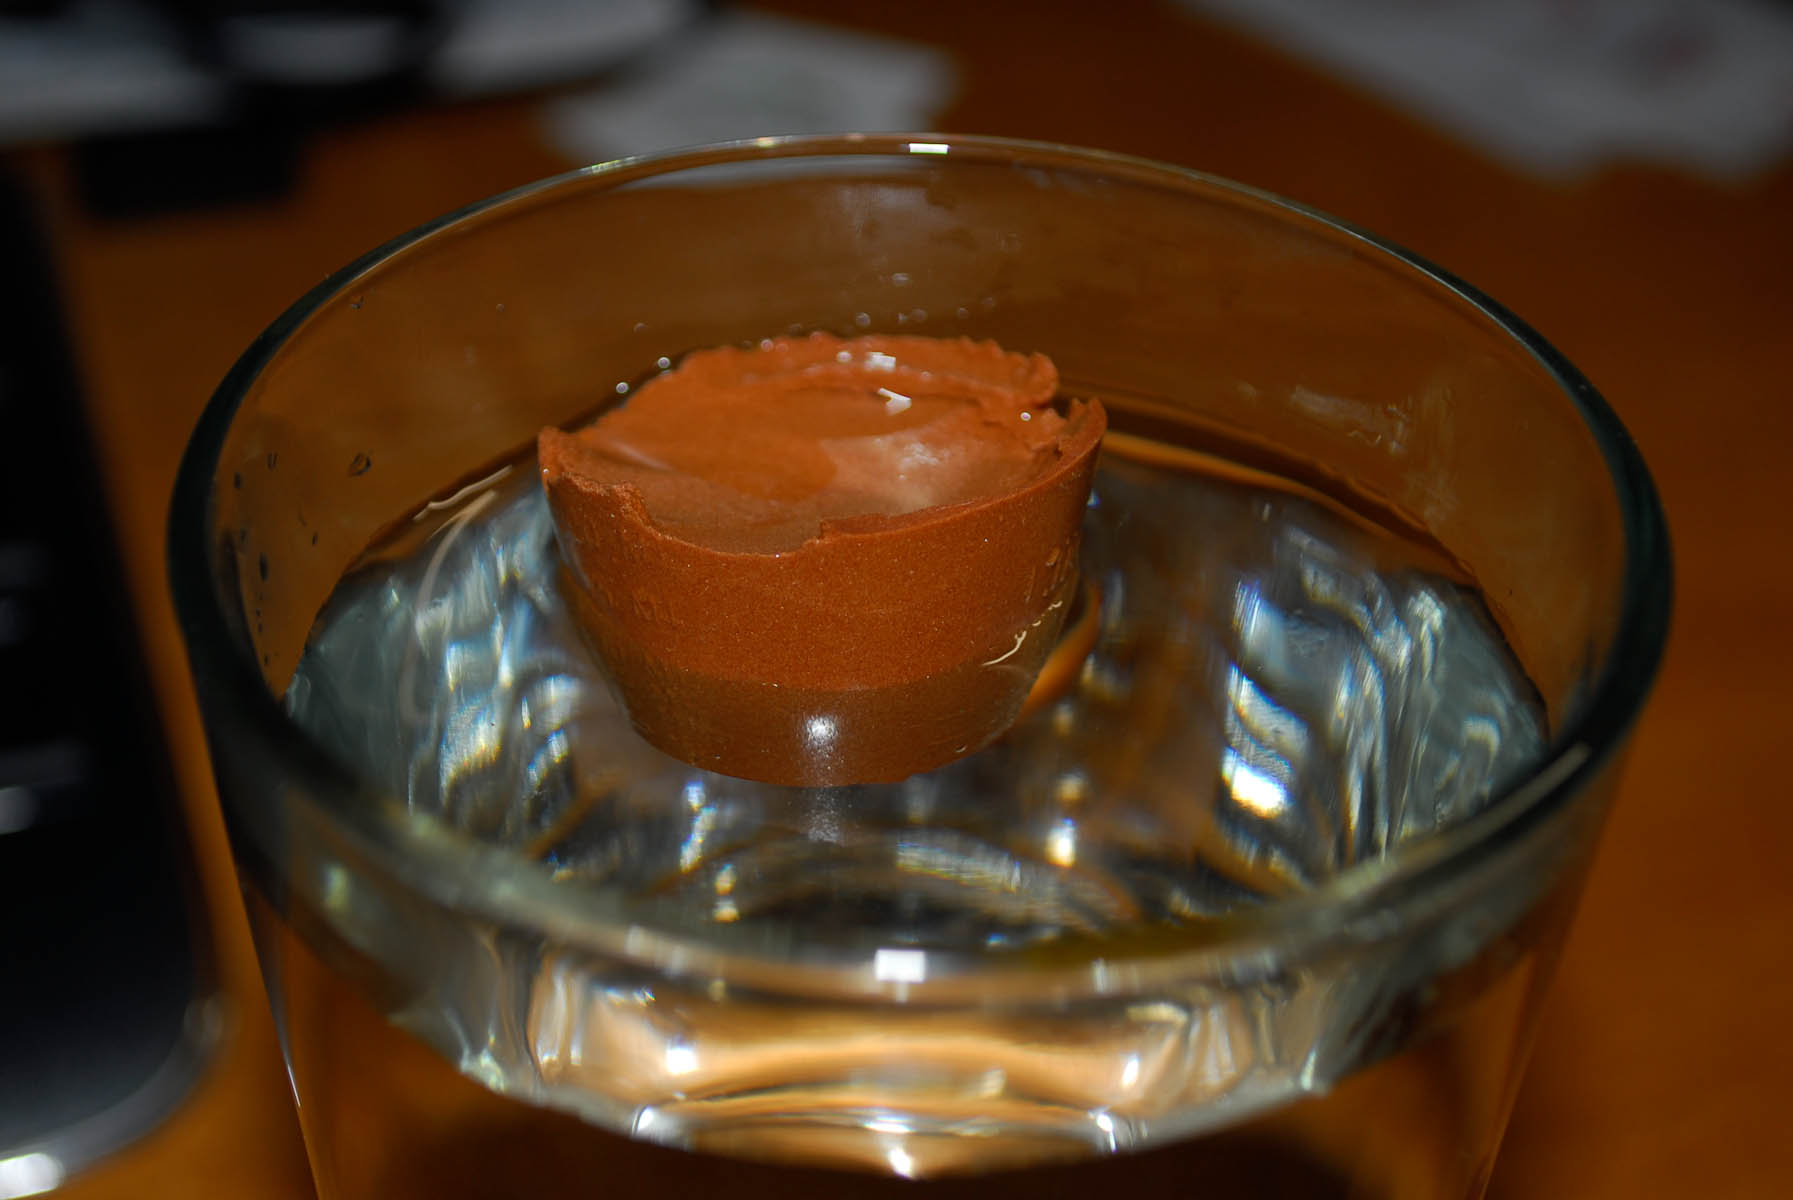
Well it floats that's a good sign. It did have some voids in it still but the piece came out nice and hard which means it can be sanded to shape if need be. I am having some doubts again that I didn't make my flotation pod large enough so it has enough buoyancy but I'll cross that bridge when I get to it.
-Steve
Re: Rov Reboot (3d Printed)
Posted: Sep 19th, 2015, 7:06 pm
by sthone
- Printer-027.jpg (71.2 KiB) Viewed 65143 times
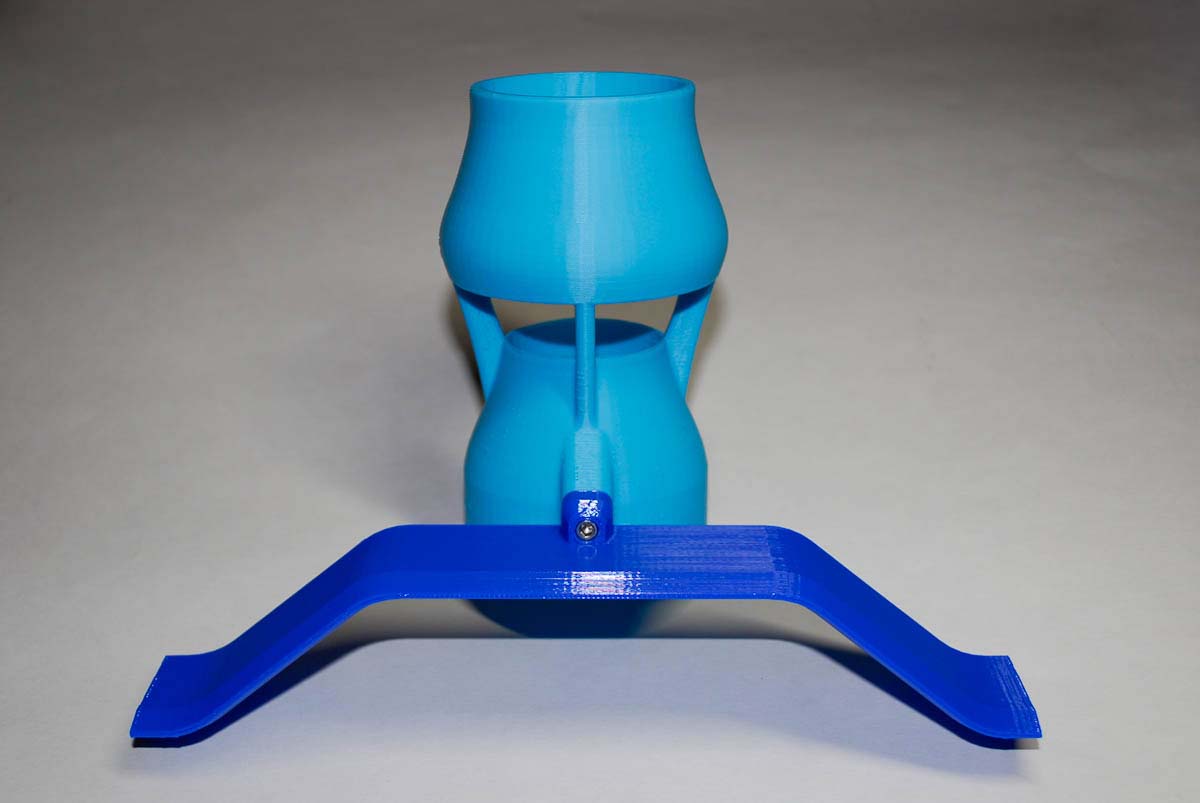
I also printed the cross motor brace and another Kort Mount. I printed this one at .30 layer height and while it came out ok it will need some sanding to get the pump to fit in it without being too tight.
The motor brace design will probably change once I figure out how I am going to mount the camera but this is good enough for a mock up.
-Steve
Re: Rov Reboot (3d Printed)
Posted: Sep 20th, 2015, 11:41 am
by sthone


