Page 2 of 10
Re: Rov Reboot (3d Printed)
Posted: Jul 20th, 2015, 10:07 am
by TigerShark
Looks great! I was going to make nice locking housings like that for the pump motors before I switched to brushless. You could do the acetone vapor treatment to smooth and harden them. It works pretty well. Your design would be good for STEM students to build too that have access to 3D printers.
Re: Rov Reboot (3d Printed)
Posted: Jul 21st, 2015, 8:20 am
by sthone
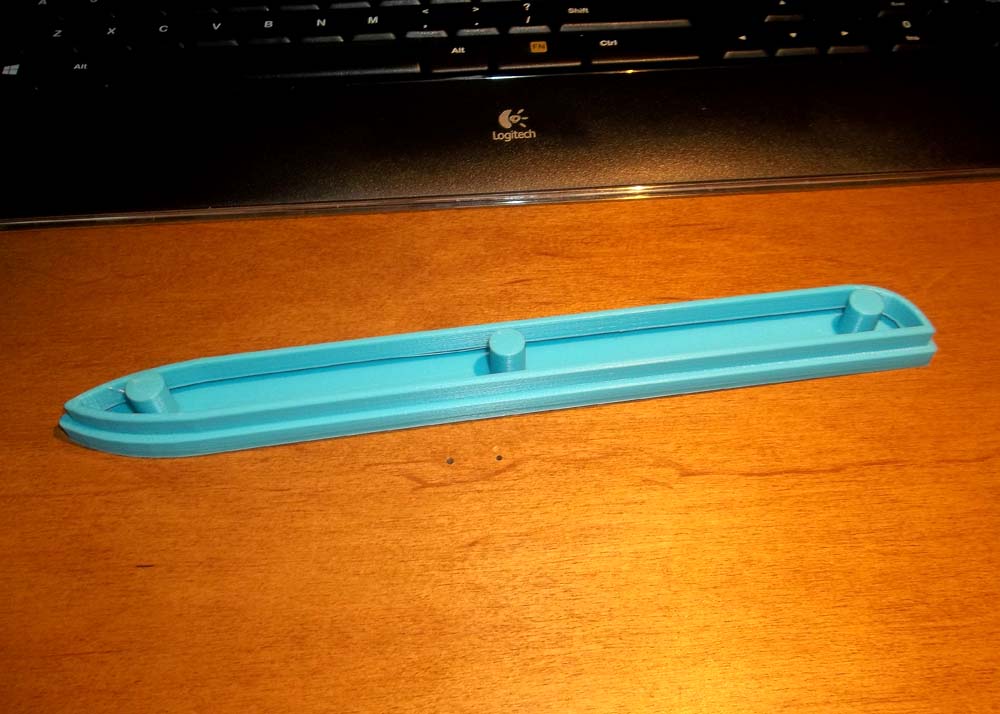
- Printer6.jpg (106.22 KiB) Viewed 51444 times
Another small step... printed one of the float end caps today to get a feel for the actual size.
-Steve

Re: Rov Reboot (3d Printed)
Posted: Jul 21st, 2015, 9:49 am
by oceanrov31
hi Steve, progress looking good!
i had a request if you would be able to post the design .stl file for the duct/mount you created. I have a demo for my rov at a local marine science center coming up and would like to include your 3d printed duct/mount as example of what can be done with 3d printing. I have a 750 gph johnson bilge pump cartridge and 50mm prop on the way, could you also say what prop mounting hardware you used and your source. BTW I print using a Orion delta with T-Glase, any pointers for printing your duct/mount would be appreciated.
Thanks much
Crans
Re: Rov Reboot (3d Printed)
Posted: Jul 21st, 2015, 9:48 pm
by sthone

- Design009.jpg (44.74 KiB) Viewed 51422 times
Slowly making progress, this is the simple Bracket that will hold the Relay box to the Main float.

- Design010.jpg (53.24 KiB) Viewed 51422 times
I designed some recesses into the float so the mounts of the bracket will sit flush when screwed to the float. This will probably be a PITA to get it to fit right but I like the design challenge.

- Design011.jpg (75.85 KiB) Viewed 51422 times
This is more or less what it should look like with the relay box mounted to the float.
oceanrov31, give me a day or so to tweak some things on the Kort Nozzle Mount and I will post the stl. The adapters I use are custom machined, the specs are
Shown Here.
-Steve
Re: Rov Reboot (3d Printed)
Posted: Jul 22nd, 2015, 7:04 am
by sthone
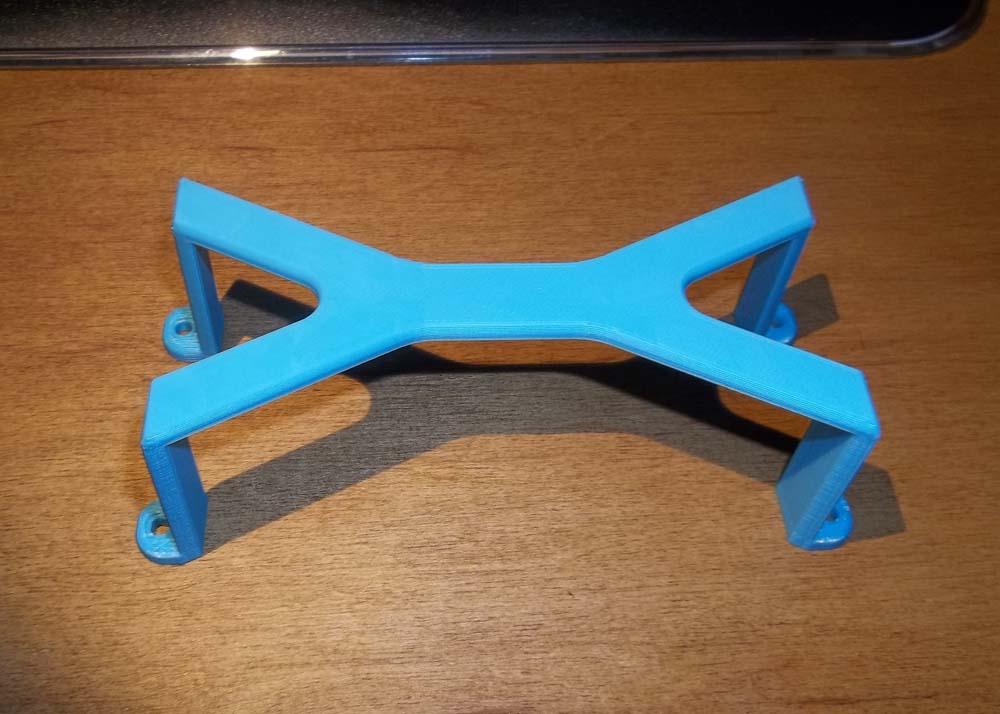
- Printer7.jpg (107.15 KiB) Viewed 51413 times
One more piece of the puzzle.
-Steve
Re: Rov Reboot (3d Printed)
Posted: Jul 22nd, 2015, 7:31 am
by olegodo
Looking good!
Exiting project.

Re: Rov Reboot (3d Printed)
Posted: Jul 23rd, 2015, 7:10 am
by sthone
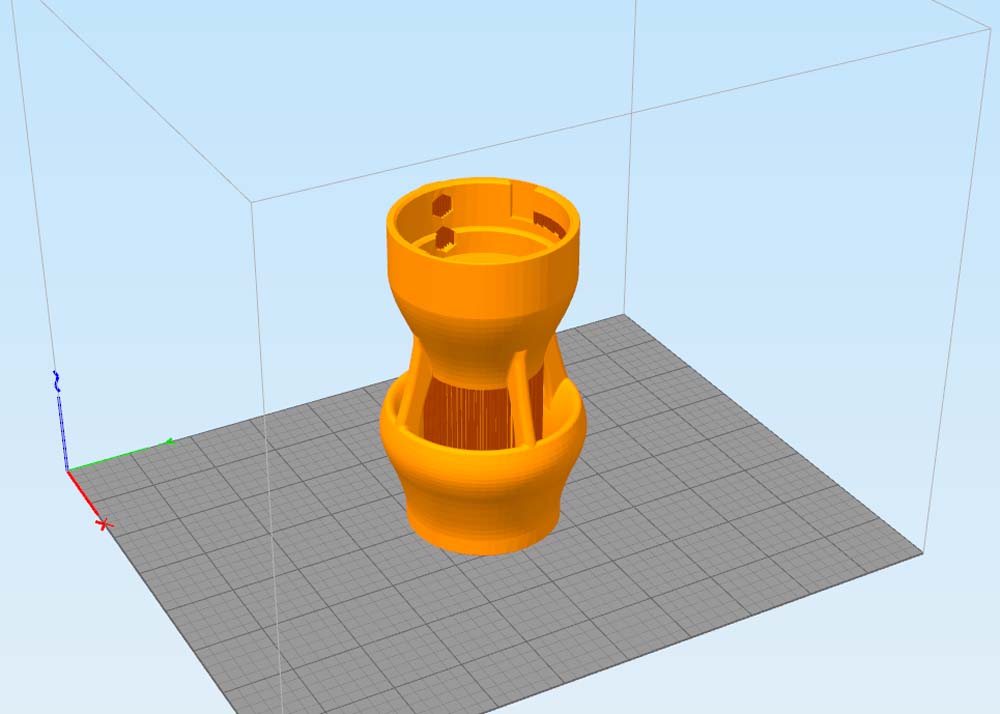
- BilgePumpThrusterKortMount2.jpg (66.88 KiB) Viewed 51385 times
Here is the .stl of the Bilge Pump Thruster Kort Nozzle Mount. I printed it as shown above, printing in this orientation uses minimal supports, shown as dark orange in the picture.
Some fitment may still be required but it should be close. If it's a tight fit do not force the pump into the mount or the thin side walls may crack a little sanding with 80 grit sand paper is all it might need. Uses 6/32" Nuts and bolts for mounting.
I printed mine in ABS using Elmer's purple glue stick for bed adhesion.
Settings
.20mm layer height
80% Infill
3 Top and Bottom Solid Layers
2 Outline/Perimeter Shells
(need to know anything else just ask)
Let me know how it comes out for you.
-Steve
Re: Rov Reboot (3d Printed)
Posted: Jul 23rd, 2015, 11:02 am
by Ian MacKenzie
Next time you print one, can you post a picture of it fresh off the printer. i'd like to see the supports, how it looks before you clean it up.
Re: Rov Reboot (3d Printed)
Posted: Jul 23rd, 2015, 11:53 am
by oceanrov31
thanks sthone
will print this evening, though the first one will probably be will lower infill since ive got to be gone all day tomorrow and i need it for this weekend.
I print slower with t-glase to avoid glitches so it takes longer. Thanks again for the file

, will def post pic.
crans
Re: Rov Reboot (3d Printed)
Posted: Jul 23rd, 2015, 8:05 pm
by sthone
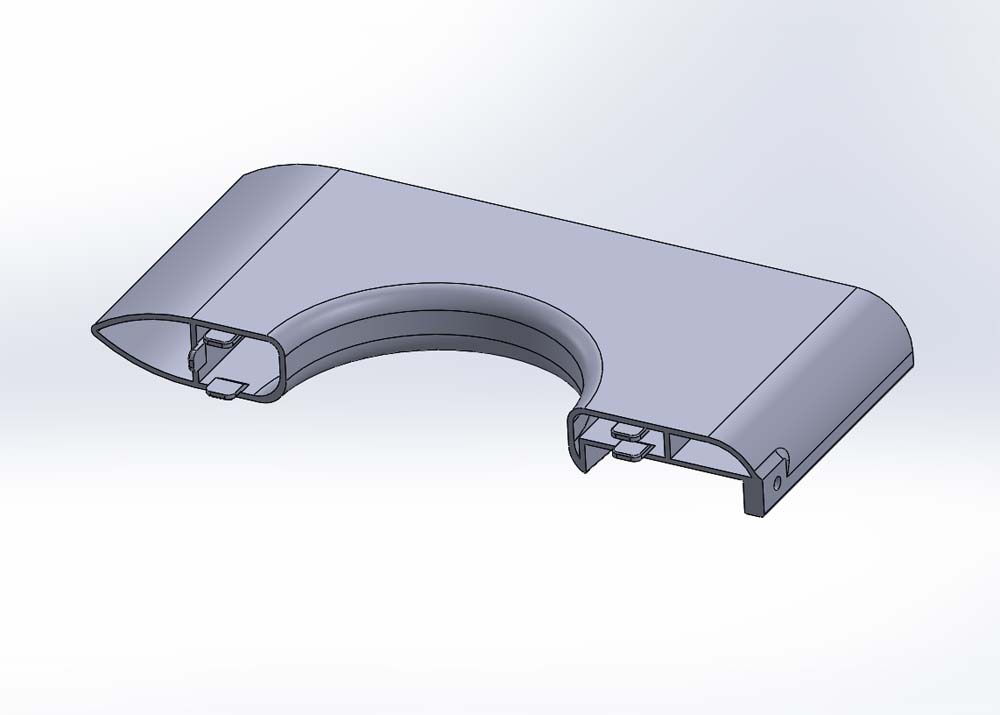
- Design012.jpg (49.42 KiB) Viewed 51364 times
I made some more design changes on the float today. I'm going to try and print it in two halves and then join them together later. This will probably lead to more problems later on but I just don't have a block of 24 hours I can be home to babysit printing the whole thing at once so I'm going to see what happens. Above is the right side of the float, I chopped it in half and added some alignment tabs to aid it gluing it together later on.

- Design013.jpg (68.44 KiB) Viewed 51364 times
This is a sectioned view of how the two halve "should" go together with the alignment tabs once printed.

- Design014.jpg (65.17 KiB) Viewed 51364 times
This is another section view this time in the slicing program showing the support material inside the float half. This half is going to take anywhere from 8-10 hours to print so we will see what happens come tomorrow morning.
-Steve