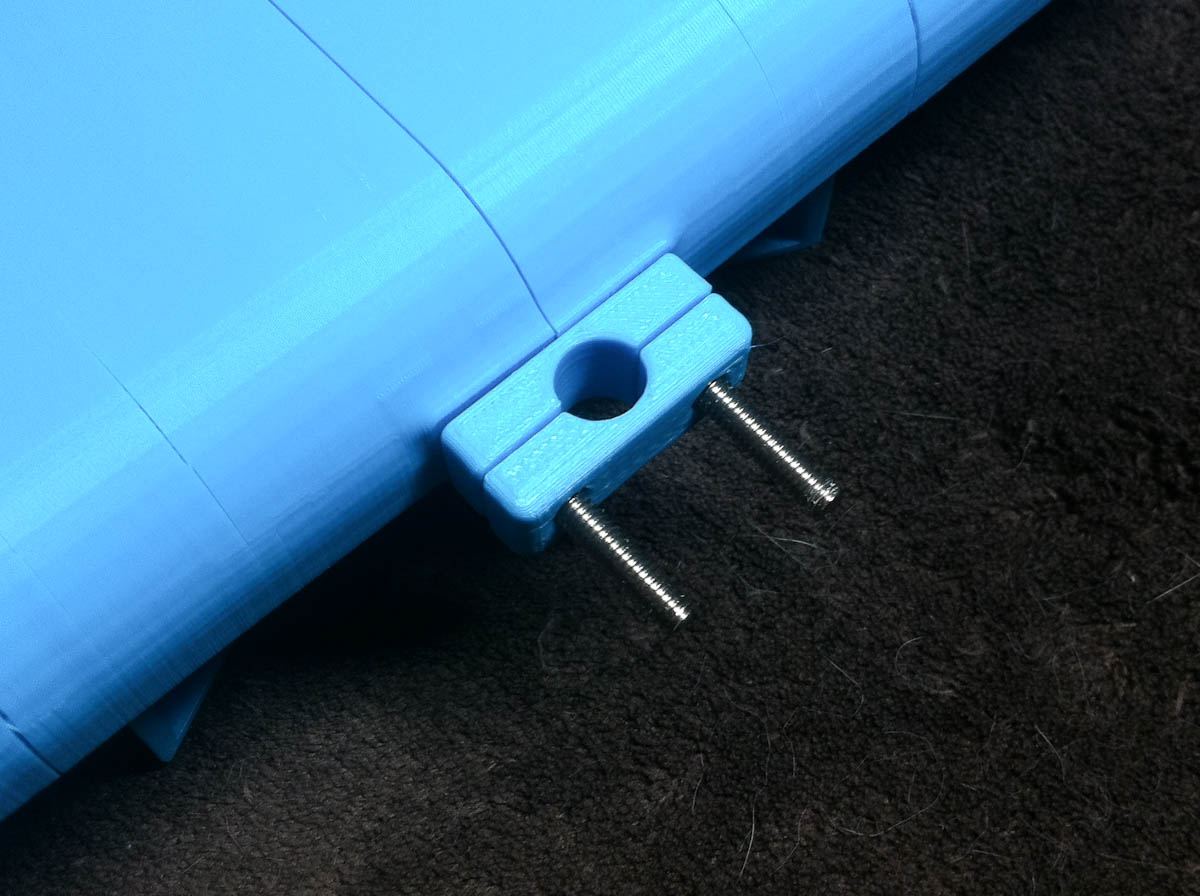
- Printer-019.jpg (145.7 KiB) Viewed 51282 times
After a brief hiatus (other projects) I'm back at it... I got the tether clamp printed this week, now I just have to trim the bolts down to fit some acorn nuts.
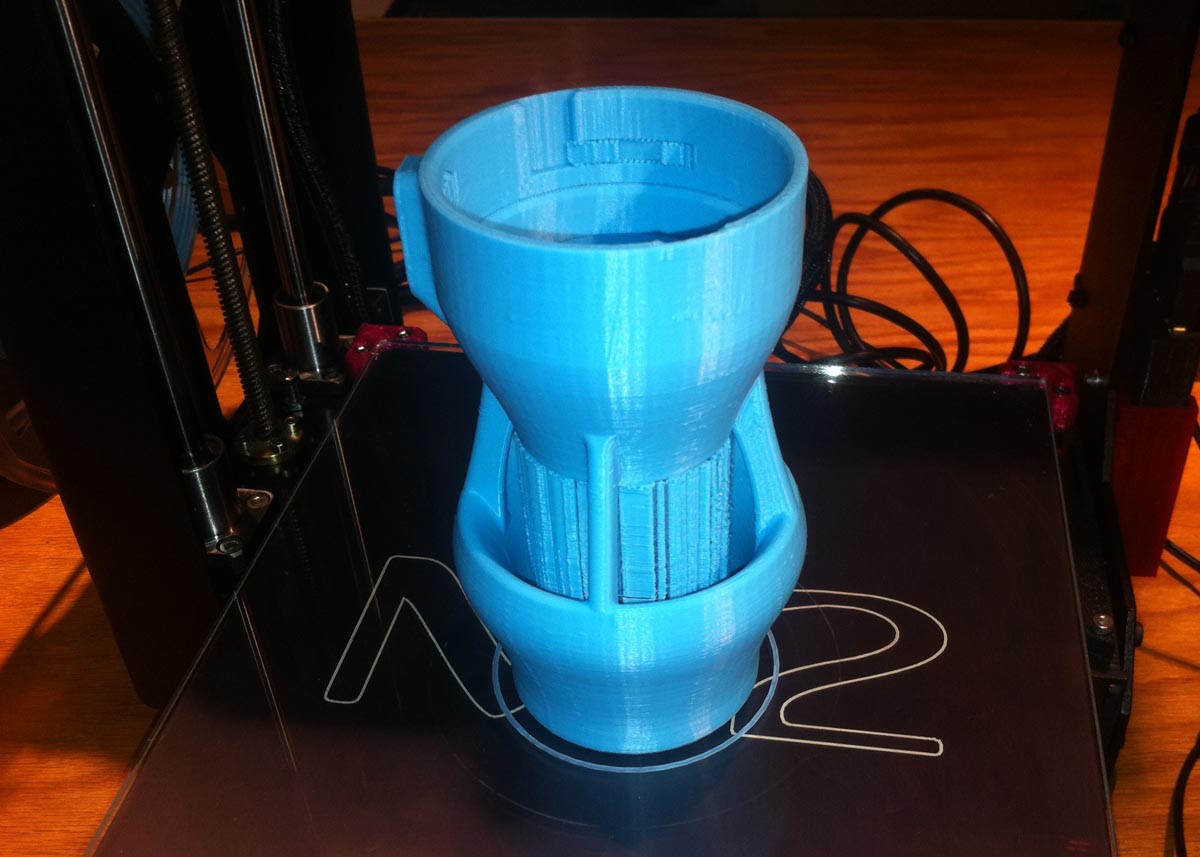
- Printer-019_2.jpg (130.93 KiB) Viewed 51282 times
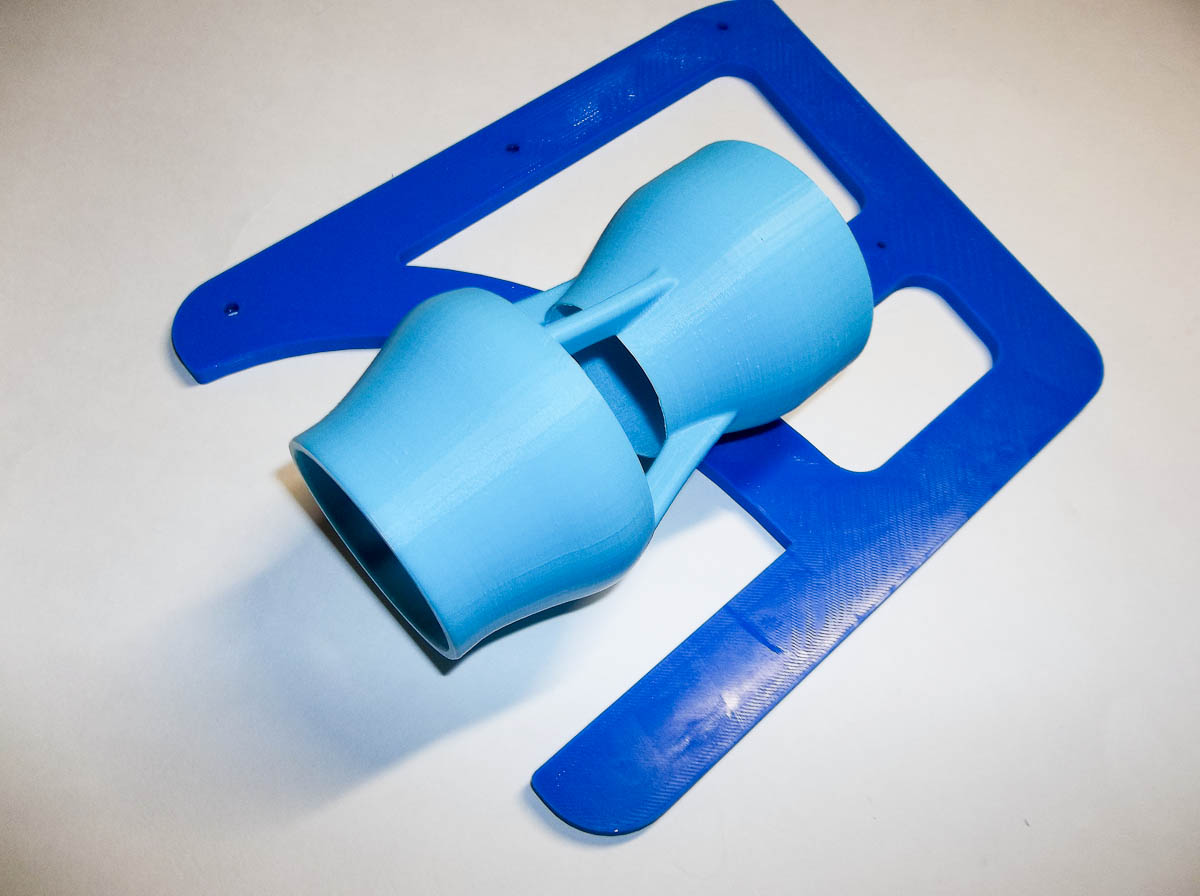
I also printed up another Kort Mount (as requested shown with the supports, I printed the supports a little to thin on this one so they look funky but it worked out fine.) after the tweaks i did (as oceanrov31 confirmed) the pump fits perfect now, no sanding required.
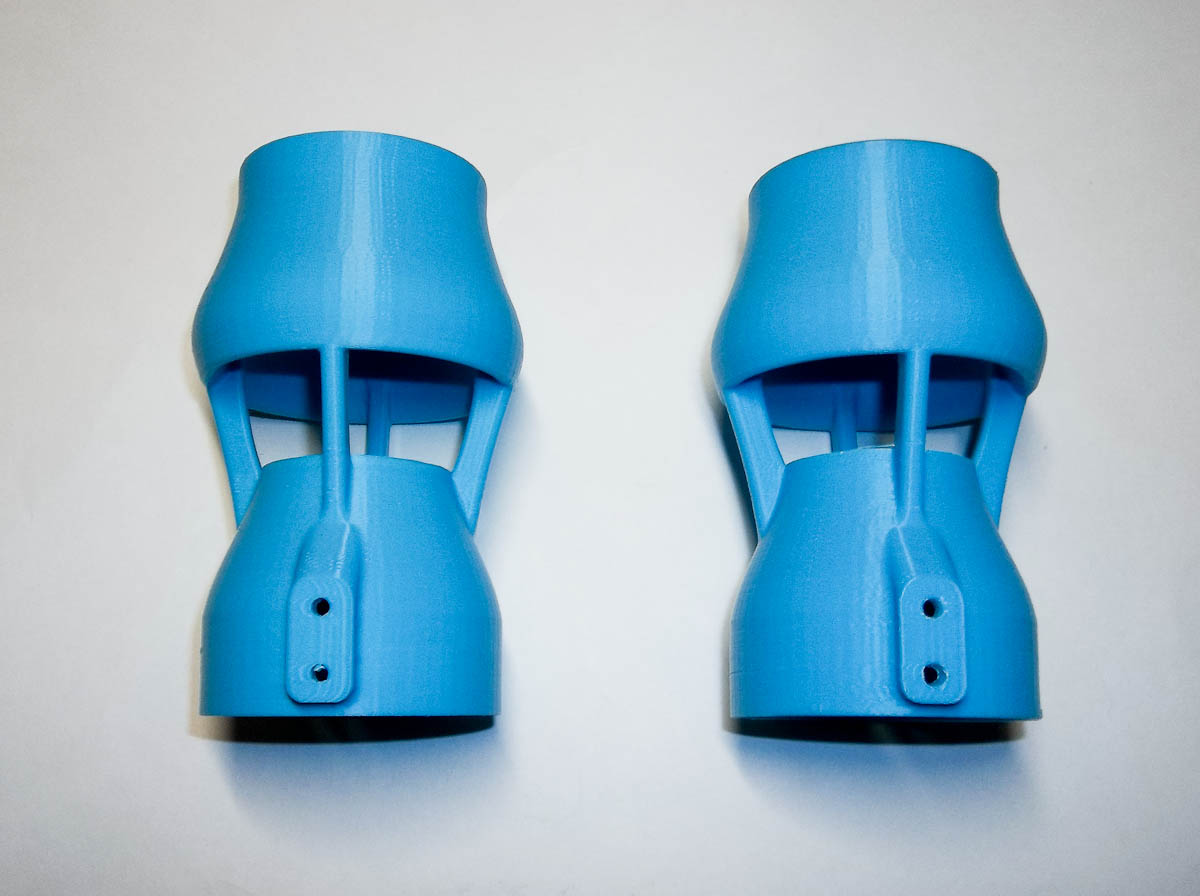
- Printer-020.jpg (107.99 KiB) Viewed 51282 times
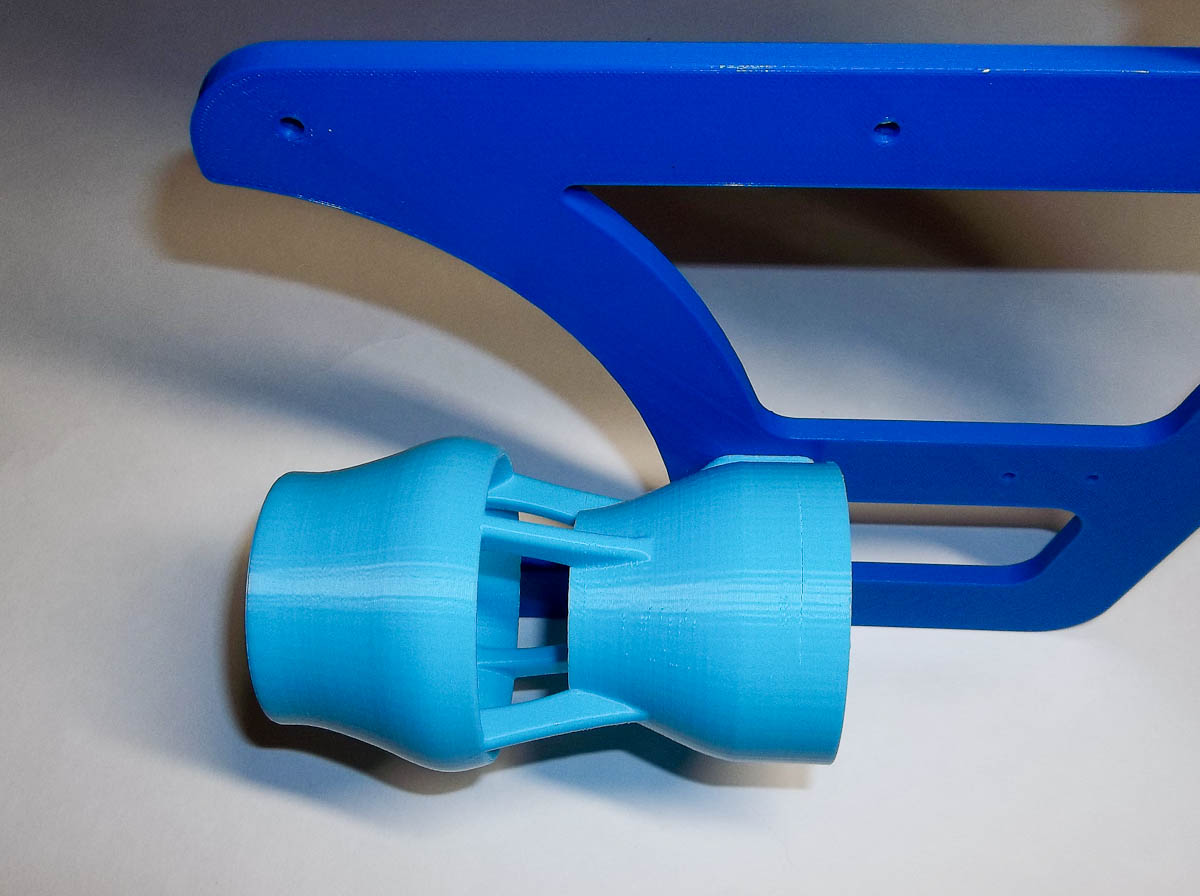
Two down one more to go.

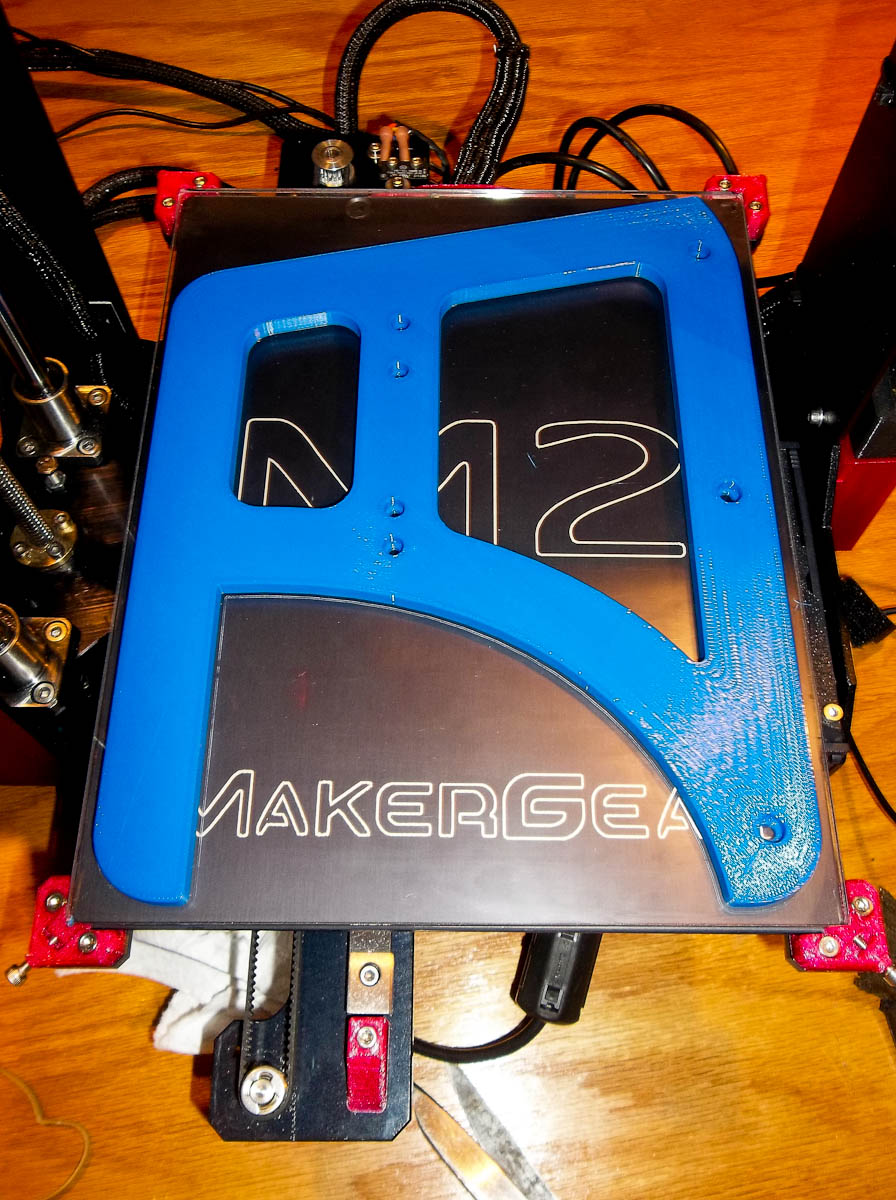
- Printer-021.jpg (117.33 KiB) Viewed 51282 times
I also got the other side cap printed and everything is all set to glue together and fill with some epoxy and micro balloons. Still not sure if it's going to work but I'm optimistic as this point.
- Printer-022.jpg (243.72 KiB) Viewed 51282 times
While the design isn't complete yet I also printed up one of the side plates to test fit the thrusters and get a feel for the overall size of the Rov. I'm pushing the limits of my printer with these.

- Printer-023.jpg (125.34 KiB) Viewed 51282 times
It's not pretty but so far so good.....

- Printer-024.jpg (116.04 KiB) Viewed 51282 times
- Printer-025.jpg (114.96 KiB) Viewed 51282 times
- Printer-026.jpg (119.37 KiB) Viewed 51282 times
So far everything is looking good, the Kort mounts are actually quiet sturdy when bolted to the frame.
Next I have to figure out the epoxy micro balloons mixture and go from there.....
-Steve