- shop001.jpg (822.3 KiB) Viewed 4827 times
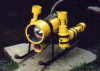
Thanks Ross that's why I still run the site after all these years... to inspire others. As far as my shop goes I'm fortunate to be setup in a basement where its always about 65 degrees all year so I no longer have to worry to much about rust. I try to keep it clean but it does get out of hand at times with so many things going at once. Above is my current setup (I should update my shop thread one of these days I guess) as usual bench top space is hard to find

I have a new toy coming this week

so I might have to clean a bit more to make some more room. Anyway back to the fun stuff....
- mdhousing076.jpg (792.54 KiB) Viewed 4827 times
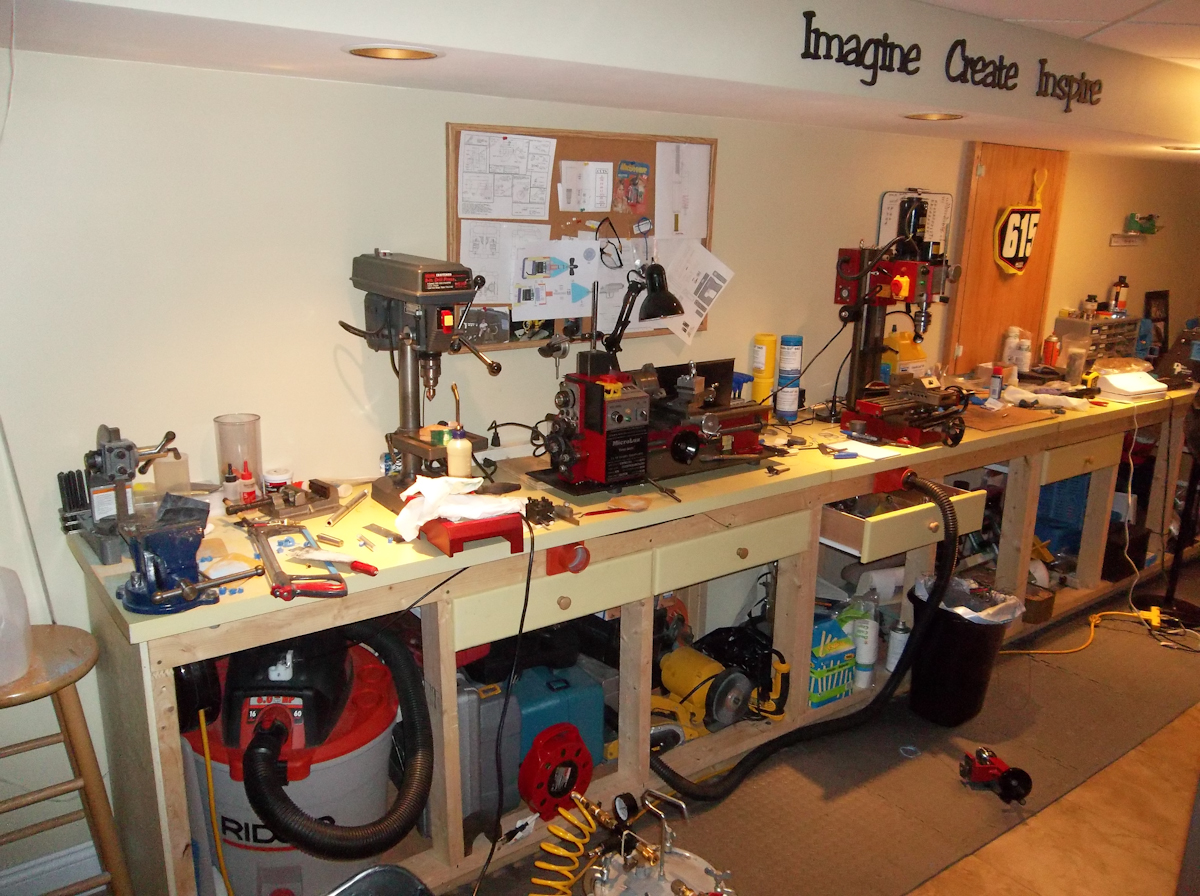
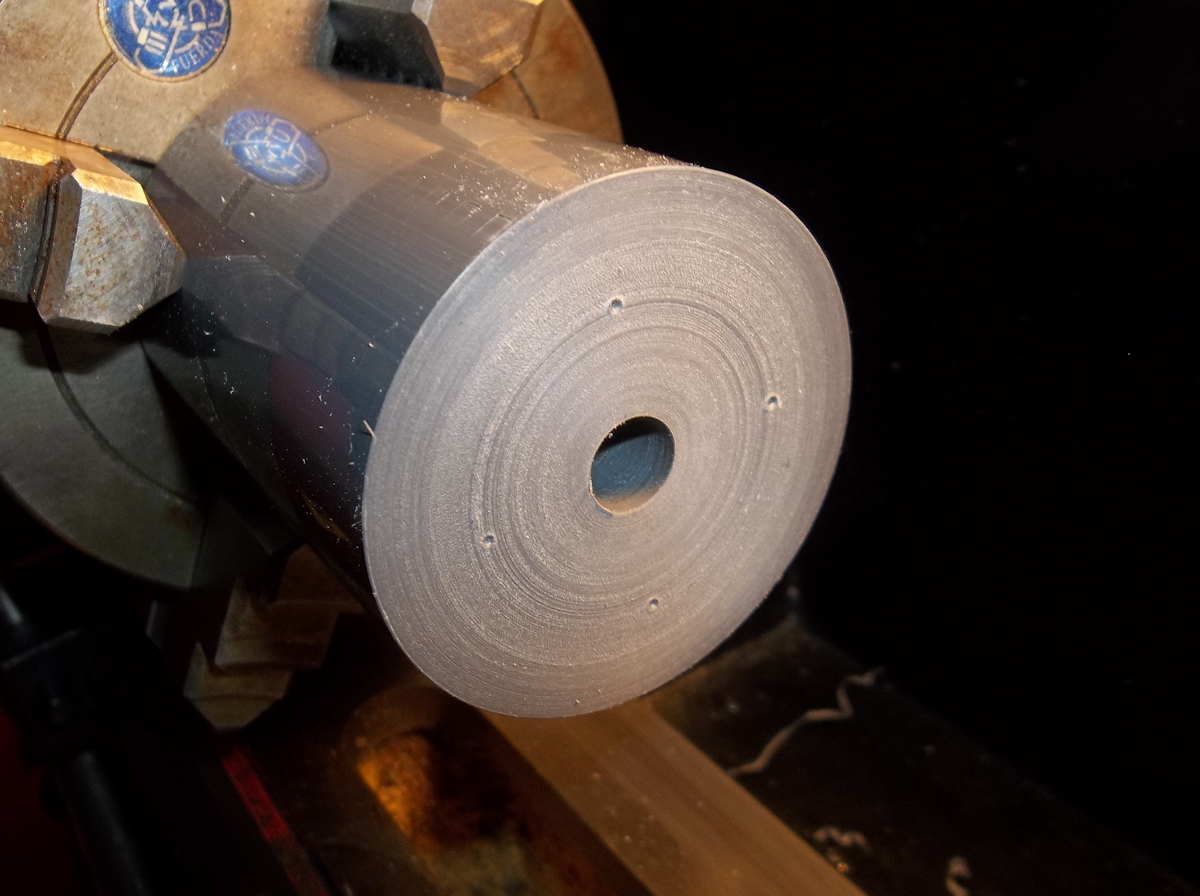
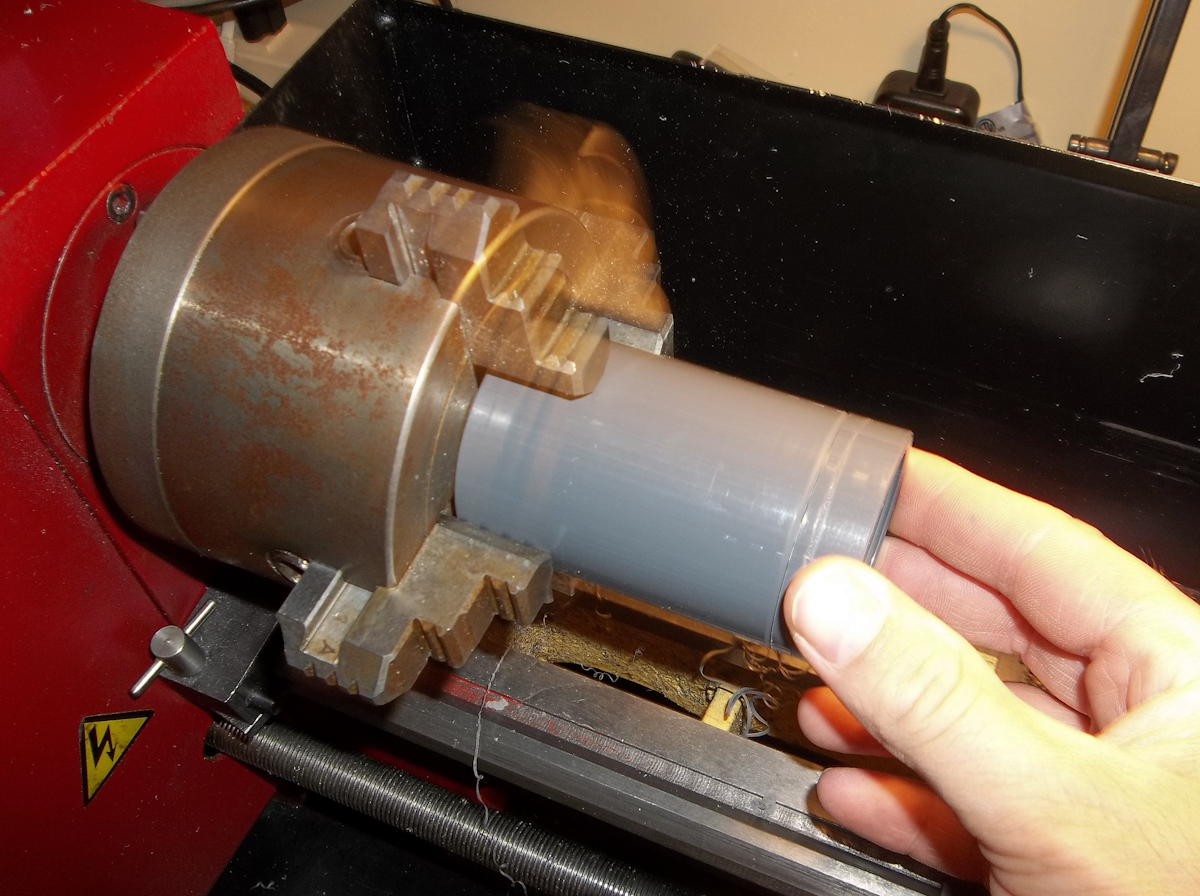
Onto the prop rotor. I start with another chuck of PVC, face it and drill a 23/64" hole in the end.
- mdhousing077.jpg (753.5 KiB) Viewed 4827 times
Using a 23/64" Transfer punch to center the other rotor I transfer the magnet locations using a 1/4" punch. (I later noticed the rotor is backwards from what it should be but the holes should still be close enough for the prototype.)
- mdhousing078.jpg (520.2 KiB) Viewed 4827 times
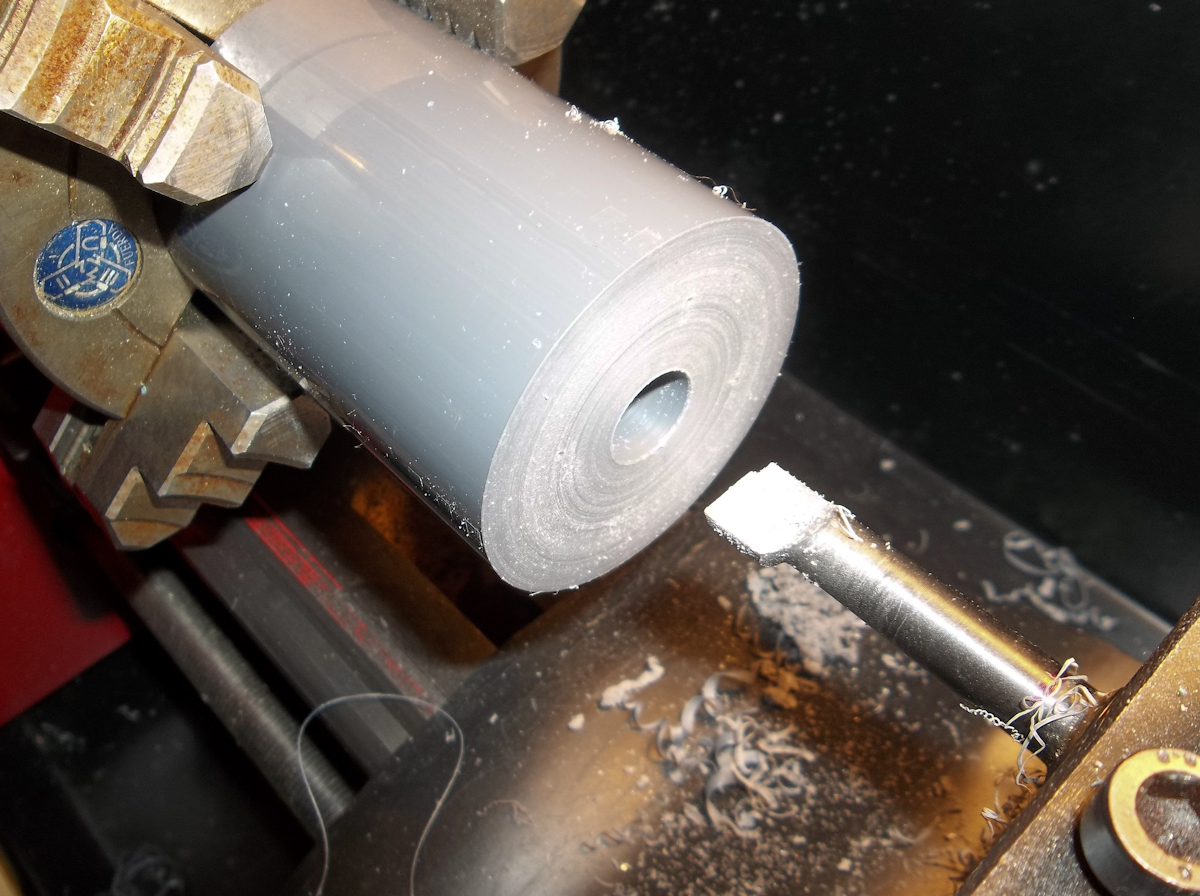
Now that I have my magnet locations I can start boring the piece out to mate with the cap.
- mdhousing079.jpg (502.5 KiB) Viewed 4827 times
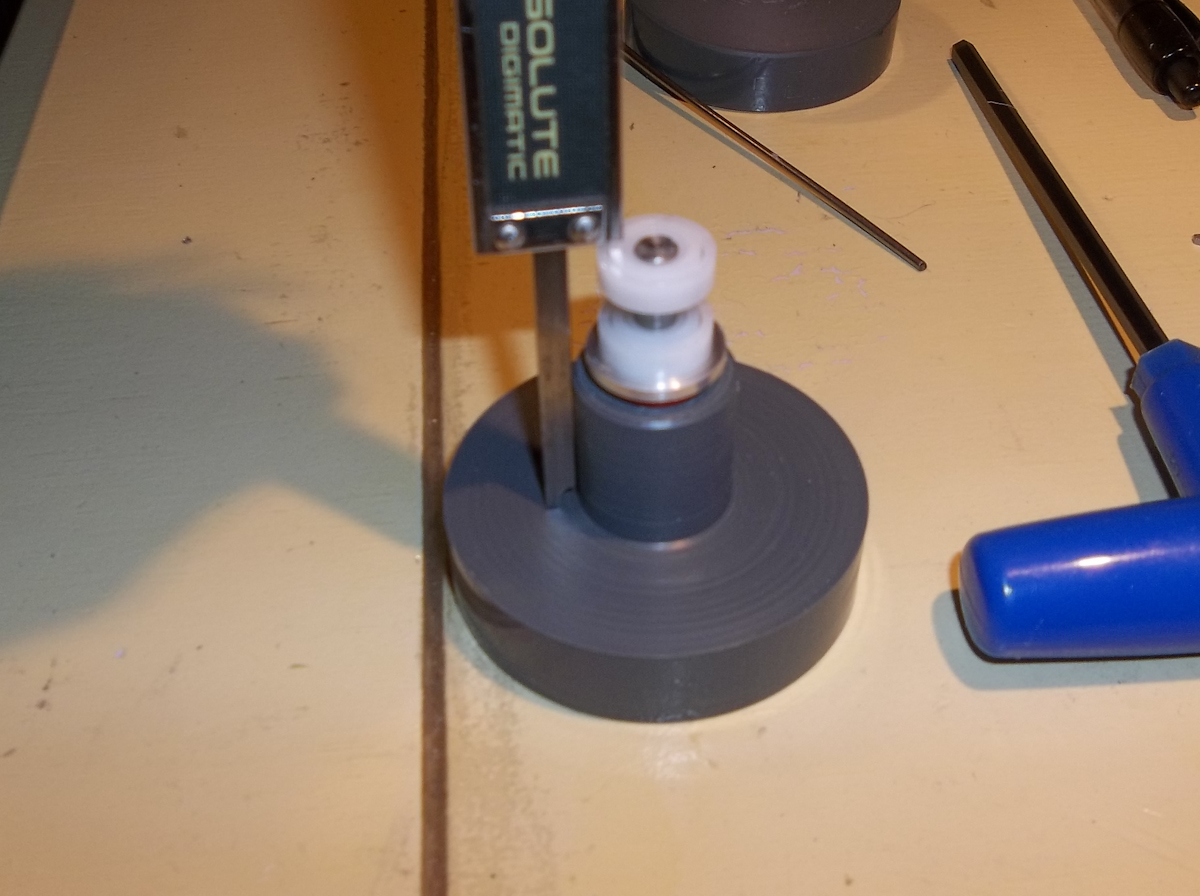
I start by measuring the depth needed for the bearings.
- mdhousing080.jpg (673.37 KiB) Viewed 4827 times
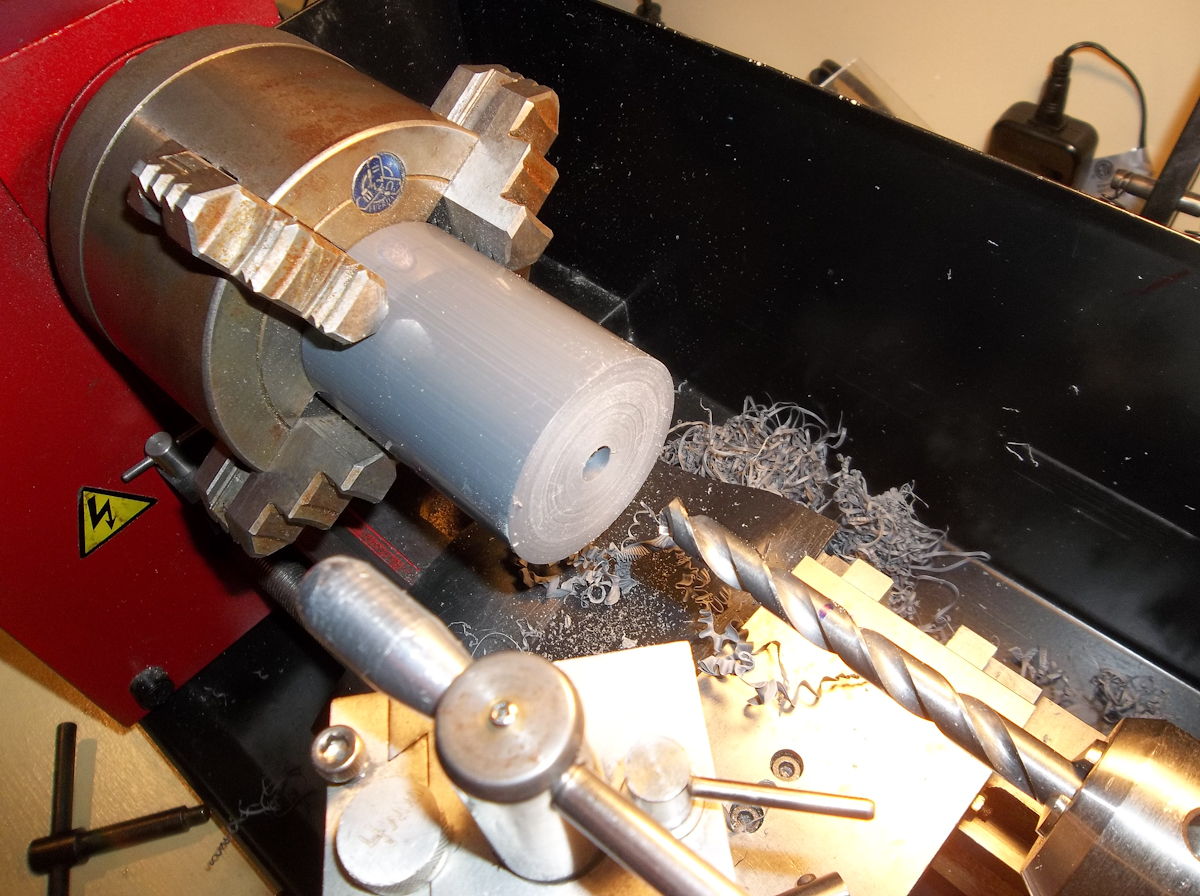
I first drilled a 31/64" hole and then bored that out to .50" to a depth of 1.45" to fit both bearings.
- mdhousing081.jpg (572.61 KiB) Viewed 4827 times
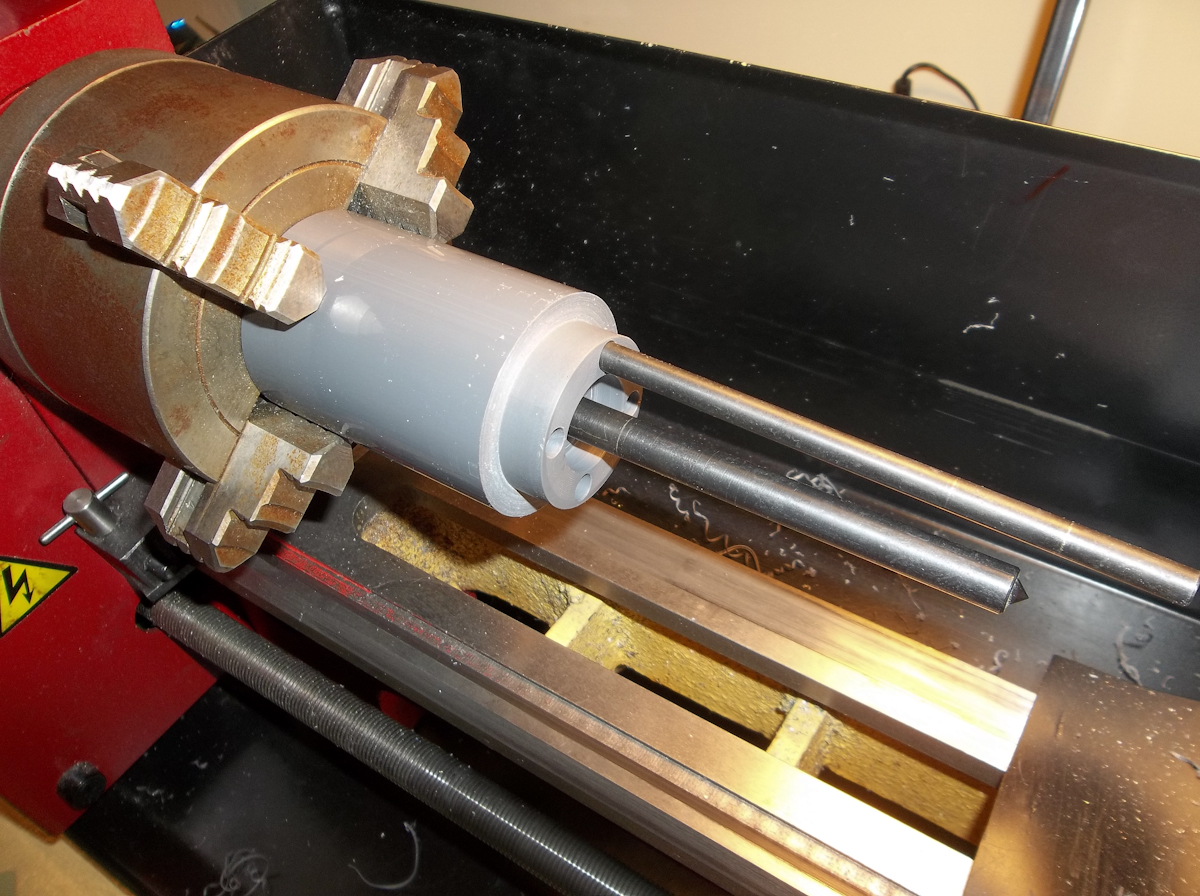
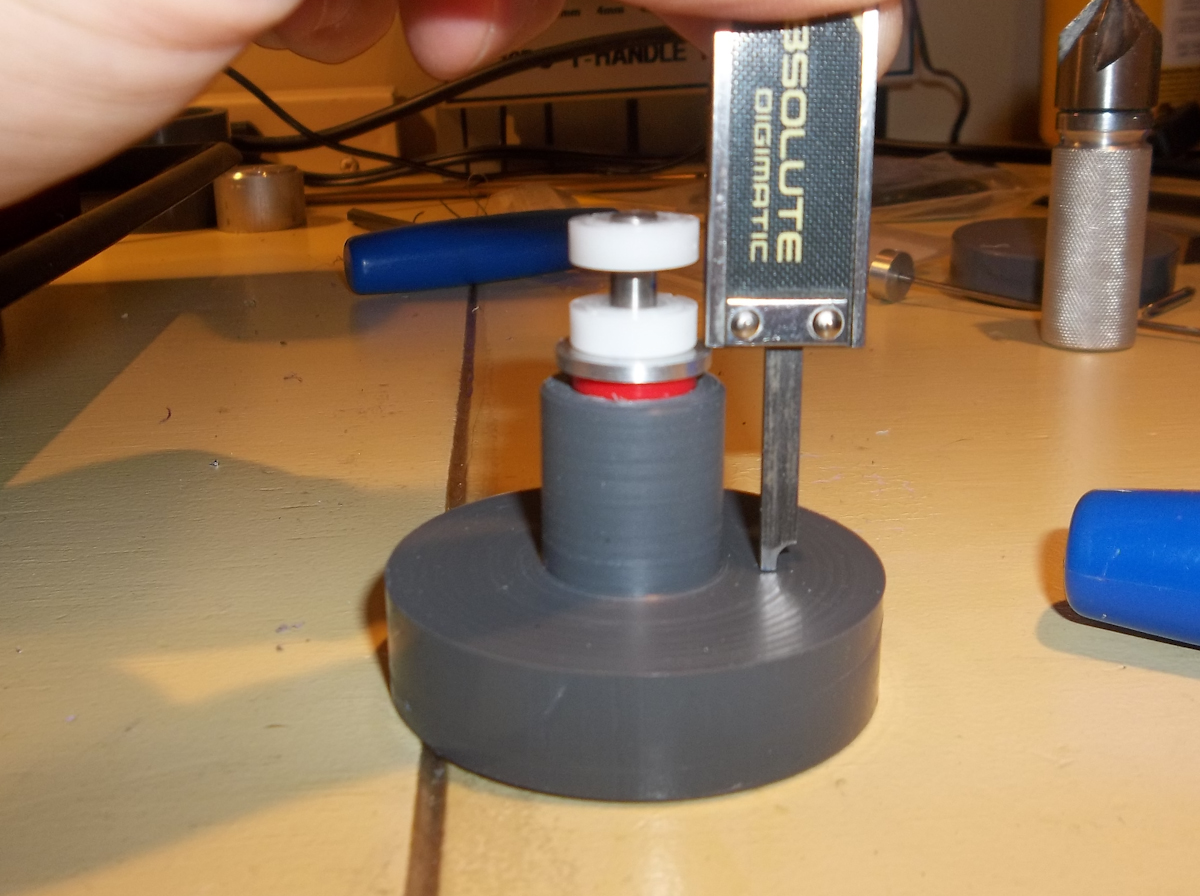
Next I measure for the new thrust bearing washer I made. (I didn't show making this)
- mdhousing082.jpg (597.51 KiB) Viewed 4827 times
Then I bored out .620" to a depth of .890"
- mdhousing083.jpg (461.36 KiB) Viewed 4827 times
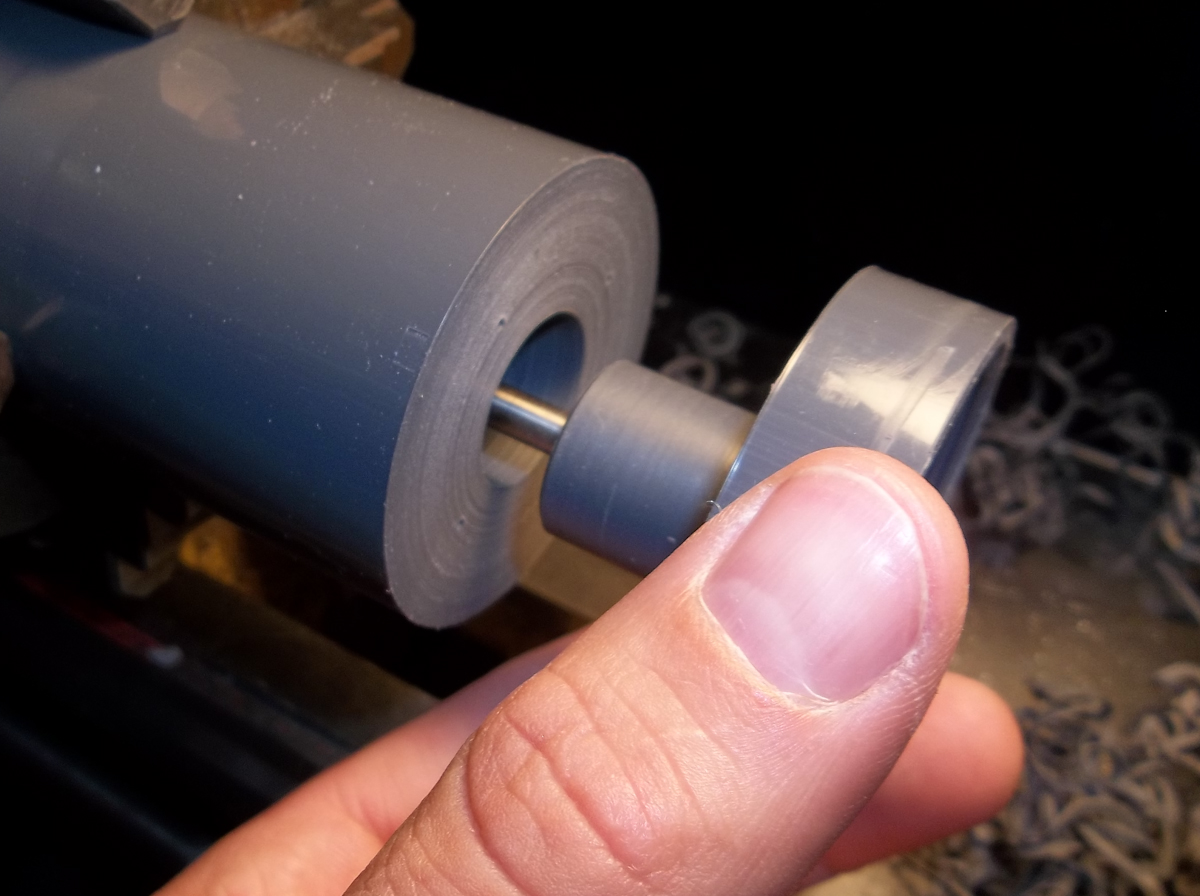
Next I bored out to clear the step on the cap.
- mdhousing084.jpg (697.9 KiB) Viewed 4827 times
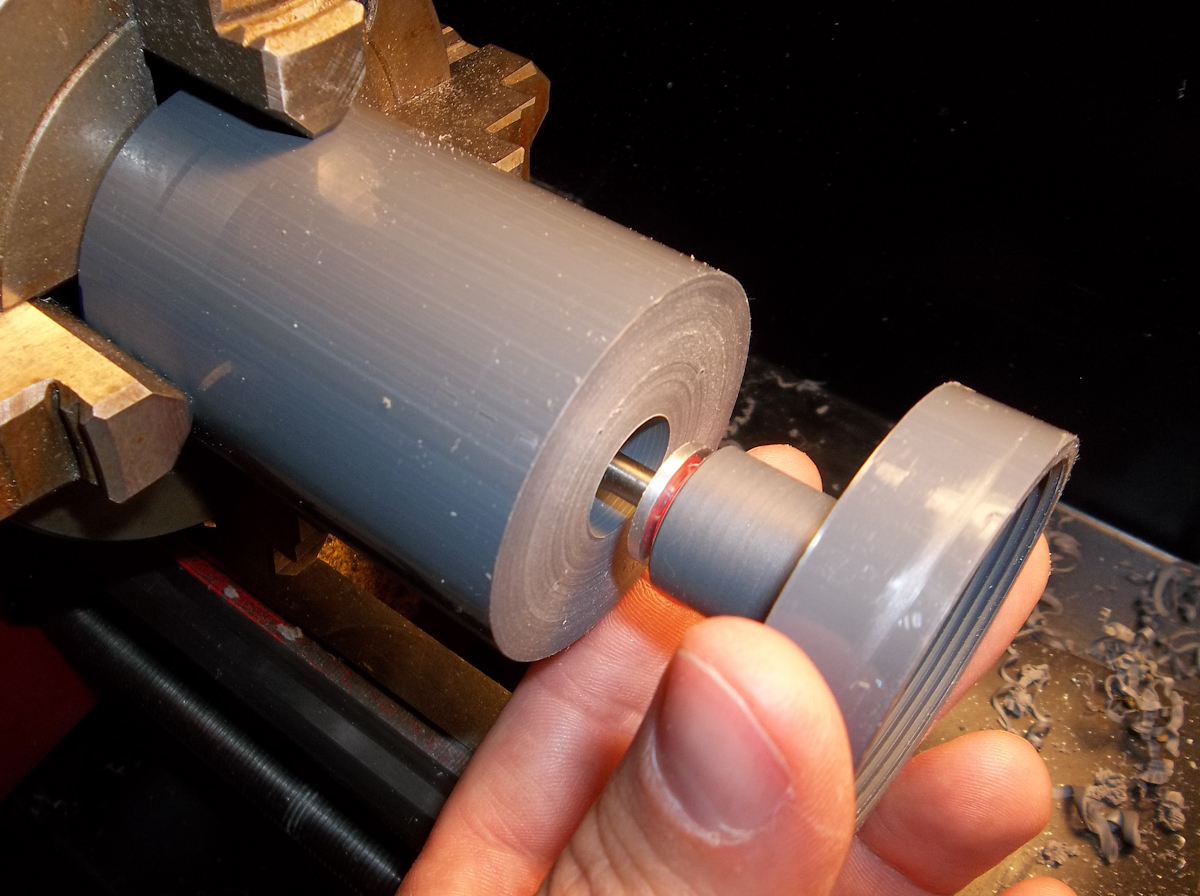
I tested out the thrust bearing by spinning the piece in the lathe and just holding the cap against it. It seemed to work well at this stage.
- mdhousing085.jpg (618.29 KiB) Viewed 4827 times
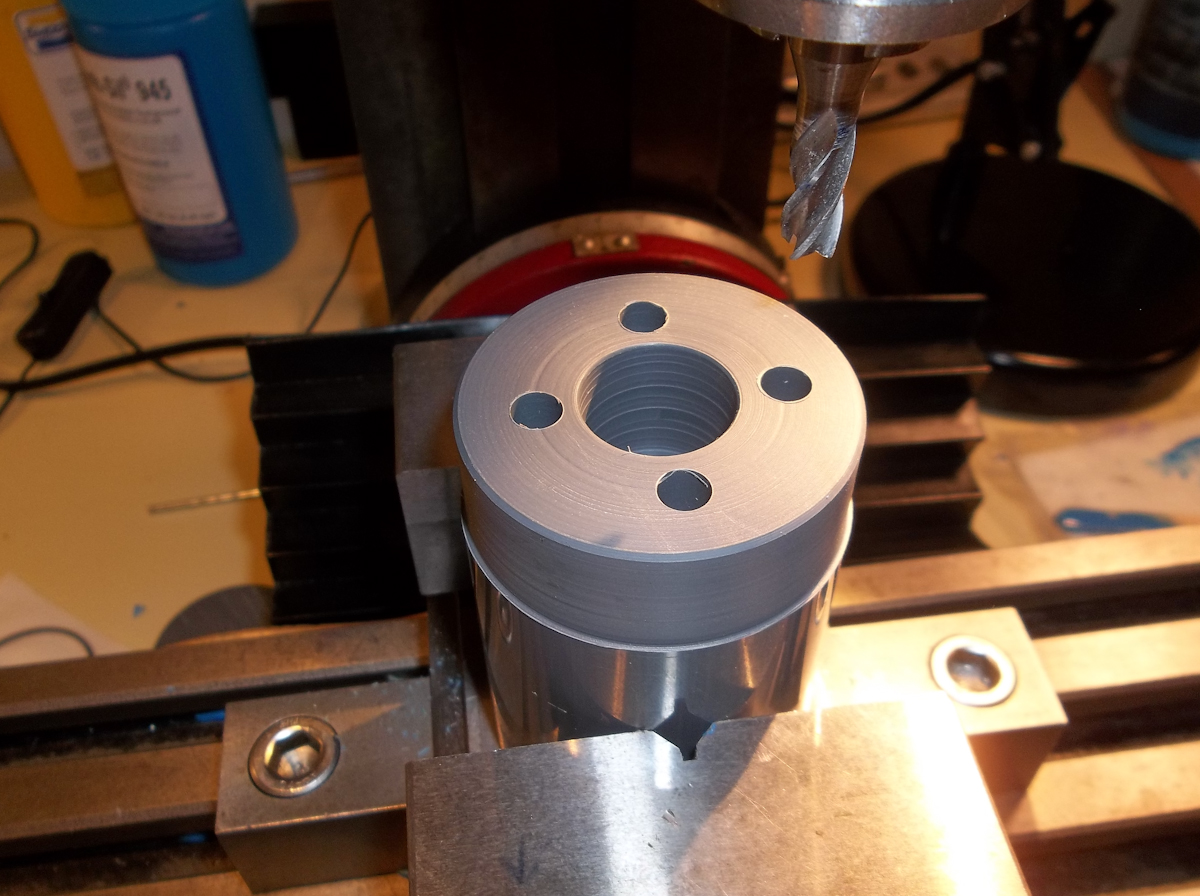
Next I transferred the workpiece over to the lathe and plunged cut the magnet holes.
- mdhousing086.jpg (536.93 KiB) Viewed 4827 times
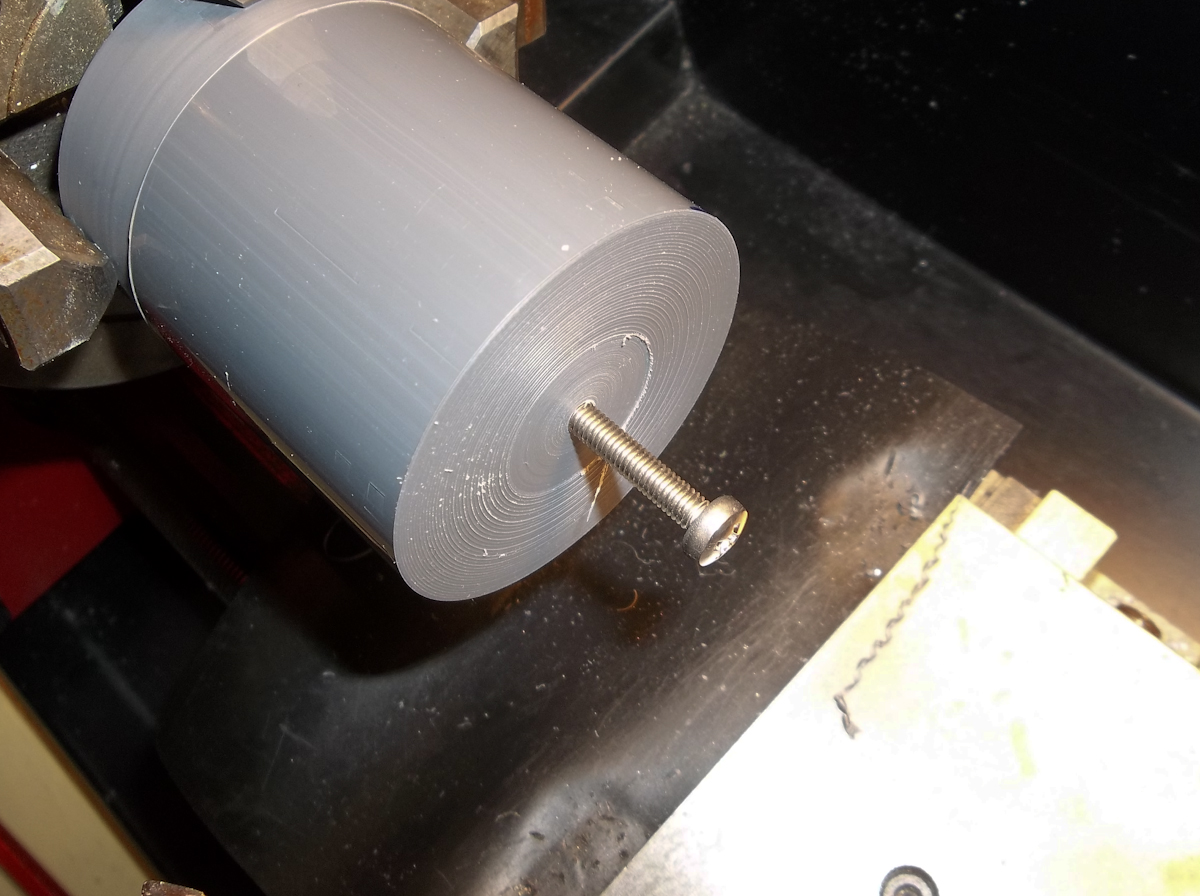
After that it was back over to the lathe to drill and tap for the 4mm screw for the prop.
- mdhousing087.jpg (613.39 KiB) Viewed 4827 times
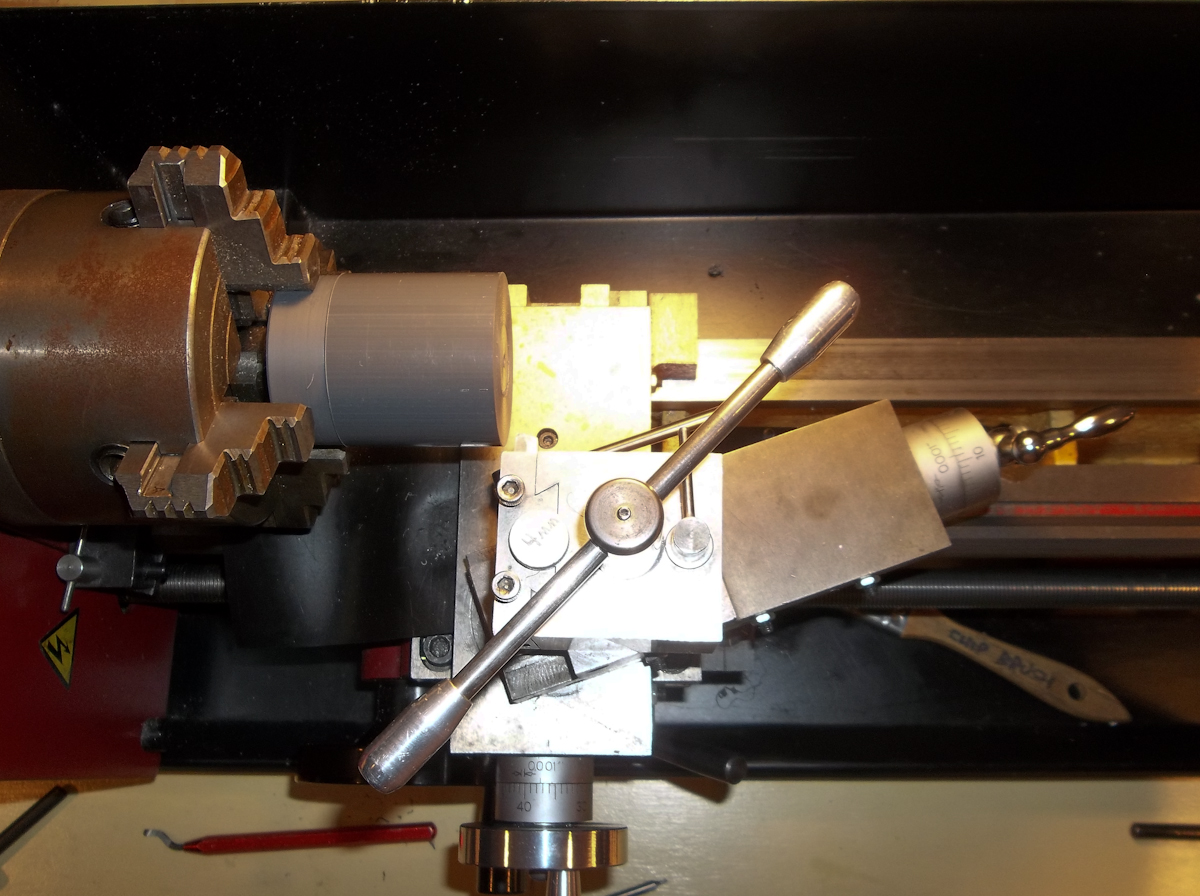
Next I had to setup the angle on the compound slide to turn the cone shape.
- mdhousing088.jpg (672.29 KiB) Viewed 4827 times
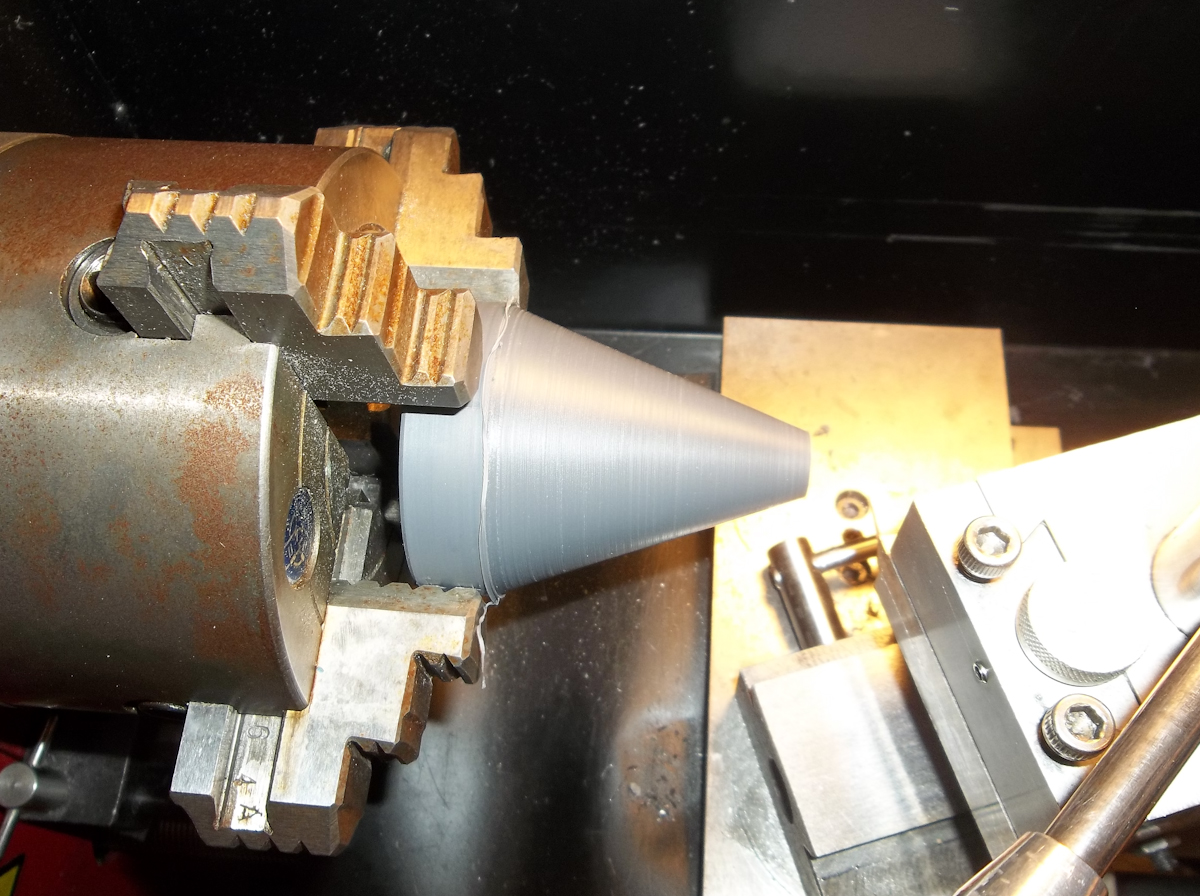
After a bunch of cutting this is how it looks. I was off a bit with my measurements so I'll have to clean the step up at the end later on.
- mdhousing089.jpg (699.91 KiB) Viewed 4827 times
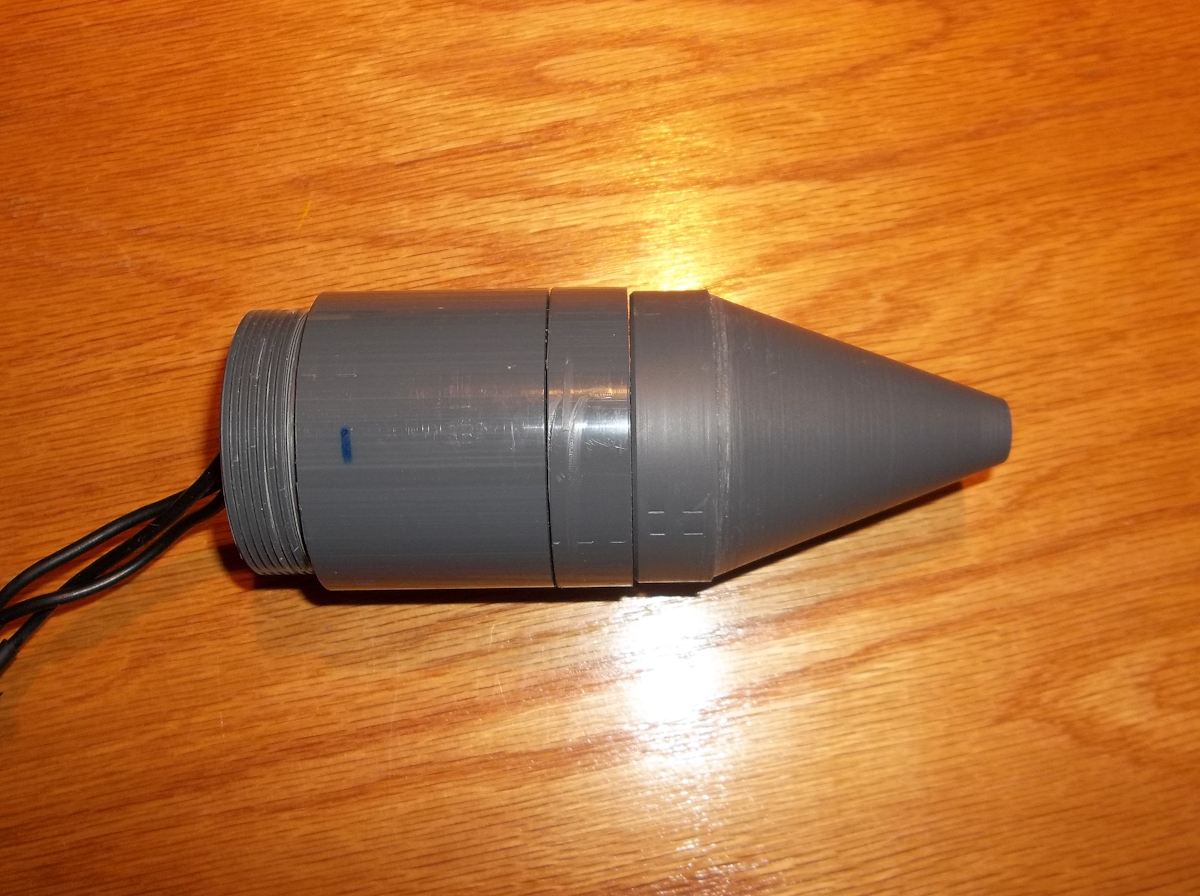
I quick test fit reveals it's a tad bit wobbly but it spins very freely. Next I have to glue the magnets in and go from there.
-Steve