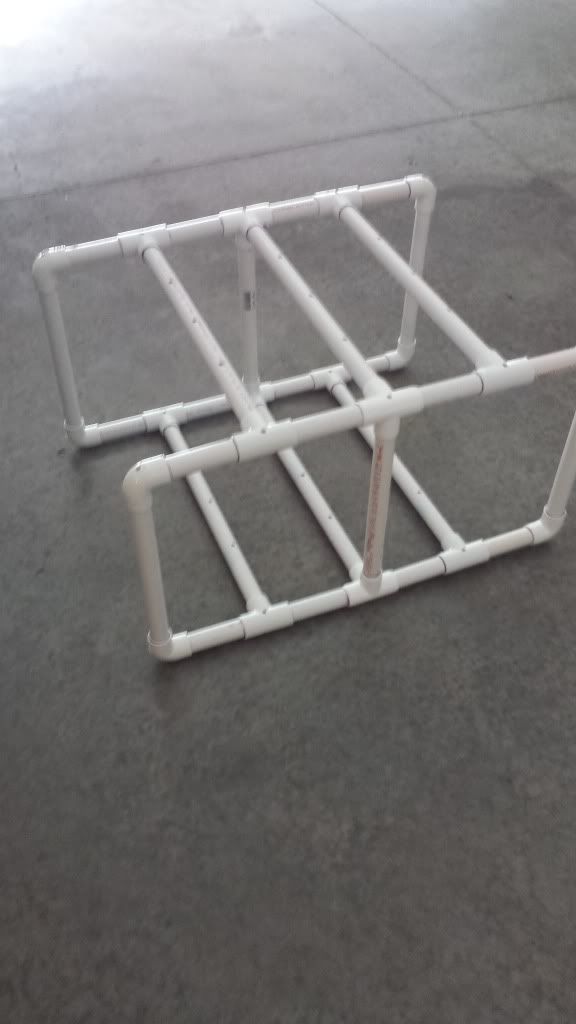
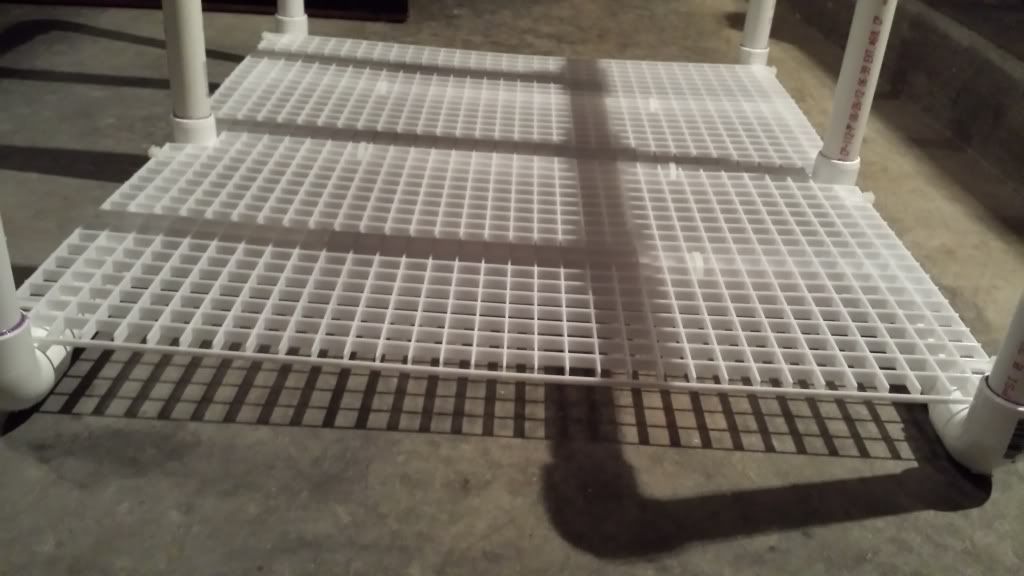
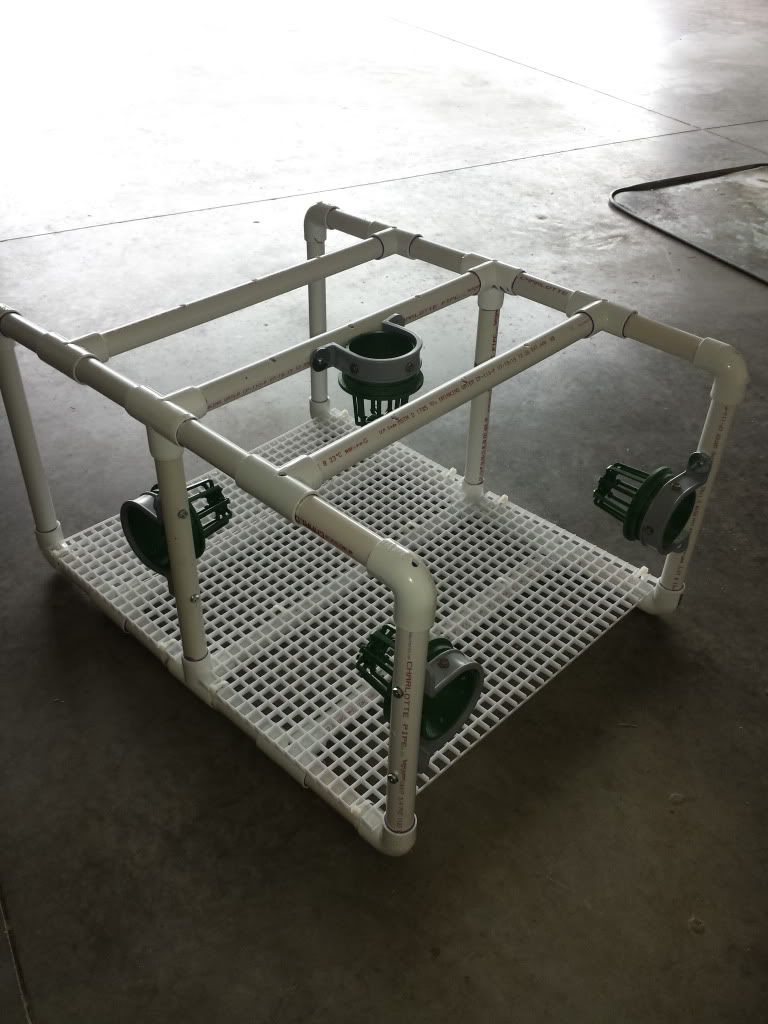
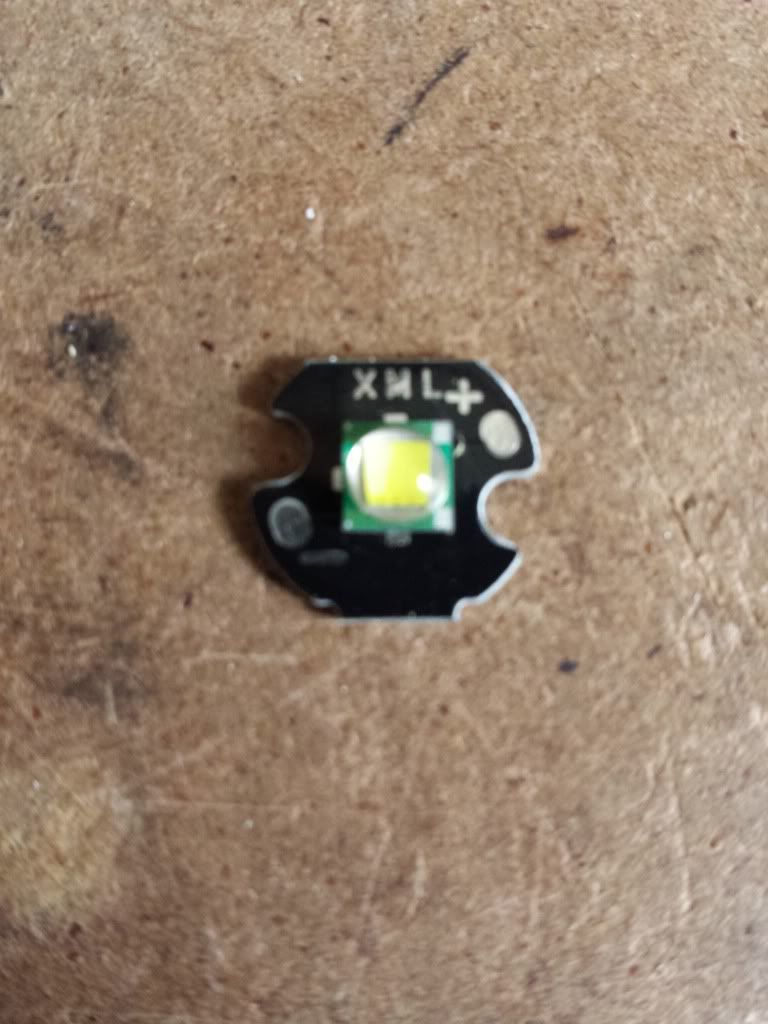
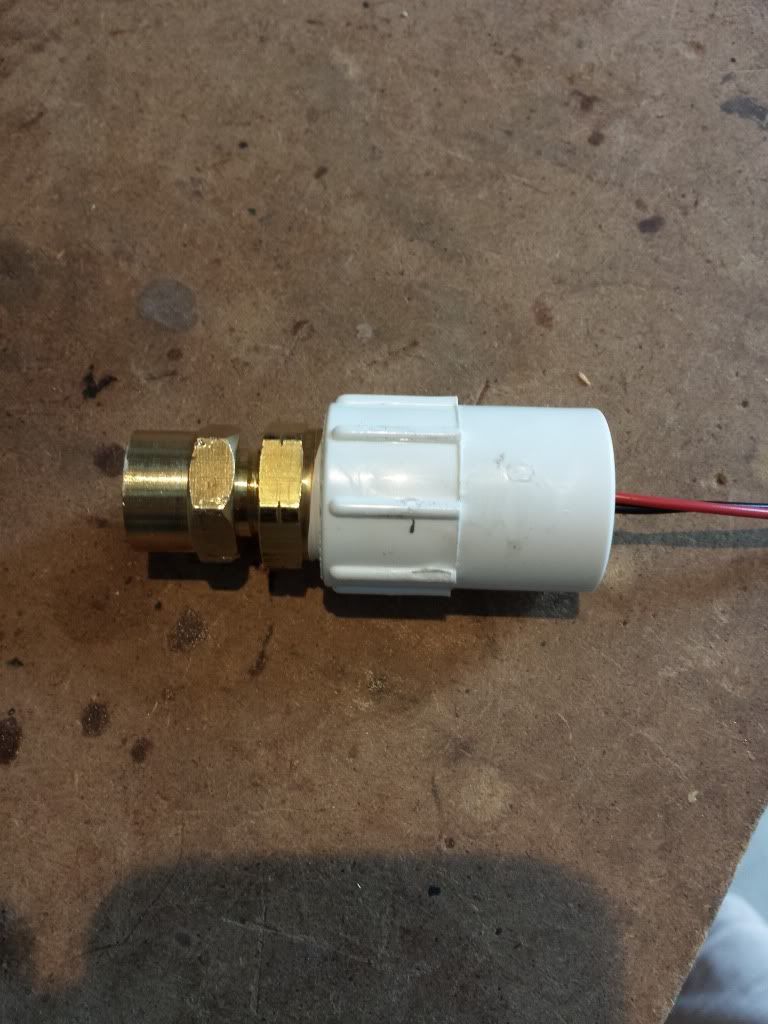
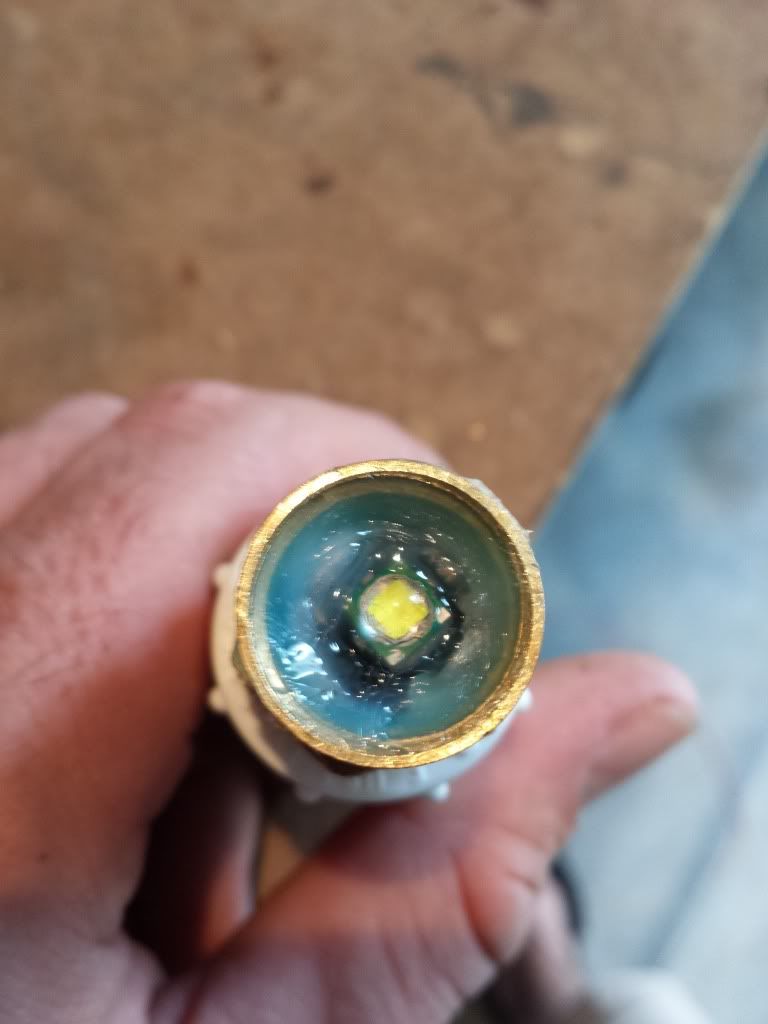
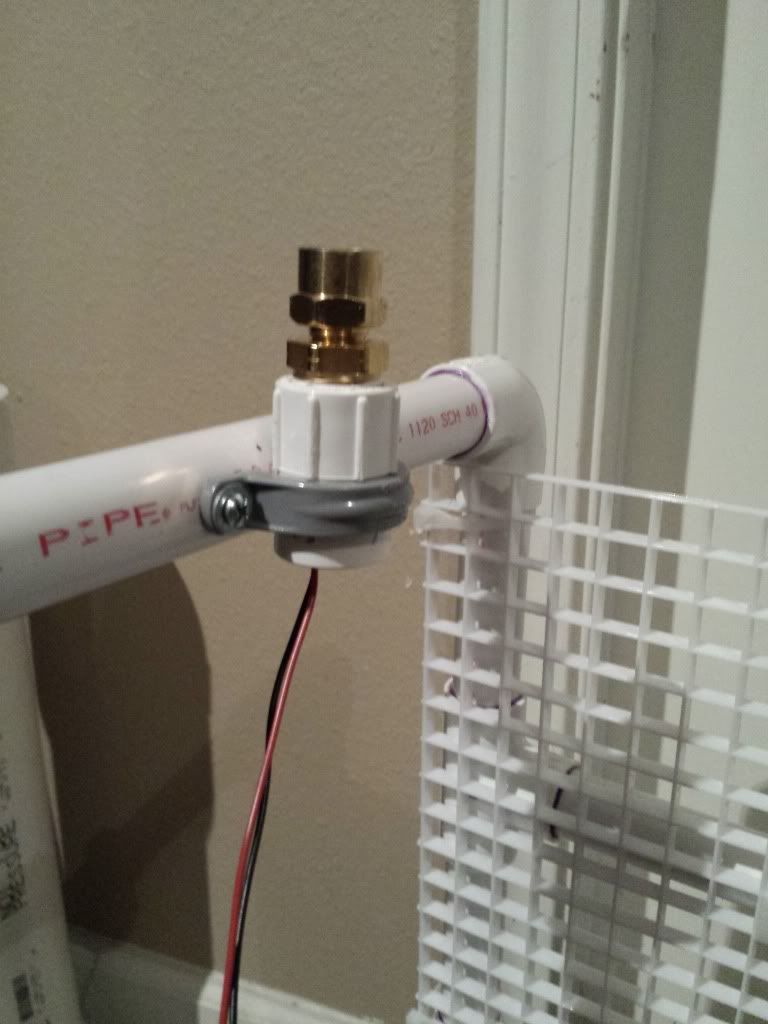
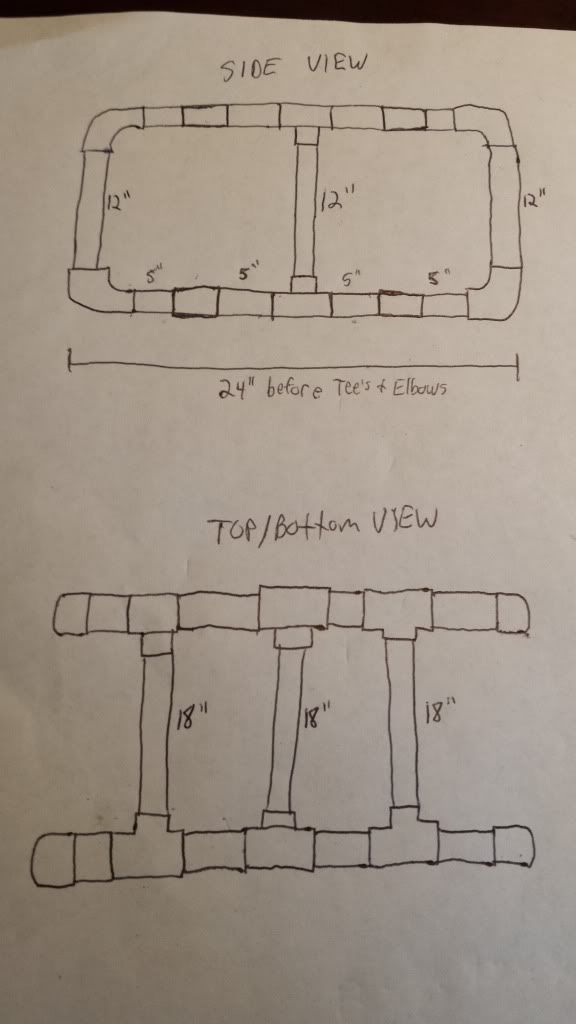
Here is the "schematic" for the frame
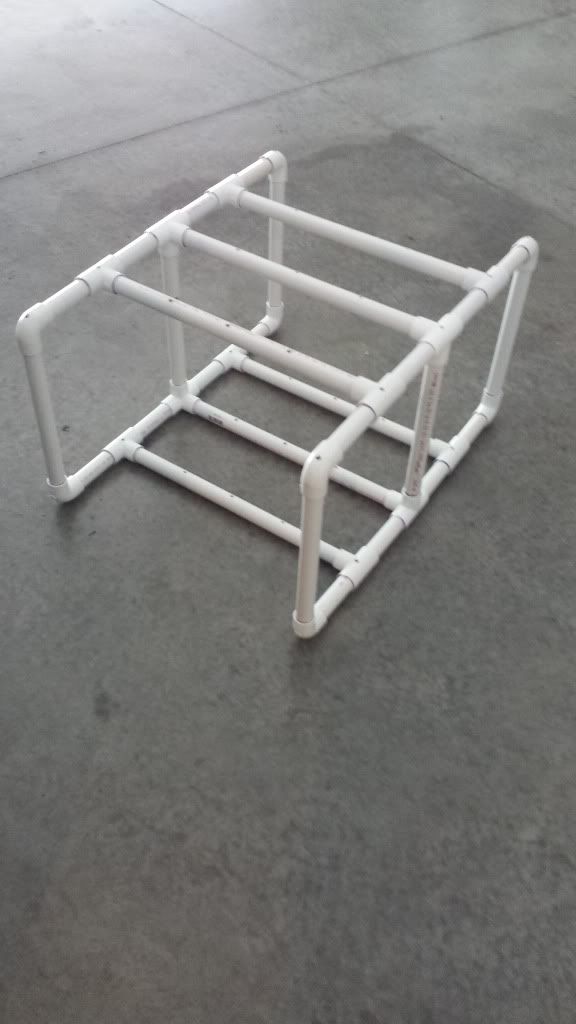
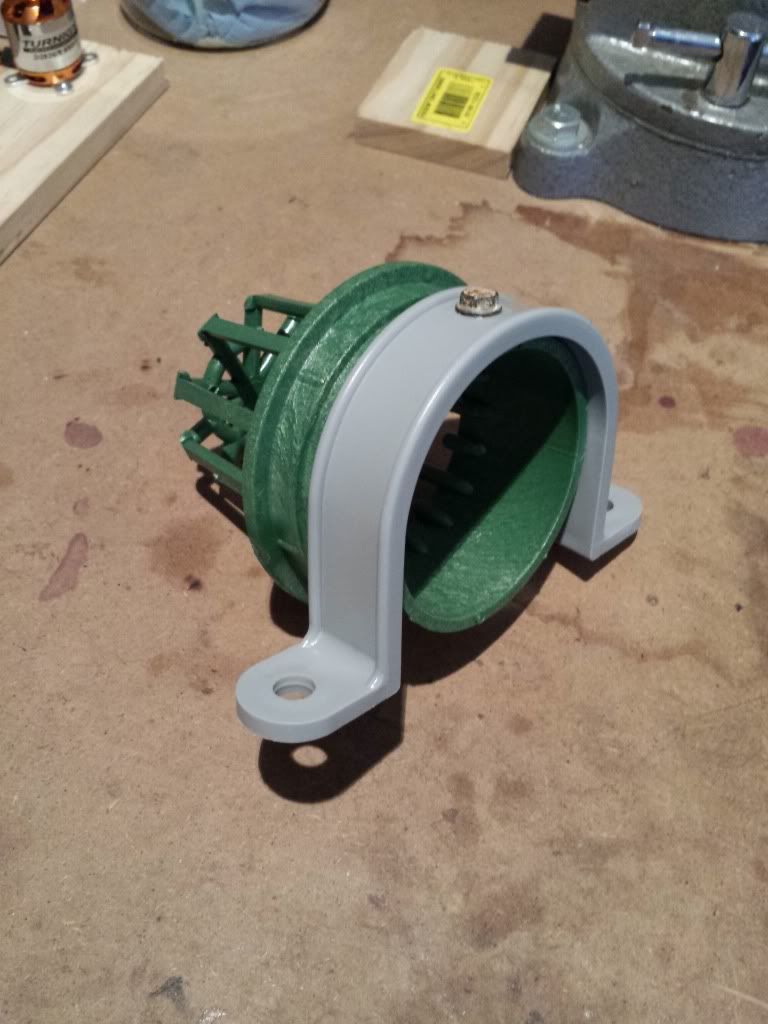
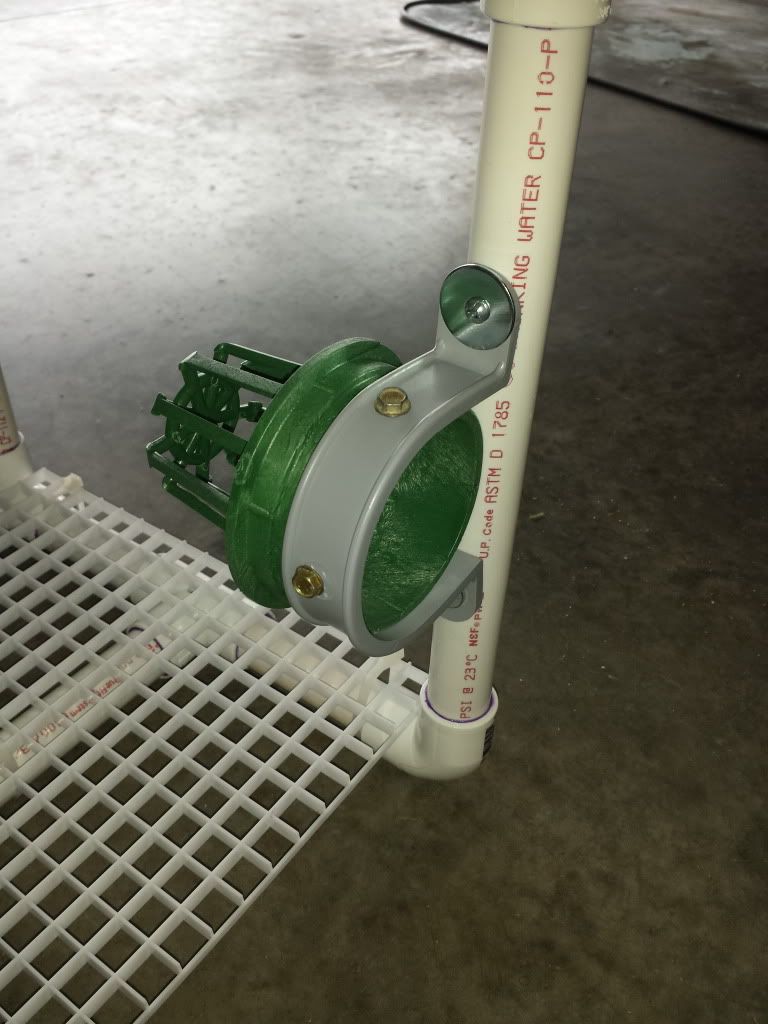
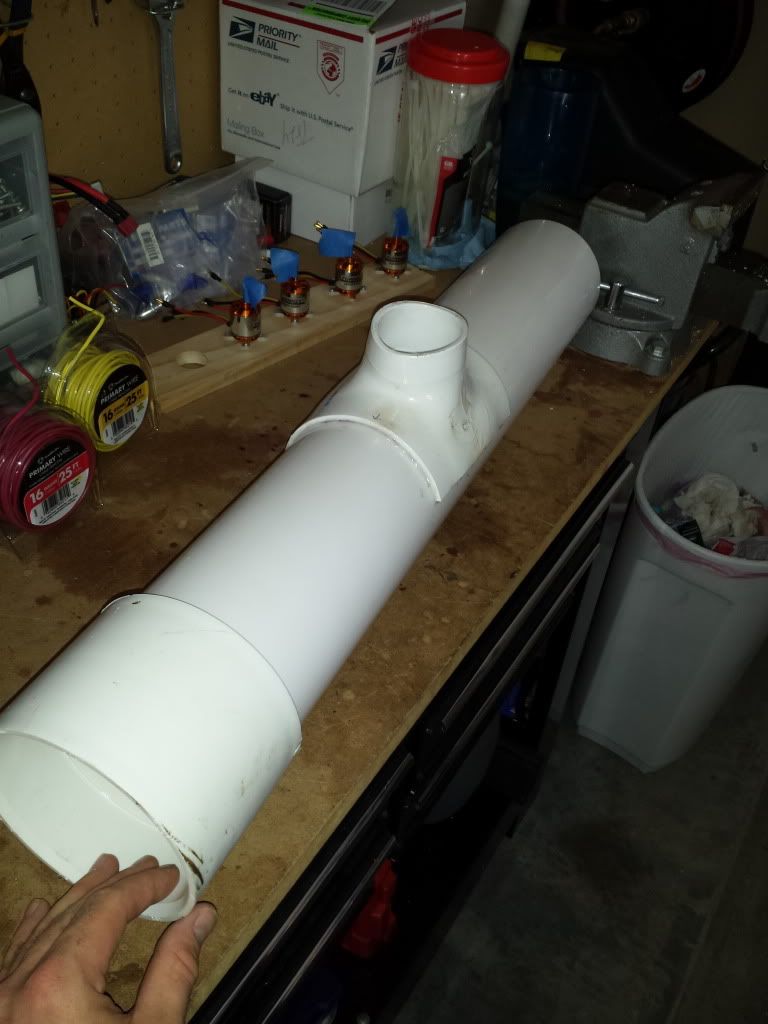
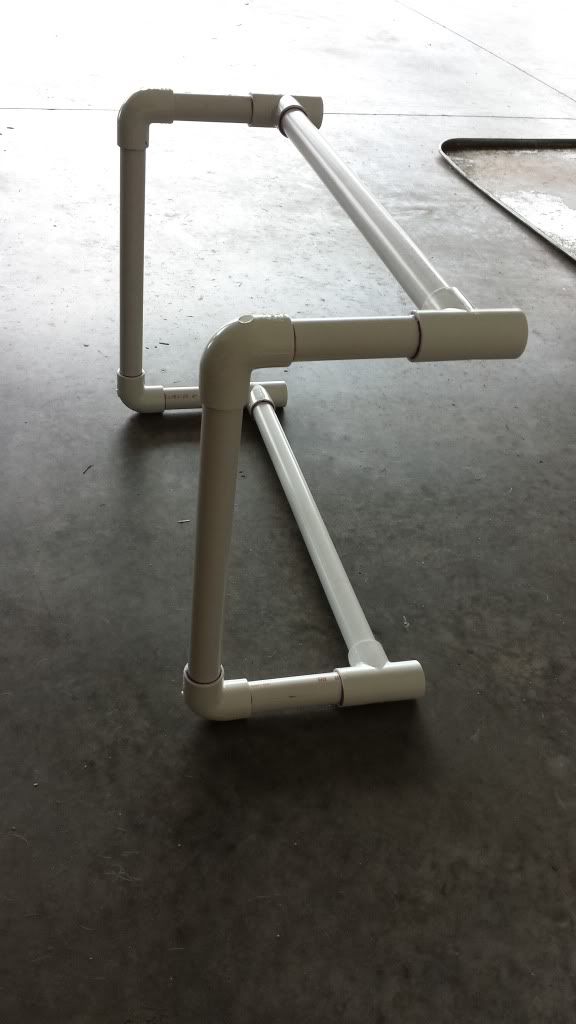
One end done
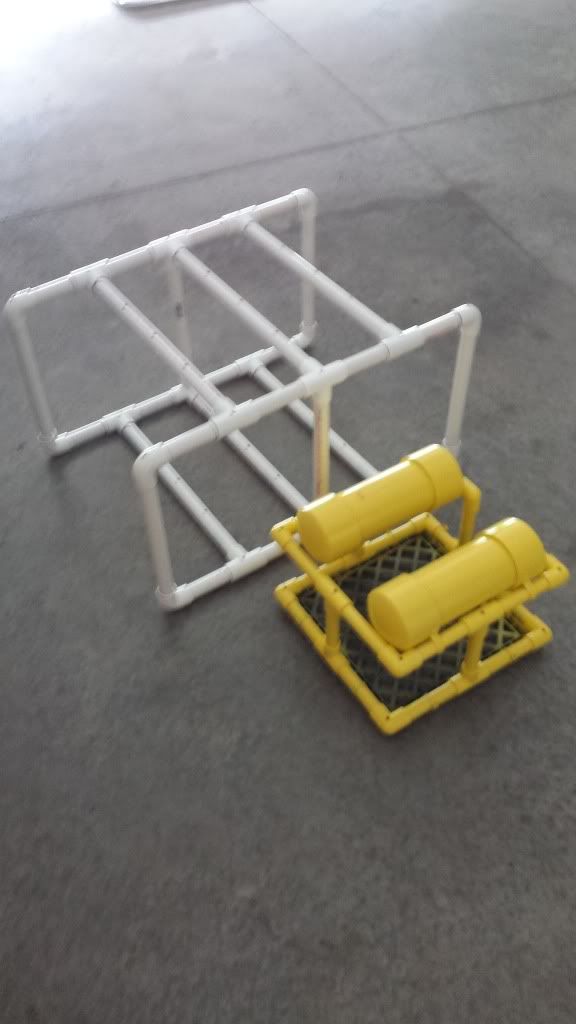
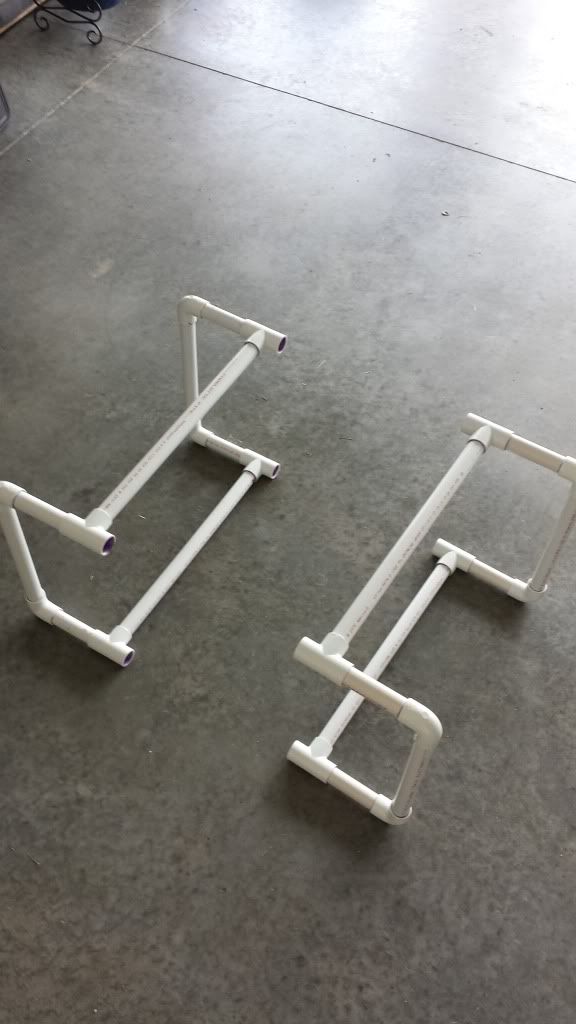
Both ends
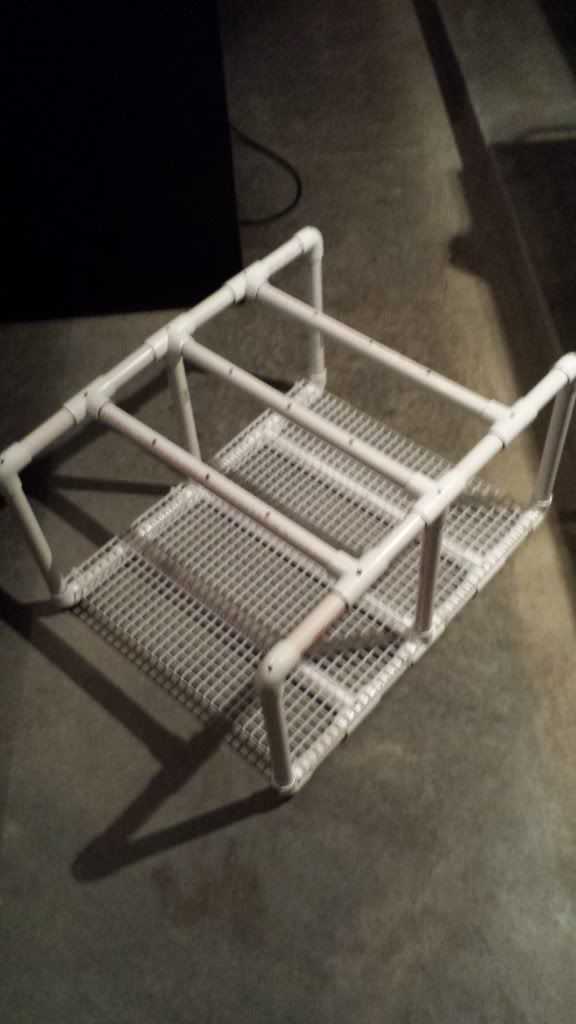
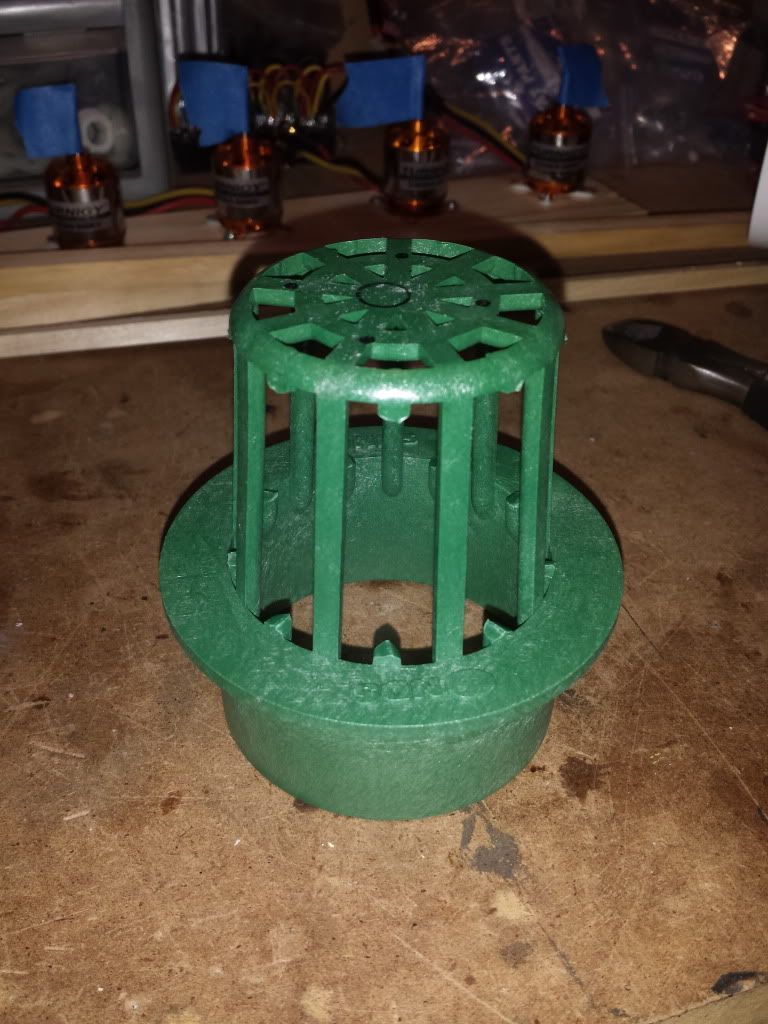
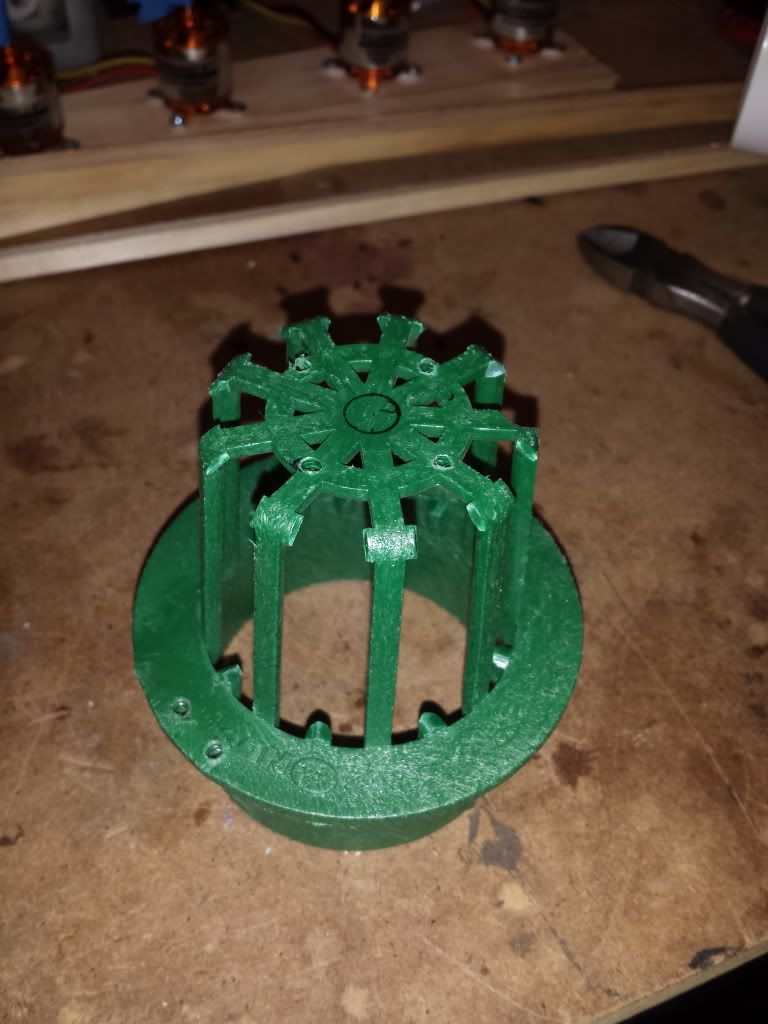
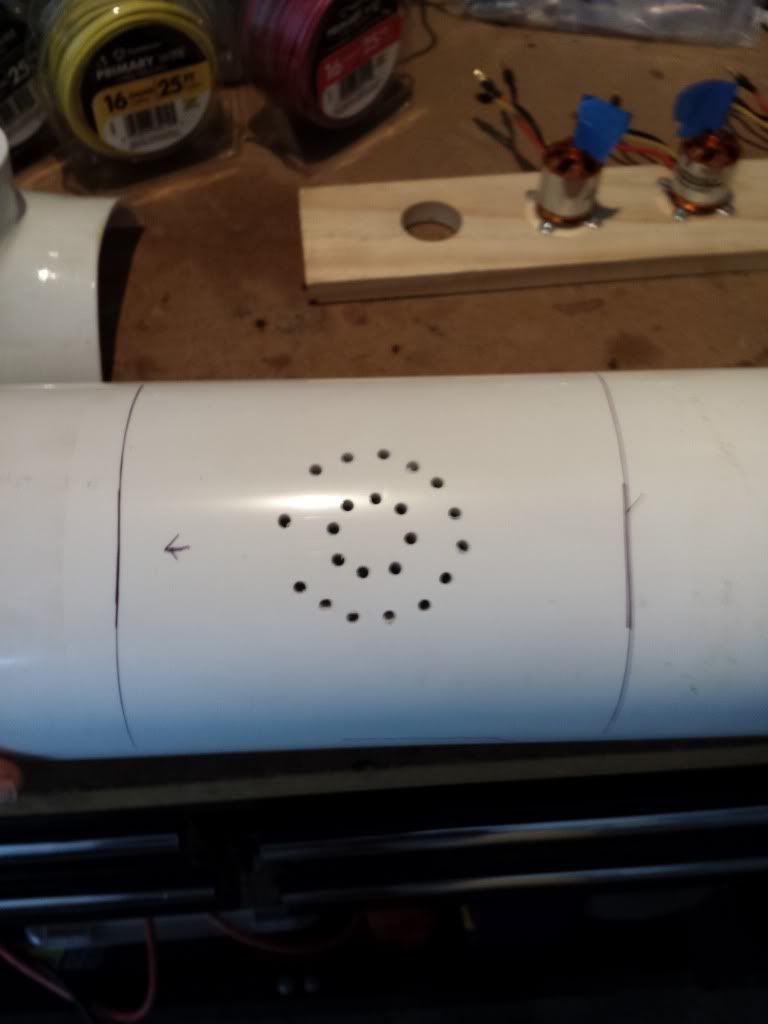
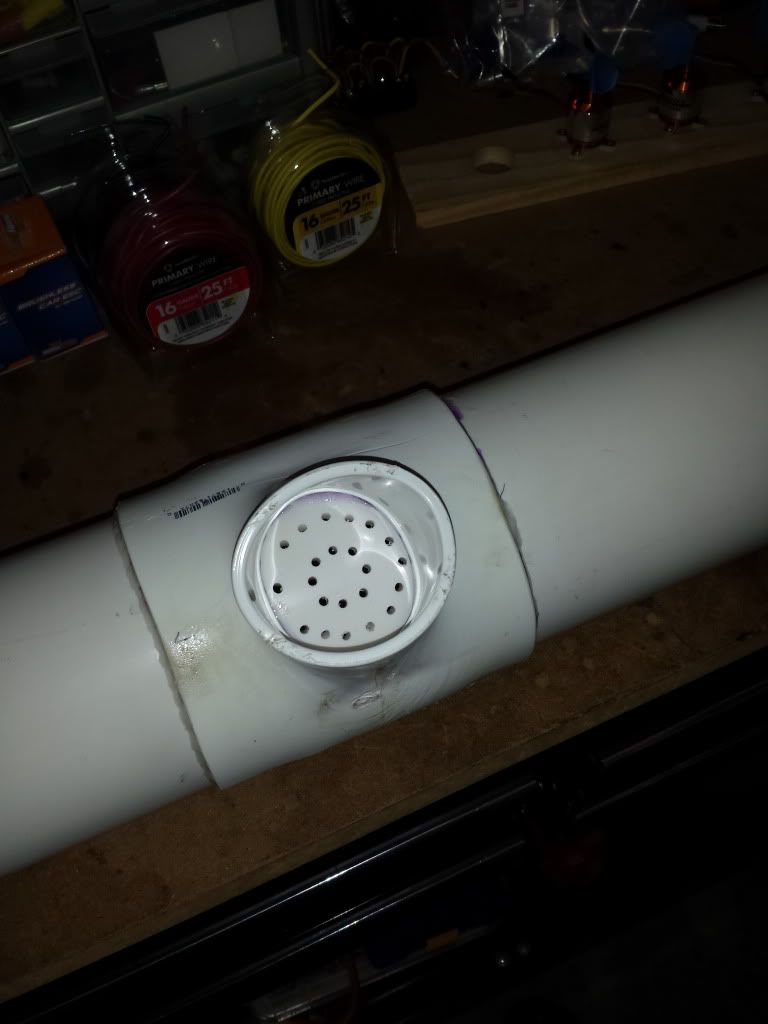
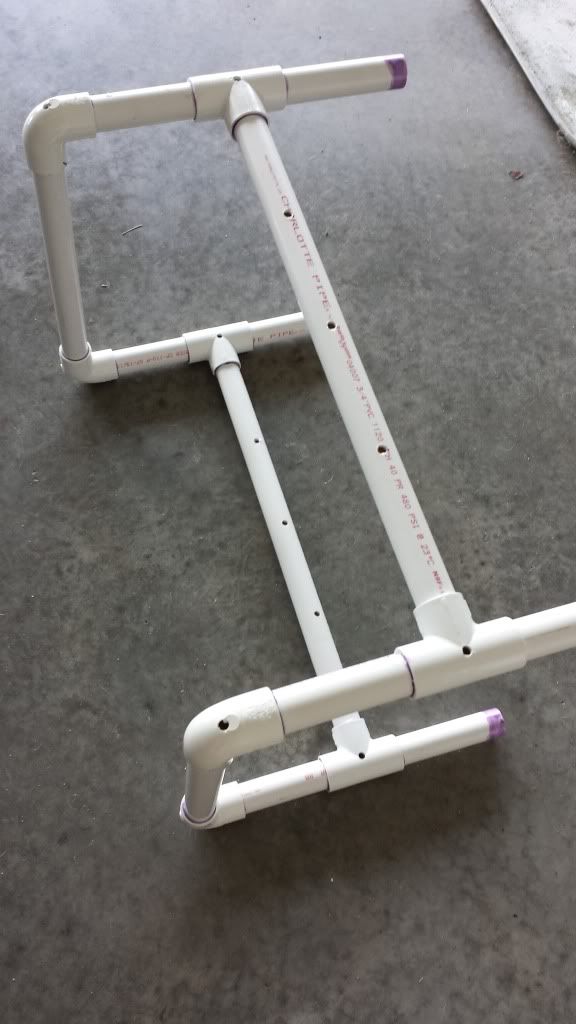
Holes drilled to make it a wet frame
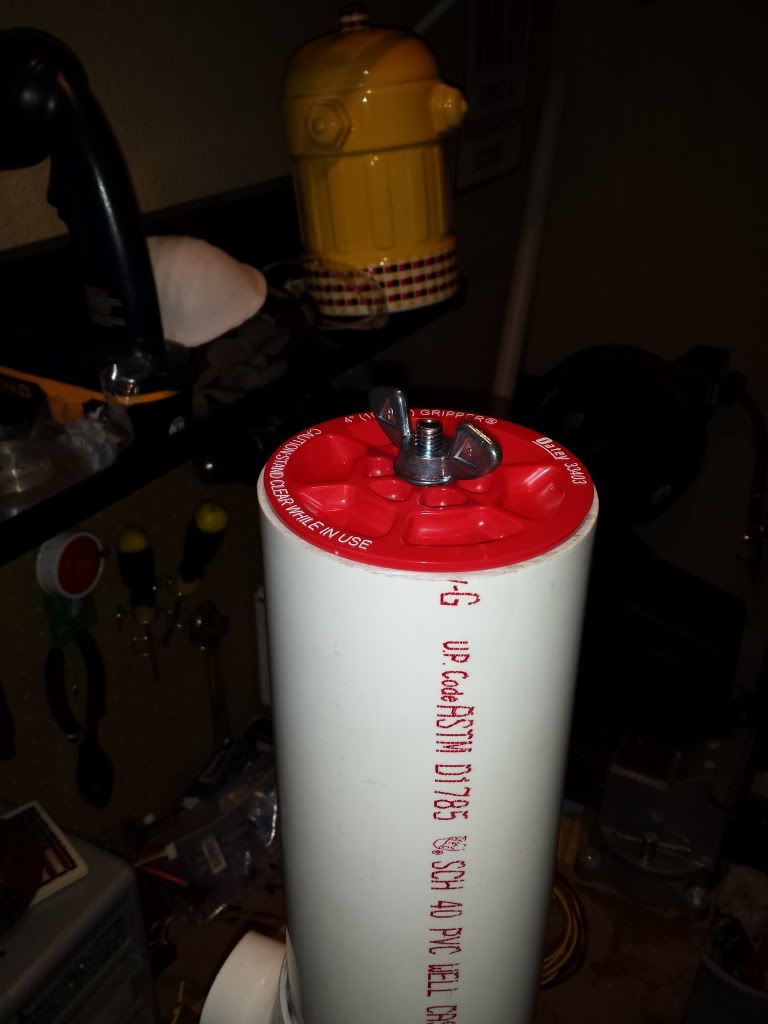
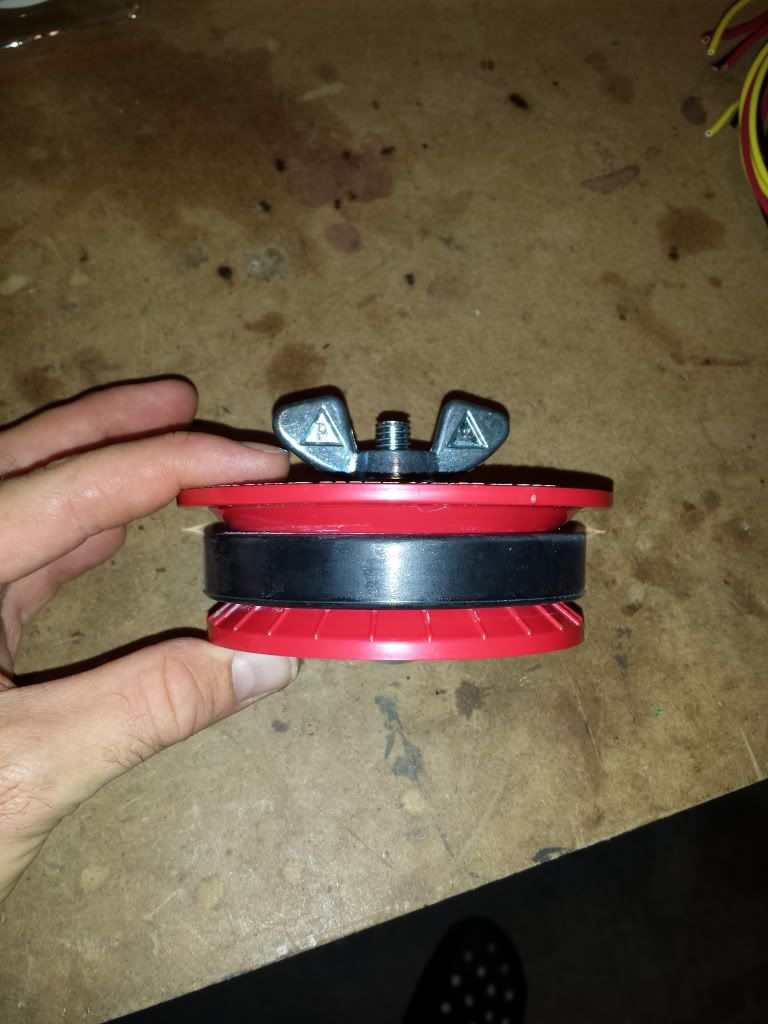
I can't finish the middle until I get my 4-way PVC connections in the mail. The camera/electronics main housing will be a 6" schedule 80 PVC pipe 20-24" long. I will use a clear acrylic dome for the camera end of the housing (http://www.cleardomes.com/smalldomes.htm). I'm thinking of using a Test-Tite 6" test plug for the other end of the housing. http://www.ebay.com/itm/321119295346?ss ... 1423.l2649 It is rated at 50ft of head pressure. This is pressure exerted on it from inside the test tubing pushing outward. I figure the outside pressure from the water pushing in will make an even stronger seal.