for the controller I have modified an original Nintendo joystick controller. To make it work properly forward left is both forward, back right is both back, back left is hard left forward right is hard right ect. the best part is that there are 2 trigger buttons, one on top is to surface and the trigger is the dive button.
the thrusters are Johnson 750 bilge pump inserts with 50mm props that don't fit so i have new ones on order
for the tether i have some cat5e cable to run the relays and 16 gauge speaker wire for power. (i also have some 22gauge speaker wire for the camera which is in the mail). the tether is ~45 meters (150 feet).
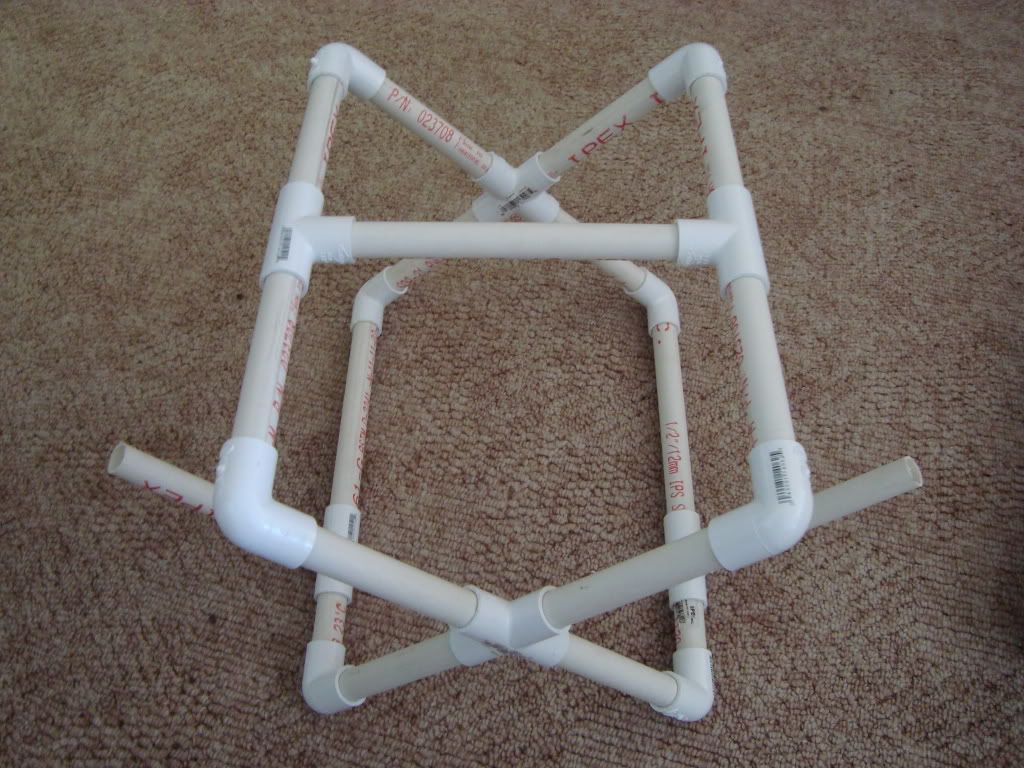
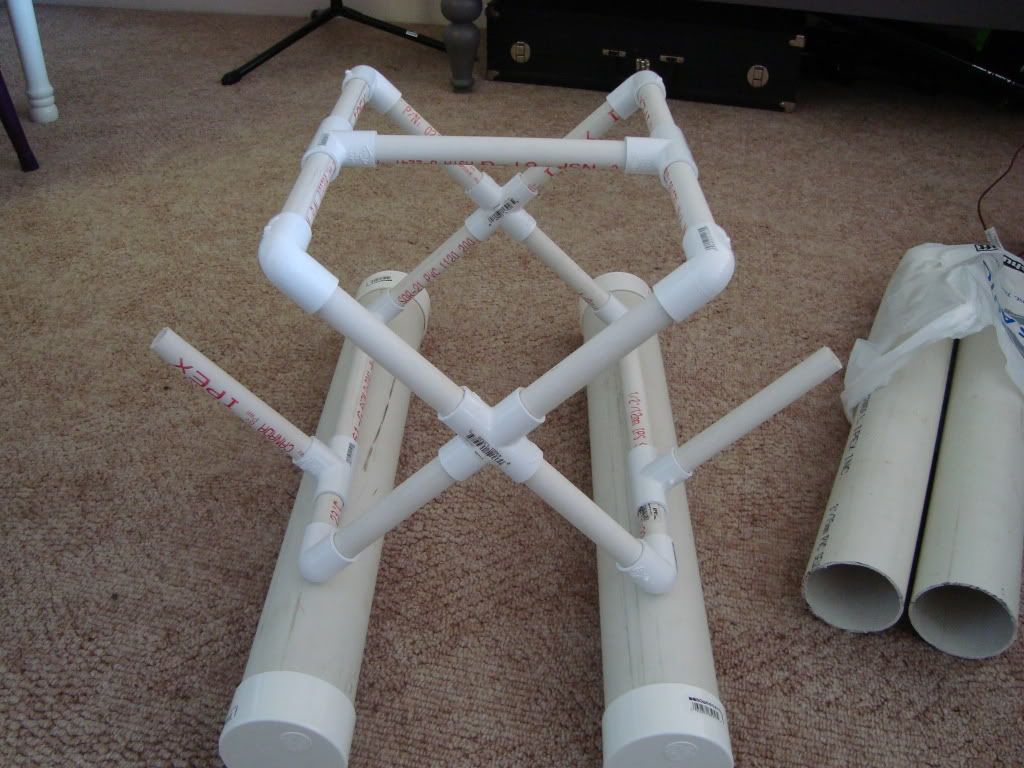
the actual ROV (ROZ as I call it) is made up of 1/2 inch pvc for the x-frame and 3 inch for the ballast and float tubes. the design is a bit different than what I had originally wanted but when i priced out what it was going to cost me for metal I decided this was easier.
I cant think of what else to add right now so... PICTURES!
the frame

with thruster mounts
with thruster mounts and ballast tubes
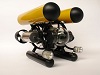
for size
http://s954.photobucket.com/albums/ae25 ... windex.jpg
with thruster mounts ballast tubes floats and camera housing

constructive comments are always welcomed