Rov Reboot (3D Printed Rov)

What are you working on .... Show off your Rov's Projects here.
User avatar
sthone
Posts: 589
Joined: Nov 8th, 2010, 9:25 pm
Location: Connecticut
Contact:

Re: Rov Reboot (3d Printed)

Post by sthone »

Design015.jpg
Design015.jpg (84.31 KiB) Viewed 57466 times
Design016.jpg
Design016.jpg (86.58 KiB) Viewed 57466 times
It took longer than I'd like to admit (I started from scratch), but I redesigned the float to be twice as thick today. (Of course if I go with a tube up front for the camera as shown it might be to much buoyancy now.) :shock:

It will only be two pieces now... with splitting it in half for ease of printing I really don't need the separate end caps anymore. I also designed it with thinner walls to be a little lighter and it will also print faster this time around.

The fun continues...................

-Steve :sting:
User avatar
sthone
Posts: 589
Joined: Nov 8th, 2010, 9:25 pm
Location: Connecticut
Contact:

Re: Rov Reboot (3d Printed)

Post by sthone »

Printer-032.jpg
Printer-032.jpg (106.74 KiB) Viewed 57447 times
Started printing the new float last night and it didn't go so well. When I tried to thin out the walls I entered a wrong dimension making them so thin they started to warp during printing (you can see the top and bottom walls of the print bending in pretty bad here.) so I had to abort the print and go back and fix my screw up. :oops:
Design017.jpg
Design017.jpg (69.17 KiB) Viewed 57447 times
Fortunately is was an easy fix, only one dimension to change and a few other easy changes that it effected. Using the section view this time I can see the walls should now be thick enough to hopefully resist the warping during printing. This view also shows how I had to use a slopping angle on the inside edge for the cut out of the relay box. This will reduce the inside volume a bit but will allow it to be printed without supports in there that I probably wouldn't be able to reach to remove later on. These are some of the design considerations you have to think about when it comes to 3D printing parts.

One half of this is going to take upwards of 11 hours to print. I think I'm going to have to wait another day to start it, if I start it tonight I don't think it will be done by the time I have to go to work tomorrow. :|

-Steve :sting:
User avatar
sthone
Posts: 589
Joined: Nov 8th, 2010, 9:25 pm
Location: Connecticut
Contact:

Re: Rov Reboot (3d Printed)

Post by sthone »

Printer-033.jpg
Printer-033.jpg (143.69 KiB) Viewed 57423 times
This new float is really being a PITA, I woke up in the middle of the night and checked on the print and this was all I had. It got about half way done and stopped extruding. :x I usually don't have too many problems while printing but things do go south now and then. I'm going to switch to my other printer and give it another go tonight. Hopefully the third times the charm as they say.

-Steve :sting:
User avatar
sthone
Posts: 589
Joined: Nov 8th, 2010, 9:25 pm
Location: Connecticut
Contact:

Re: Rov Reboot (3d Printed)

Post by sthone »

Printer-034.jpg
Printer-034.jpg (174.79 KiB) Viewed 57412 times
Printer-035.jpg
Printer-035.jpg (100.26 KiB) Viewed 57412 times
SUCCESS!!!!!!!!!! :D It needs a bit of clean up as I printed it at .30 layers and faster than normal but it will probably get painted when all is said and done anyway so no big deal.

Half down half to go...

-Steve :sting:
Mgbss
Posts: 61
Joined: Jul 15th, 2011, 9:53 am

Re: Rov Reboot (3d Printed)

Post by Mgbss »

Steve
Just noticed this build thread, Very Cool it is amazing to me what you can accomplish with these 3D printers

Looking great
User avatar
sthone
Posts: 589
Joined: Nov 8th, 2010, 9:25 pm
Location: Connecticut
Contact:

Re: Rov Reboot (3d Printed)

Post by sthone »

Printer-036.jpg
Printer-036.jpg (99.53 KiB) Viewed 57371 times
Well I got the other half printed with out any real problems. Everything is looking much better this time around and the pieces fit together perfect. (I keep learning more in the CAD software every time I play with it so its making things easier.) I added some small windows to the side of this left half of the float to aid in adding the micro balloons filling later on. That will be the next step before I continue on with the design. I just have to figure out how much I need to buy now.

Off to do some volume testing.....

-Steve :sting:
Bindo
Posts: 112
Joined: Apr 7th, 2015, 4:42 pm

Re: Rov Reboot (3d Printed)

Post by Bindo »

i'm flabbergasted, thats totally awesome!!
User avatar
sthone
Posts: 589
Joined: Nov 8th, 2010, 9:25 pm
Location: Connecticut
Contact:

Re: Rov Reboot (3d Printed)

Post by sthone »

Printer-037.jpg
Printer-037.jpg (127.7 KiB) Viewed 57342 times
I did some volume testing this morning... I filled half the float with water to measure how much it would hold. It's going to take about 26oz. (volume wise) to fill one half of the float up. If my math is right (and by math I mean my conversion app on my phone) the 1 pint of micro balloons is about 18.6 Oz and with whatever epoxy I need to use I should have enough to do at least half of the float. I still don't have an actual ratio to mix at so as usual I'm just going to wing it and see what happens.

On a side note the print isn't very water proof as I had some small leaks while filling it up. I only printed it at 80% infill and with 3 Outline shells and 2 Top and Bottom layers (I think the top most layers on the curved section is where the leaks were.) So sooner or later I will increase these values and print a test piece to see if I can accomplish a print that at least stand up to a bit of pressure. Anyway that's a test for another day.....

I hope this micro balloons buoyancy stuff works at depth, I all ready have some ideas to make molds for tethers floats using this method.

-Steve :sting:
Bindo
Posts: 112
Joined: Apr 7th, 2015, 4:42 pm

Re: Rov Reboot (3d Printed)

Post by Bindo »

micro/macrobaloons work just fine Steve.

I've got a chunk of 4000m rated buoyancy, which i was gifted for my Mk2 ROV, it's very heavy due to being 4000m rated but it's basically just microbaloons and epoxy.

just make sure you don't pour too much in one go or the epoxy could suffer cracking, though with microbaloons it's not much of a problem.
User avatar
sthone
Posts: 589
Joined: Nov 8th, 2010, 9:25 pm
Location: Connecticut
Contact:

Re: Rov Reboot (3d Printed)

Post by sthone »

Printer-038.jpg
Printer-038.jpg (142.46 KiB) Viewed 57262 times
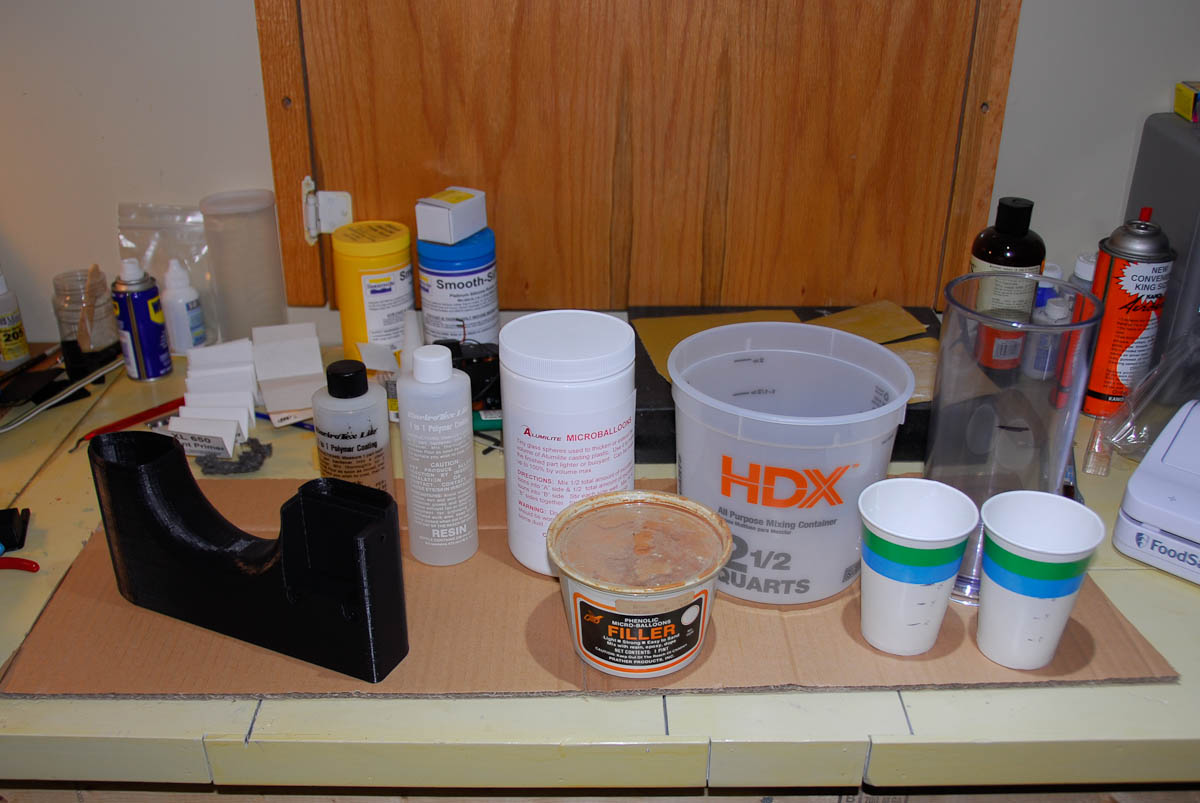
On to the fun part. :shock: 
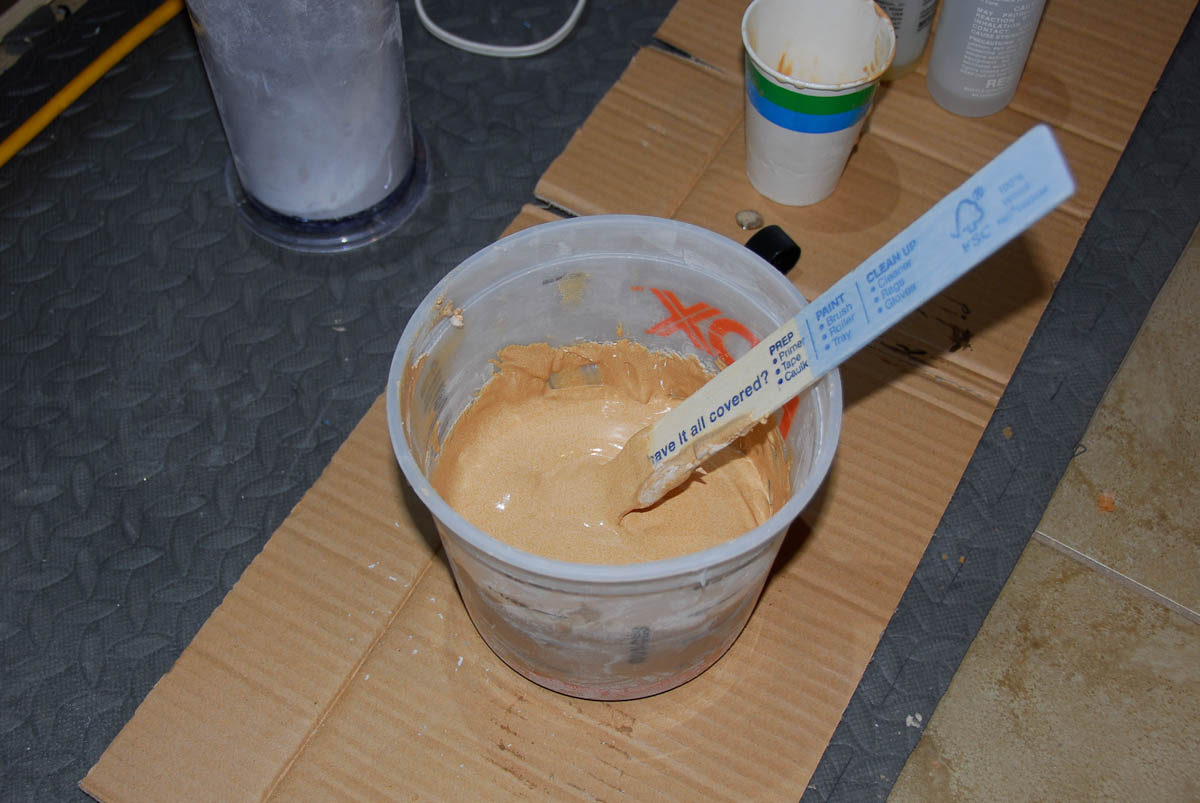
I have all my stuff ready to mix up some poor mans home made syntactic foam.
Printer-039.jpg
Printer-039.jpg (156.75 KiB) Viewed 57262 times
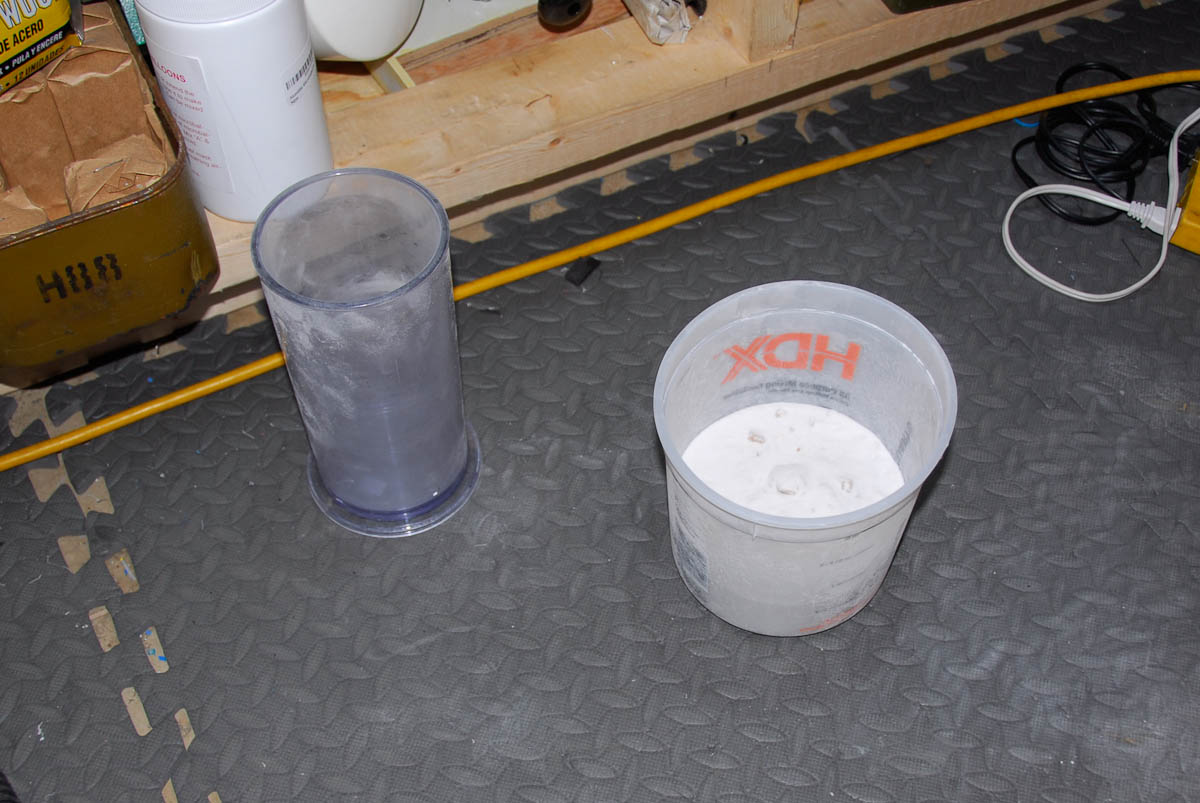
The new Micro Ballons I bought seems much finer than the old stuff I had so I decided just to mix it all together before I started to make sure all the buoyancy would be the same. (even though it probably wouldn't matter but better safe than sorry later on.) This stuff is not fun to work with it floats in the air everywhere. (wear a mask if you play with this stuff.)
Printer-040.jpg
Printer-040.jpg (139.92 KiB) Viewed 57262 times
I then measured off enough Micro Balloons (in volume) to fill the entire half of the float. I know I probably shouldn't do this all at once but what the hell I just want this done at this point. :D
Printer-041.jpg
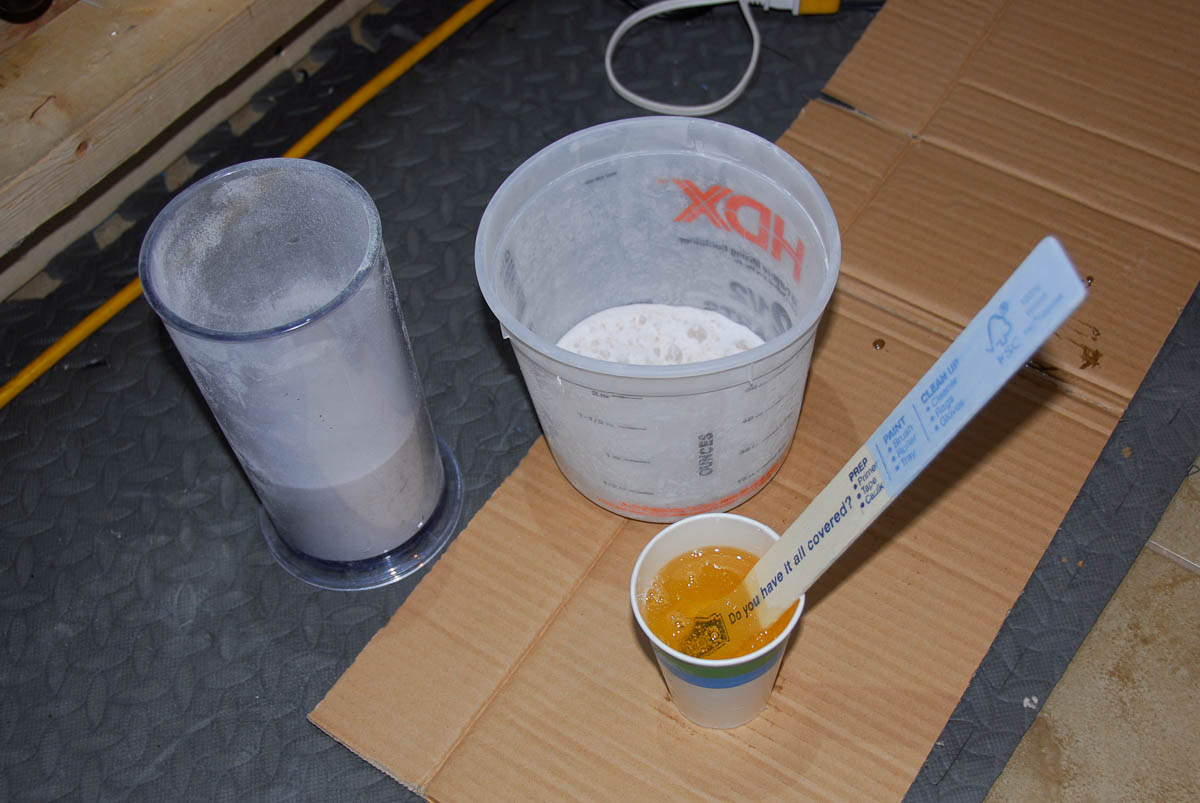
Printer-041.jpg (141.87 KiB) Viewed 57262 times
I think your suppose to mix half the balloons to part A of the epoxy and the other half to Part B and then mix it together but I don't know how much epoxy to use so I just dumped half the balloons in the mixing bowl and started adding mixed epoxy and more balloons until I got a consistency I liked.
Printer-042.jpg
Printer-042.jpg (142.5 KiB) Viewed 57262 times
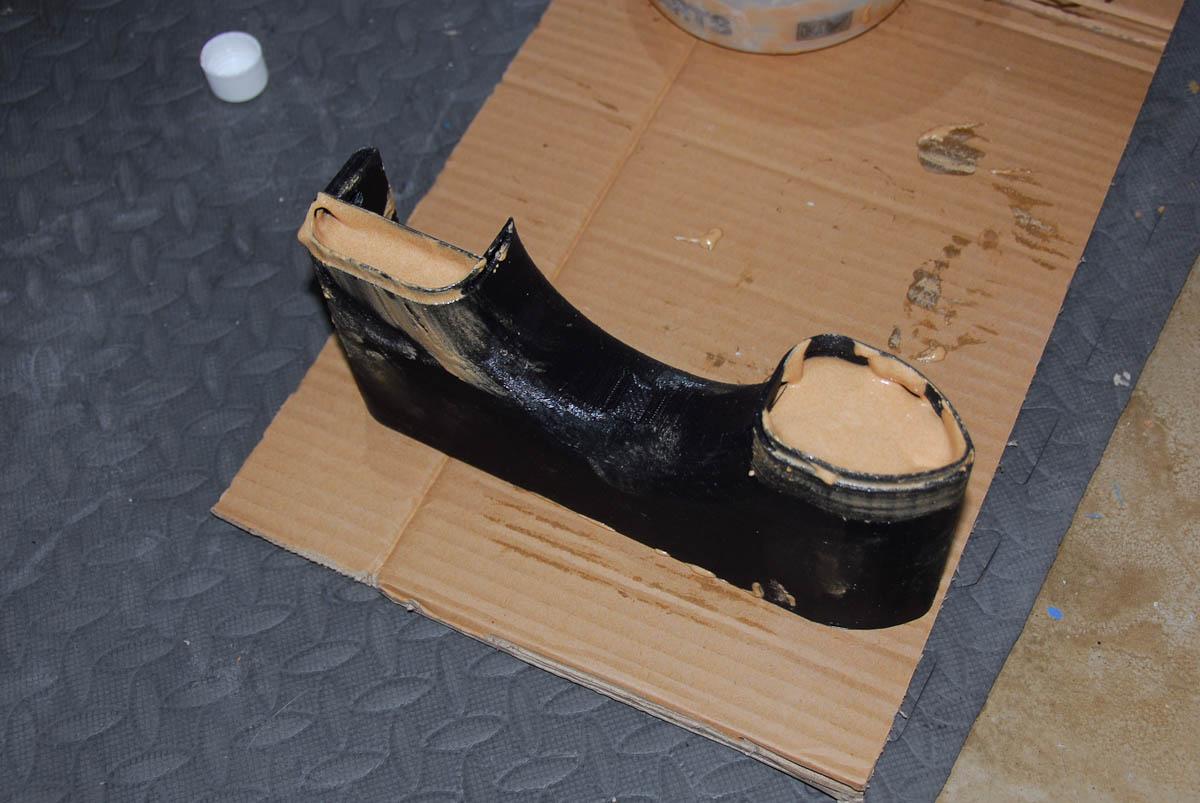
I ended up using all the epoxy I had and almost all the balloons I measured out. I couldn't use all the balloons because it was getting too thick to pour.
Printer-043.jpg
Printer-043.jpg (148.17 KiB) Viewed 57262 times
I was a little sloppy but I got most of it in there.
Printer-044.jpg
Printer-044.jpg (110.19 KiB) Viewed 57262 times
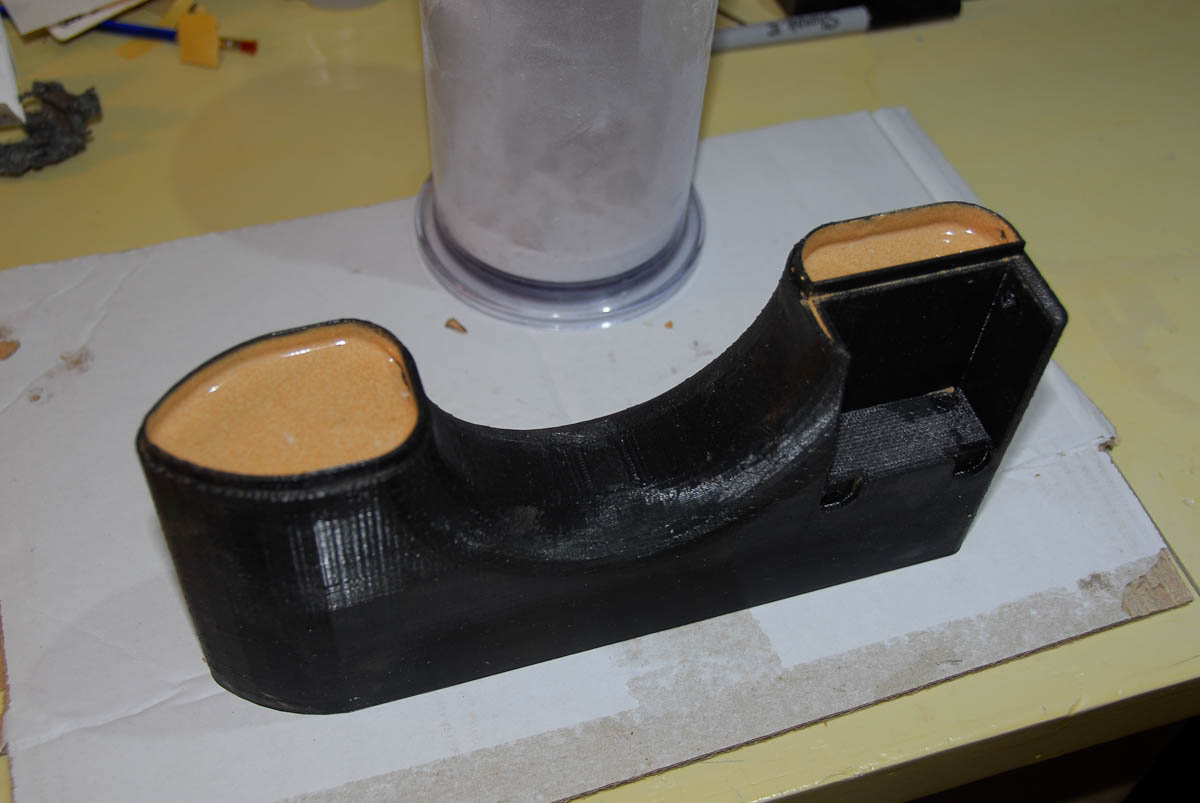
Back over to the case cleaner to vibrate out some air bubbles.
Printer-045.jpg
Printer-045.jpg (100.85 KiB) Viewed 57262 times
It was to big to fit in the pressure tank so I just left it on the bench and hope for the best. I was a little short on filling it up but that gap I need to fill in will hopefully hold the two piece together better when I fill the other half. My biggest concern right now with doing it all at once is the curing epoxy will heat up to much and melt the outer shell.

Now I wait... and see what happens

-Steve :sting:
Post Reply